CAMERA PREPARATION AND INSTALLATION
1.Important Note: prior to installing the camera in the housing: Please remove the rubber protective guard from the viewfinder on your camera before using the housing. remove the camera strap, and/or any object that might obstruct installation or get in the way of that attach the strap should be removed or tucked away
2.Pull out the lens lock lever (key # 12) on the front of the housing and the mode dial knob (key # 21)
3.Remove the saddle from the housing and carefully place the camera on it and ensure the camera is properly installed and aligned as follows:
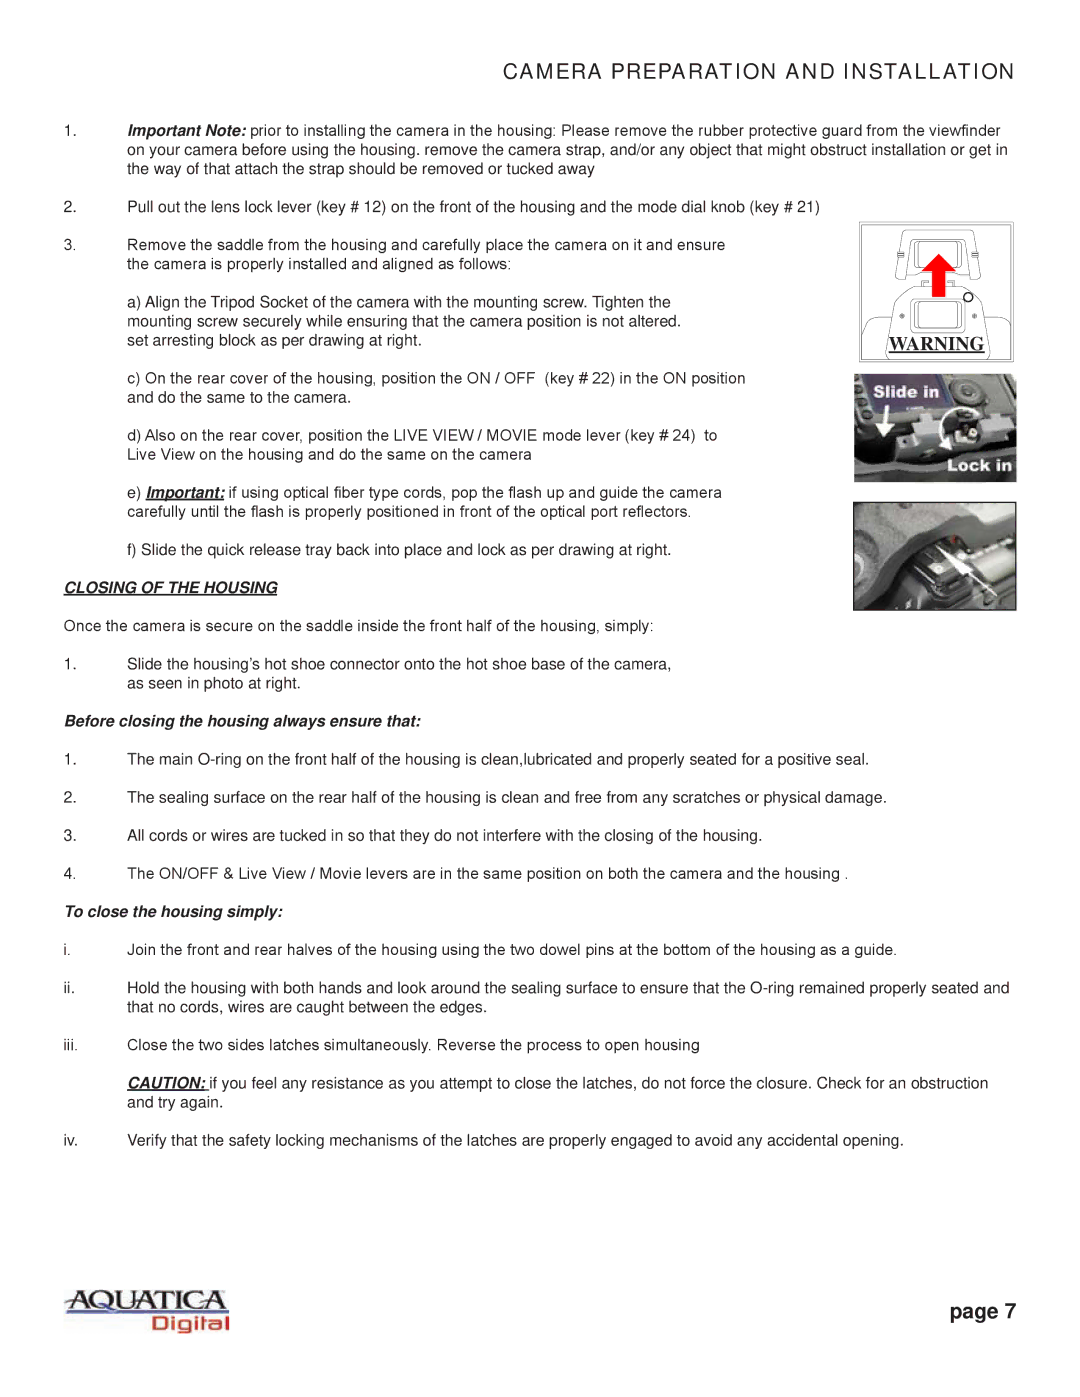
a)Align the Tripod Socket of the camera with the mounting screw. Tighten the mounting screw securely while ensuring that the camera position is not altered. set arresting block as per drawing at right.
c)On the rear cover of the housing, position the ON / OFF (key # 22) in the ON position and do the same to the camera.
d)Also on the rear cover, position the LIVE VIEW / MOVIE mode lever (key # 24) to Live View on the housing and do the same on the camera
e)Important: if using optical fiber type cords, pop the flash up and guide the camera carefully until the flash is properly positioned in front of the optical port reflectors.
f)Slide the quick release tray back into place and lock as per drawing at right.
CLOSING OF THE HOUSING
Once the camera is secure on the saddle inside the front half of the housing, simply:
1.Slide the housing’s hot shoe connector onto the hot shoe base of the camera, as seen in photo at right.
WARNING |
Before closing the housing always ensure that:
1.The main
2.The sealing surface on the rear half of the housing is clean and free from any scratches or physical damage.
3.All cords or wires are tucked in so that they do not interfere with the closing of the housing.
4.The ON/OFF & Live View / Movie levers are in the same position on both the camera and the housing .
To close the housing simply:
i.Join the front and rear halves of the housing using the two dowel pins at the bottom of the housing as a guide.
ii.Hold the housing with both hands and look around the sealing surface to ensure that the
iii.Close the two sides latches simultaneously. Reverse the process to open housing
CAUTION: if you feel any resistance as you attempt to close the latches, do not force the closure. Check for an obstruction and try again.
iv.Verify that the safety locking mechanisms of the latches are properly engaged to avoid any accidental opening.
page 7