Pyramid Trellis specifications
The Arboria Pyramid Trellis is a stylish and functional gardening accessory designed to enhance outdoor spaces while providing essential support for climbing plants. This innovative trellis combines attractive aesthetics with durability, making it a popular choice among gardening enthusiasts and landscape designers alike.One of the main features of the Arboria Pyramid Trellis is its unique pyramid shape, which not only looks visually appealing but also maximizes vertical space in gardens, patios, or balconies. The geometric design adds a touch of elegance, creating a striking focal point in any outdoor setting. The trellis reaches an impressive height, allowing for a variety of climbing plants, such as roses, peas, beans, or clematis, to thrive and flourish.
Constructed from high-quality materials, the Arboria Pyramid Trellis is built to withstand the elements. Many models are made from natural wood, often cedar or redwood, which provides natural resistance to rot and pests. This ensures a long lifespan and minimal maintenance. Additionally, the wood is usually treated with eco-friendly finishes that enhance its durability without compromising environmental safety.
In terms of technology, the Arboria Pyramid Trellis often features a lattice design that facilitates optimal air circulation and sunlight exposure for plants. This design is critical for the healthy growth of climbing vegetation, ensuring that they have ample support and room to spread. The open structure allows vines to attach themselves easily, promoting a lush and vibrant growth.
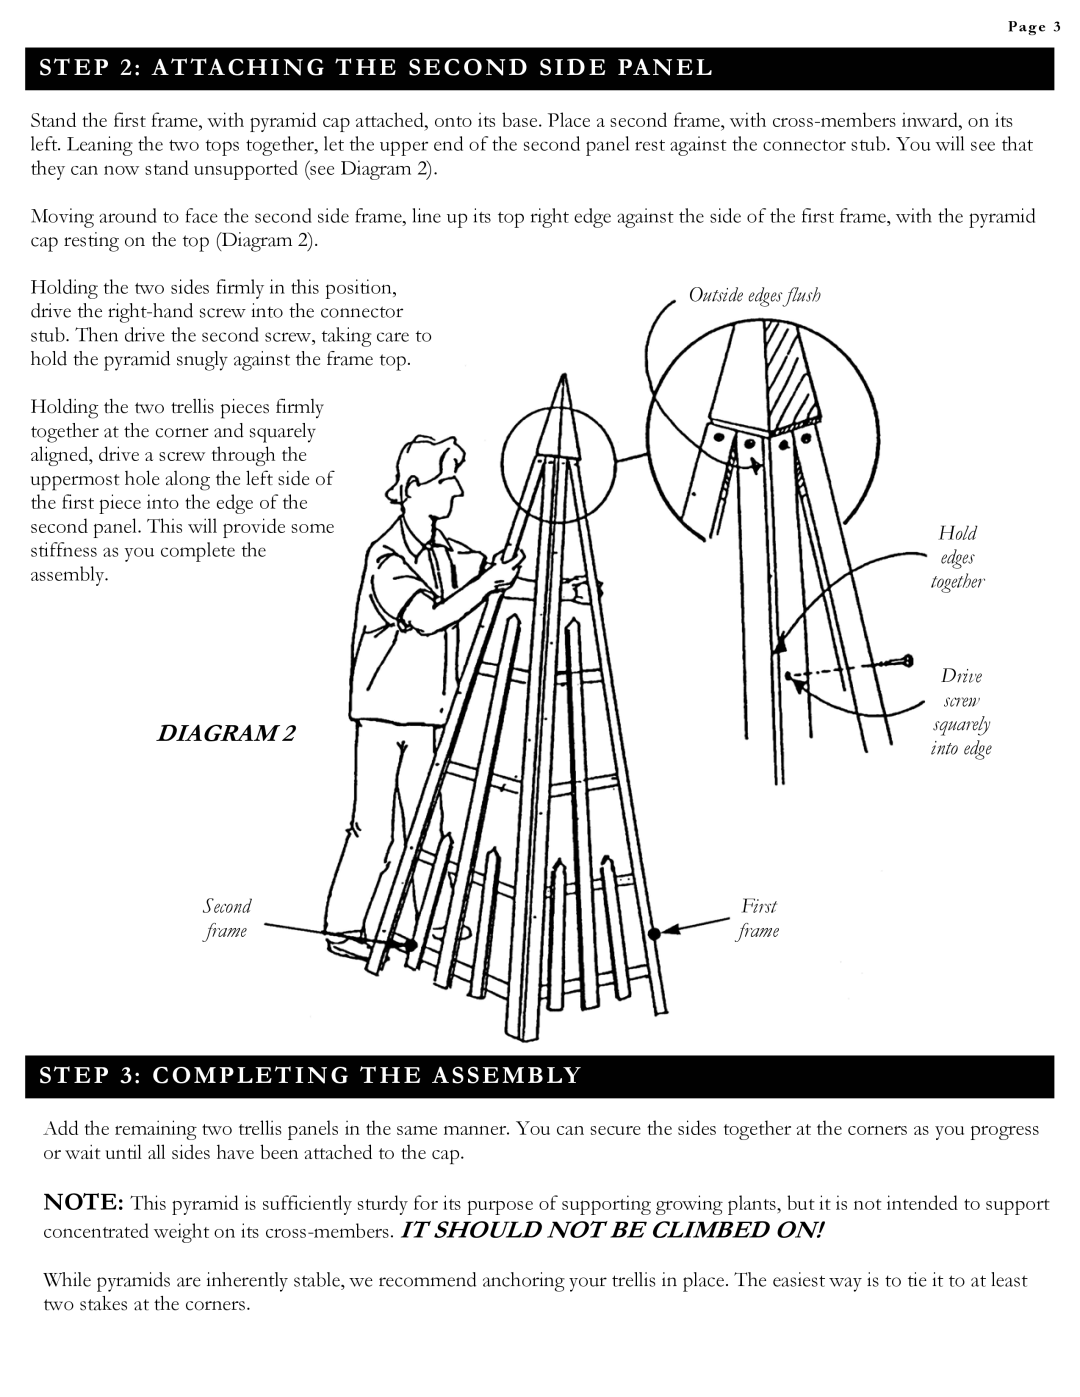
Another characteristic of this trellis is its easy assembly and installation. Many models come with pre-drilled holes and straightforward instructions, making it accessible for gardeners of all skill levels. The lightweight construction allows for easy relocation, enabling users to reposition the trellis according to changing seasons or plant needs.
Moreover, the Arboria Pyramid Trellis can serve not just as a plant support system but also as an attractive element in outdoor decor. Its versatility allows it to complement various garden styles, from rustic to modern. Some gardeners even use the trellis as a backdrop for outdoor seating areas, enhancing the overall ambiance of their garden.
In conclusion, the Arboria Pyramid Trellis is a perfect blend of beauty and functionality. Its durable construction, elegant design, and effective support system for climbing plants make it an essential addition to any gardening setup. Whether for aesthetic appeal or practical gardening needs, this trellis is a fantastic choice for enhancing outdoor spaces.

