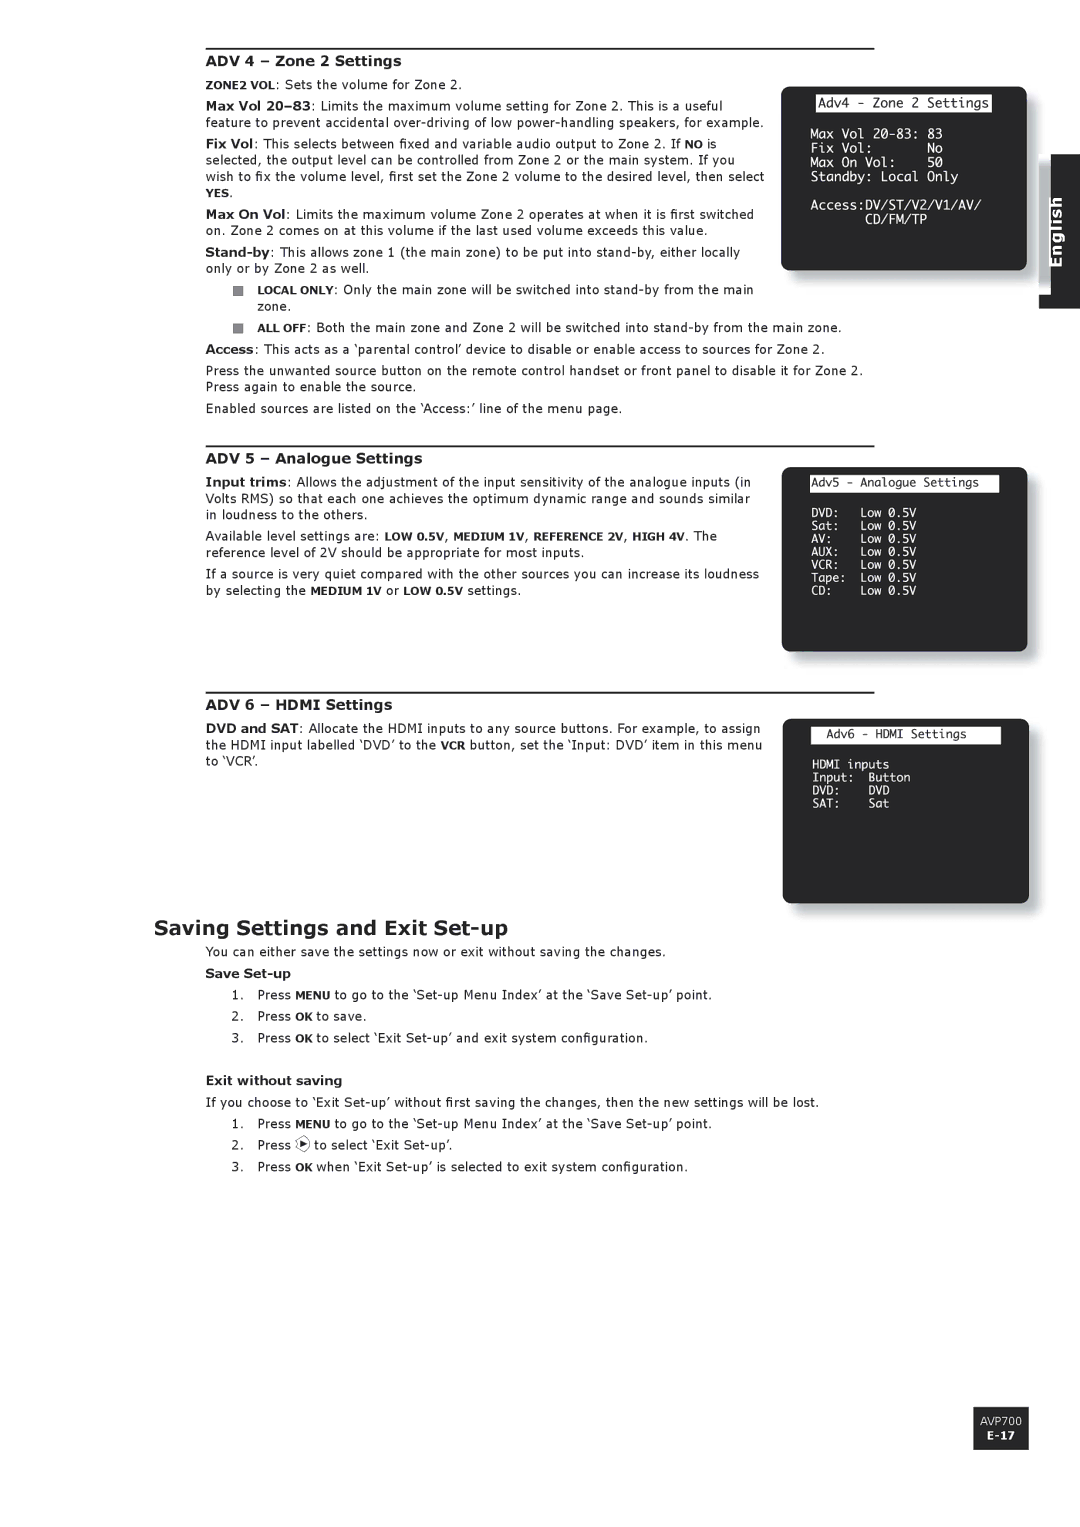
ADV 4 – Zone 2 Settings
ZONE2 VOL: Sets the volume for Zone 2.
Max Vol
Fix Vol: This selects between fixed and variable audio output to Zone 2. If NO is selected, the output level can be controlled from Zone 2 or the main system. If you wish to fix the volume level, first set the Zone 2 volume to the desired level, then select
YES.
Max On Vol: Limits the maximum volume Zone 2 operates at when it is first switched on. Zone 2 comes on at this volume if the last used volume exceeds this value.
<LOCAL ONLY: Only the main zone will be switched into
<ALL OFF: Both the main zone and Zone 2 will be switched into
Press the unwanted source button on the remote control handset or front panel to disable it for Zone 2. Press again to enable the source.
Enabled sources are listed on the ‘Access:’ line of the menu page.
ADV 5 – Analogue Settings
Input trims: Allows the adjustment of the input sensitivity of the analogue inputs (in Volts RMS) so that each one achieves the optimum dynamic range and sounds similar in loudness to the others.
Available level settings are: LOW 0.5V, MEDIUM 1V, REFERENCE 2V, HIGH 4V. The reference level of 2V should be appropriate for most inputs.
If a source is very quiet compared with the other sources you can increase its loudness by selecting the MEDIUM 1V or LOW 0.5V settings.
ADV 6 – HDMI Settings
DVD and SAT: Allocate the HDMI inputs to any source buttons. For example, to assign
the HDMI input labelled ‘DVD’ to the VCR button, set the ‘Input: DVD’ item in this menu to ‘VCR’.
Saving Settings and Exit Set-up
You can either save the settings now or exit without saving the changes.
Save Set-up
1.Press MENU to go to the
2.Press OK to save.
3.Press OK to select ‘Exit
Exit without saving
If you choose to ‘Exit
1.Press MENU to go to the
2.Press E to select ‘Exit
3.Press OK when ‘Exit
AVP700