Care and maintenance
GB
Switching off the electricity
●Turn off the water tap after every wash. This will limit the wear of your appliances water system and also prevent leaks.
●Unplug your appliance when cleaning it and during all maintenance operations.
Caring for your appliance door and drum
●Always leave the appliance door ajar to prevent unpleasant odours from forming.
Cleaning
Cleaning the exterior
Use a damp cloth or silicon polish to clean the exterior surfaces of the appliance.
Cleaning the door bowl
Clean the internal surface of the door bowl regularly with a soft cloth. A build up of soap powder and water hardness residue may result in water leaking from the door.
Cleaning the dispenser drawer and compartments
It is advisable to clean the dispenser drawer regularly.
!Do not try to clean any part of the dispenser drawer while the machine is running.
1.Pull out the drawer until it reaches its stop.
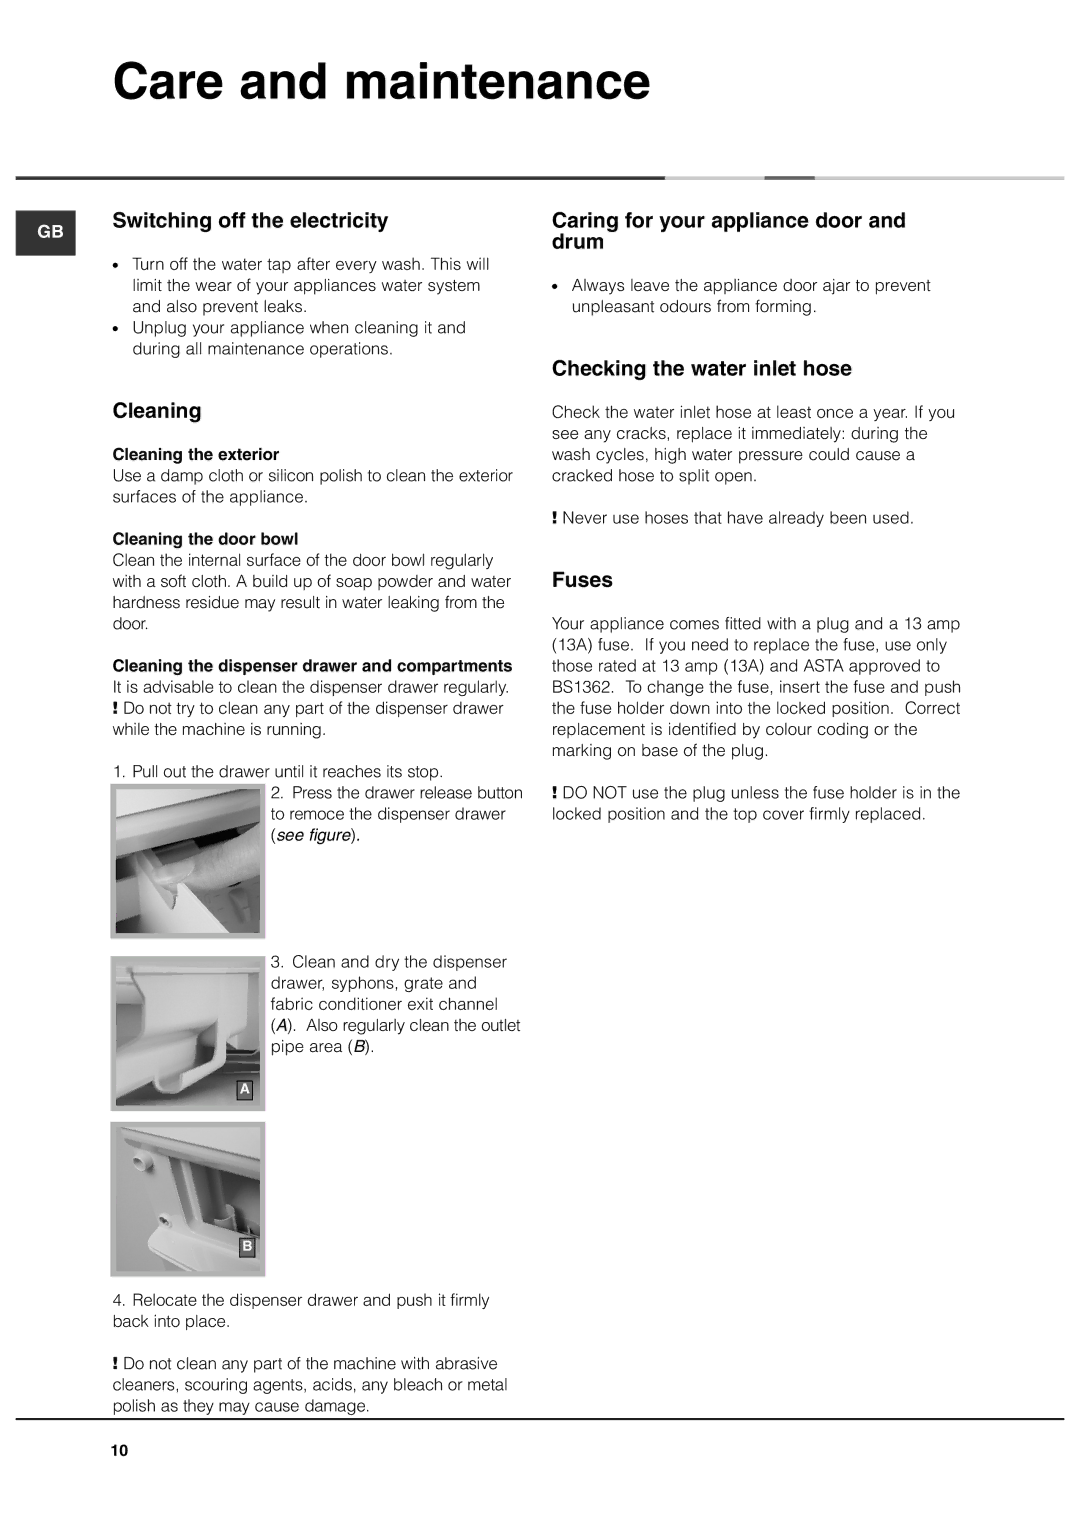
2.Press the drawer release button to remoce the dispenser drawer (see figure).
3.Clean and dry the dispenser drawer, syphons, grate and fabric conditioner exit channel (A). Also regularly clean the outlet pipe area (B).
A
B
4.Relocate the dispenser drawer and push it firmly back into place.
!Do not clean any part of the machine with abrasive cleaners, scouring agents, acids, any bleach or metal polish as they may cause damage.
Checking the water inlet hose
Check the water inlet hose at least once a year. If you see any cracks, replace it immediately: during the wash cycles, high water pressure could cause a cracked hose to split open.
!Never use hoses that have already been used.
Fuses
Your appliance comes fitted with a plug and a 13 amp (13A) fuse. If you need to replace the fuse, use only those rated at 13 amp (13A) and ASTA approved to BS1362. To change the fuse, insert the fuse and push the fuse holder down into the locked position. Correct replacement is identified by colour coding or the marking on base of the plug.
!DO NOT use the plug unless the fuse holder is in the locked position and the top cover firmly replaced.
10
