5


SIGUIENTE PÁGINA LA EN CONTINÚA


.ciclo el interrumpirá se hace lo


si que ya proceso, el durante Yogurt Hacer para Digital Utensilio el mueva No •


NOTA:


.programado tiempo del


antes apague lo No .yogurt del cocimiento de proceso el empezará y encenderá


se (Cooking) Cocinando de indicador El .(START) Arranque de botón el Presione .11

.cocinero del tiempo el aumente agrio, más yogurt un Para


ÚTIL: CONSEJO


.ideal) consistencia


una asegurarán horas 9 pero recomendado, mínimo el es horas (8 controlador del


pantalla la en horas’ ‘9 aparezca que hasta (HOUR) Hora la de botón el Presione .10

.digital dispositivo el prenderá se y campanada una emitirá utensilio

.9

El .Power)( Poder de botón el presionando Yogurt de Preparador Utensilio el Prenda


.corriente la a utensilio el Enchufe

.8


.utensilio el en cubierta o tapa la Coloque

.7

.


Yogurt Hacer para Digital


Utensilio el en colóquelas y tazas las de tapas las selle NO abiertas, tazas las Deje

.6

.leche la y yogurt del mezcla la con selladas tazas las de una cada partes ¾ Llene


.saborizantes


agregar cómo de adicionales instrucciones para 6 página la en Sabores”


Agregar “Para de sección la a Vaya .cultivo el y caliente leche de mezcla la


a agregar puede le se sabor el usando, esté se que receta la de Dependiendo •


NOTA:


.gusto al mezclado

.5

hayan se que hasta recalentada leche la con adelgazado yogurt el Mezcle


.adelgazado haya se consistencia la que

.4

hasta fría leche de cucharadas 2 con mézclelo yogurt el con tazón pequeño el En

.115°F hasta enfríe se que permita y refrigerador el en caliente leche la Coloque

.3


.quemen se que

.2

evitar para consistentemente remueva 180°F, a orgánica leche de tazas 5 Caliente

.cultivo del correcta cantidad la usar para paquete


del instrucciones las consulte vacío, al desecado yogurt de cultivo un usa Si •


NOTA:


.tazón pequeño un en sepárelo

.1

y base cultivo como usado ser para sencillo yogurt de cucharadas tres Mida

.tienda cualquier en comprado base’ ‘cultivo un y orgánica

leche utilizar a cuanto en Aroma de método el para son instrucciones siguientes Las

.utilizar a va se que cultivo

del y leche de tipo del y individuales recetas las

de instrucciones las de dependiendo

variar pueden cantidades las y proporciones Las


yogurt: un hacer Para

APARATO SU USAR COMO


USING YOUR YOGURT MAKER

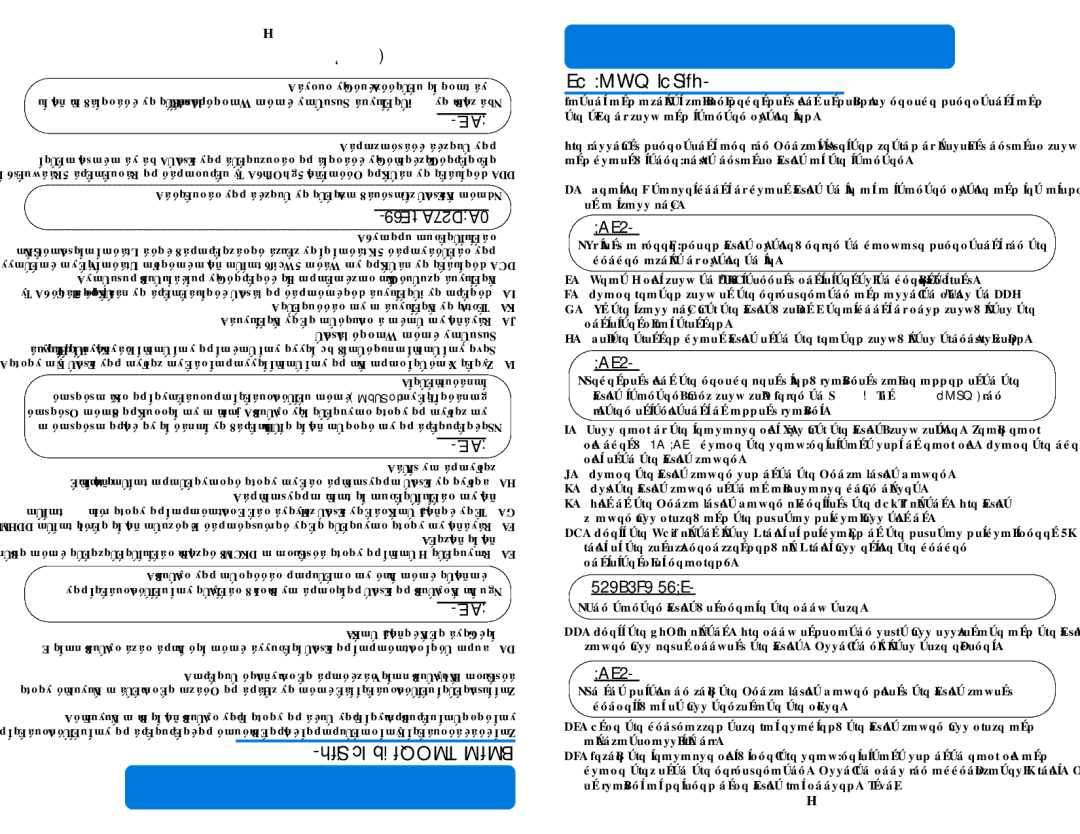
To Make Yogurt:

Ratios and amounts may vary depending upon individual recipe directions and the type of milk and starter culture used.

The following directions are for Aroma’s suggested method of utilizing organic milk and plain, store-bought organic yogurt as the starter.

1. Measure 3 tablespoons of plain yogurt to use as a starter culture and set aside in a small bowl.

NOTE:

• If using a freeze-dried yogurt culture, refer to package directions for the proper amount of culture to use.

2. Heat 5 cups milk to 180ºF, stirring consistently to prevent scorching.

3. Place heated milk in the refrigerator and allow to cool to 115ºF.

4. In the small bowl with the yogurt, mix in 2 teaspoons of cold milk, until the consistency has thinned.

5. Mix the thinned plain yogurt into the heated milk, until thoroughly mixed.

NOTE:

• Depending upon the recipe being used, flavoring may be added into the yogurt starter/warm milk mix. Refer to “To Add Flavors” on page 6 for further instructions on adding flavors.

6. Fill each of the sealable cups ¾ full with the yogurt/milk mixture. Leave each cup open, DO NOT place the leak-resistant lids on each cup. Place the open cups into the yogurt maker.

7. Place the yogurt maker lid onto the Aroma Yogurt Maker.

8. Plug the yogurt maker into an available power outlet.

8. Turn on the Aroma Yogurt Maker by pressing the POWER button. The yogurt maker will chime, and the digital display will turn on.

10. Press the HOUR button until 9 hours is displayed on the digital display screen (8 hours is the minimum recommended, but 9 hours will ensure the proper consistency is reached).

HELPFUL HINT:

• For tarter yogurt, increase the cook time.

11. Press the START button. The cook indicator light will illuminate and the yogurt maker will begin cooking the yogurt. Allow to run until time expires.

NOTE:

• Do not disturb or move the Aroma Yogurt Maker during the yogurt making process, as it will terminate the cycle.

12. Once the programmed time has elapsed, the yogurt maker will chime and automatically shut off.

13. Remove the sealable cups, screw the leak-resistant lid onto each cup and place them into the refrigerator. Allow to cool for approximately 8 hours. Add in flavors as desired once yogurt has cooled. Enjoy!

5

Page 7
Image 7
Aroma AYM-606 instruction manual Aparato SU Usar Como Using Your Yogurt Maker, To Make Yogurt, Yogurt un hacer Para

AYM-606 specifications

The Aroma AYM-606 is a highly regarded electric rice cooker that combines functionality with user-friendly features, making it an essential kitchen appliance for rice enthusiasts and busy families alike. This rice cooker is designed to deliver perfectly cooked rice every time, with a range of features that accommodate various cooking needs.

One of the standout characteristics of the Aroma AYM-606 is its capacity. With a 6-cup uncooked rice capacity, it can produce up to 12 cups of cooked rice, making it suitable for both small families and larger gatherings. This versatility ensures that you can cook just the right amount of rice for any occasion, from intimate dinners to festive celebrations.

This model boasts multiple cooking functions, including options for white rice, brown rice, and steam cooking. The programmable features allow users to select the desired setting easily, catering to different types of rice and cooking preferences. The automatic keep-warm function is another essential feature. Once cooking is complete, the Aroma AYM-606 automatically switches to a keep-warm mode, ensuring that your rice stays warm and ready for serving without the risk of overcooking.

In terms of technology, the Aroma AYM-606 employs advanced cooking technology that helps trap steam and circulate it evenly throughout the cooker. This helps in achieving the ideal texture and flavor of the rice. The non-stick inner pot is designed for easy cleanup and maintenance, preventing rice from sticking and ensuring that you can enjoy your meal without the hassle of scrubbing.

Safety features are also prioritized in the Aroma AYM-606. It is equipped with a cool-touch exterior, which minimizes the risk of burns during cooking. Additionally, the lid locks securely during the cooking process, providing an extra layer of safety and helping to retain moisture and flavor within the pot.

The design of the Aroma AYM-606 is both sleek and compact, ensuring it fits comfortably on most kitchen countertops without taking up too much space. Its user-friendly interface, complete with a digital display and push-button controls, simplifies the cooking process, making it accessible even to novice cooks.

Overall, the Aroma AYM-606 is a reliable and efficient rice cooker that prioritizes ease of use, safety, and superior cooking performance, making it a great addition to any kitchen. With its various cooking settings and advanced technologies, it promises to enhance your culinary experience, delivering delicious results with every use.