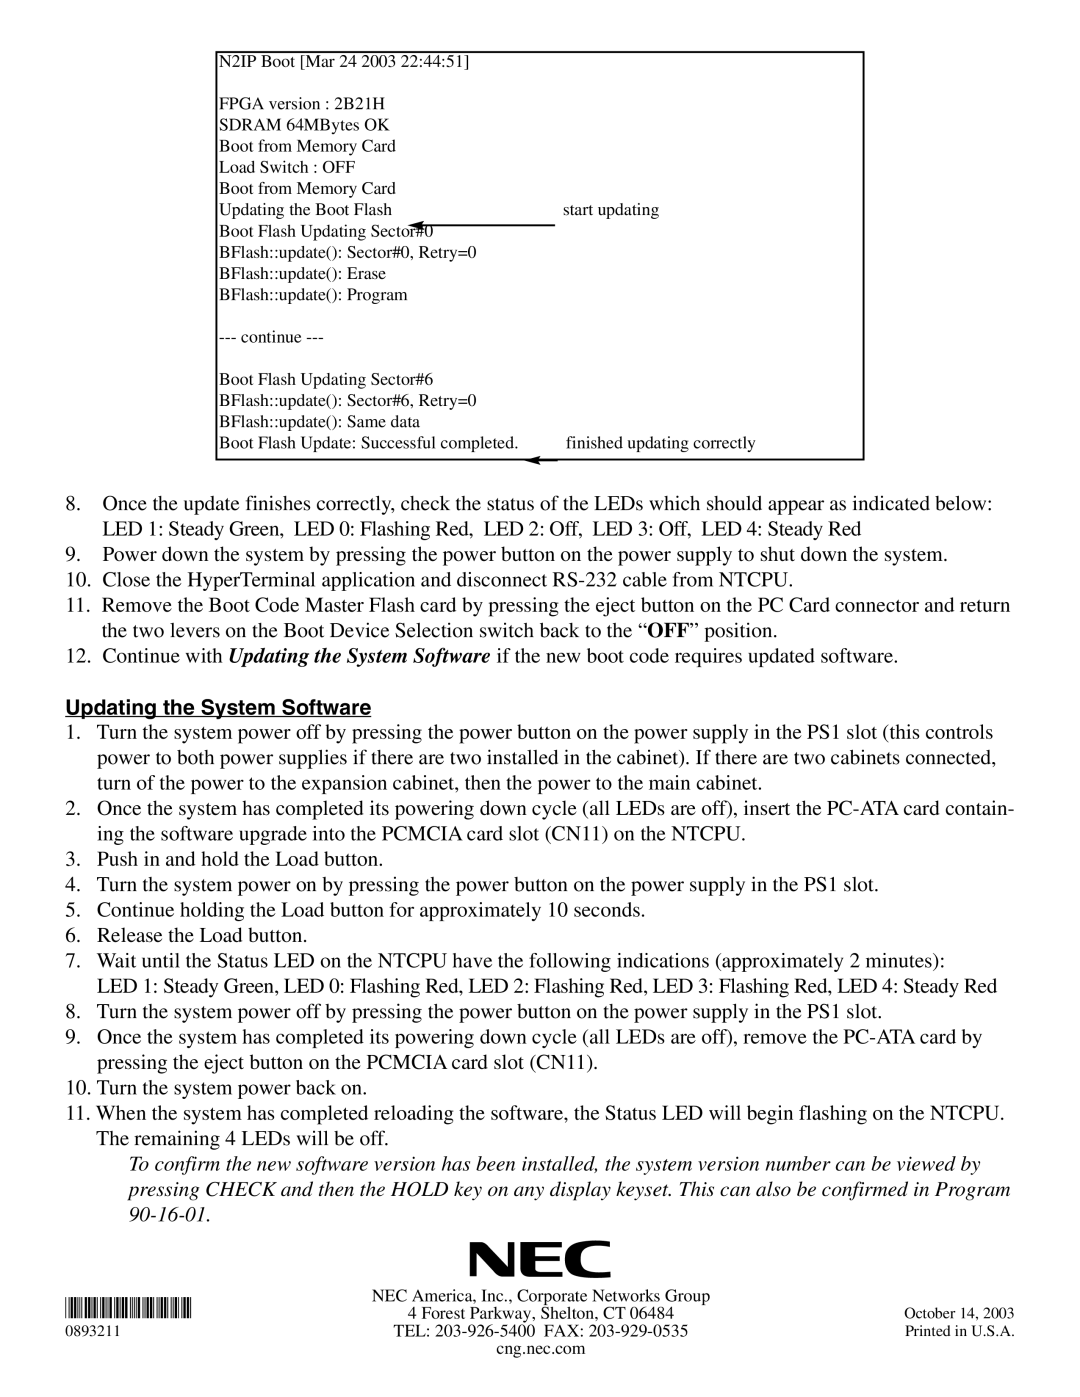
N2IP Boot [Mar 24 2003 22:44:51] |
| |
FPGA version : 2B21H |
| |
SDRAM 64MBytes OK |
| |
Boot from Memory Card |
| |
Load Switch : OFF |
| |
Boot from Memory Card |
| |
Updating the Boot Flash | start updating | |
Boot Flash Updating Sector#0 |
|
|
|
| |
BFlash::update(): Sector#0, Retry=0 |
| |
BFlash::update(): Erase |
| |
BFlash::update(): Program |
| |
| ||
Boot Flash Updating Sector#6 |
| |
BFlash::update(): Sector#6, Retry=0 |
| |
BFlash::update(): Same data |
| |
Boot Flash Update: Successful completed. | finished updating correctly | |
|
|
|
8.Once the update finishes correctly, check the status of the LEDs which should appear as indicated below: LED 1: Steady Green, LED 0: Flashing Red, LED 2: Off, LED 3: Off, LED 4: Steady Red
9.Power down the system by pressing the power button on the power supply to shut down the system.
10.Close the HyperTerminal application and disconnect
11.Remove the Boot Code Master Flash card by pressing the eject button on the PC Card connector and return the two levers on the Boot Device Selection switch back to the “OFF” position.
12.Continue with Updating the System Software if the new boot code requires updated software.
Updating the System Software
1.Turn the system power off by pressing the power button on the power supply in the PS1 slot (this controls power to both power supplies if there are two installed in the cabinet). If there are two cabinets connected, turn of the power to the expansion cabinet, then the power to the main cabinet.
2.Once the system has completed its powering down cycle (all LEDs are off), insert the
3.Push in and hold the Load button.
4.Turn the system power on by pressing the power button on the power supply in the PS1 slot.
5.Continue holding the Load button for approximately 10 seconds.
6.Release the Load button.
7.Wait until the Status LED on the NTCPU have the following indications (approximately 2 minutes):
LED 1: Steady Green, LED 0: Flashing Red, LED 2: Flashing Red, LED 3: Flashing Red, LED 4: Steady Red
8.Turn the system power off by pressing the power button on the power supply in the PS1 slot.
9.Once the system has completed its powering down cycle (all LEDs are off), remove the
10.Turn the system power back on.
. When the system has completed reloading the software, the Status LED will begin flashing on the NTCPU. | ||
*0893211* | 4 Forest Parkway, Shelton, CT 06484 | October 14, 2003 |
The remaining 4 LEDs will be off. |
| |
To confirm the new software version has been installed, the system version number can be viewed by | ||
pressing CHECK and then the HOLD key on any display keyset. This can also be confirmed in Program | ||
|
| |
| NEC America, Inc., Corporate Networks Group |
|
0893211 | TEL: | Printed in U.S.A. |
| cng.nec.com |
|