Atlona user manual Installation, AT-SDI-14 Bottom Panel

Models: AT-SDI-14

1 9
Download 9 pages 62.4 Kb
Page 6
Image 6

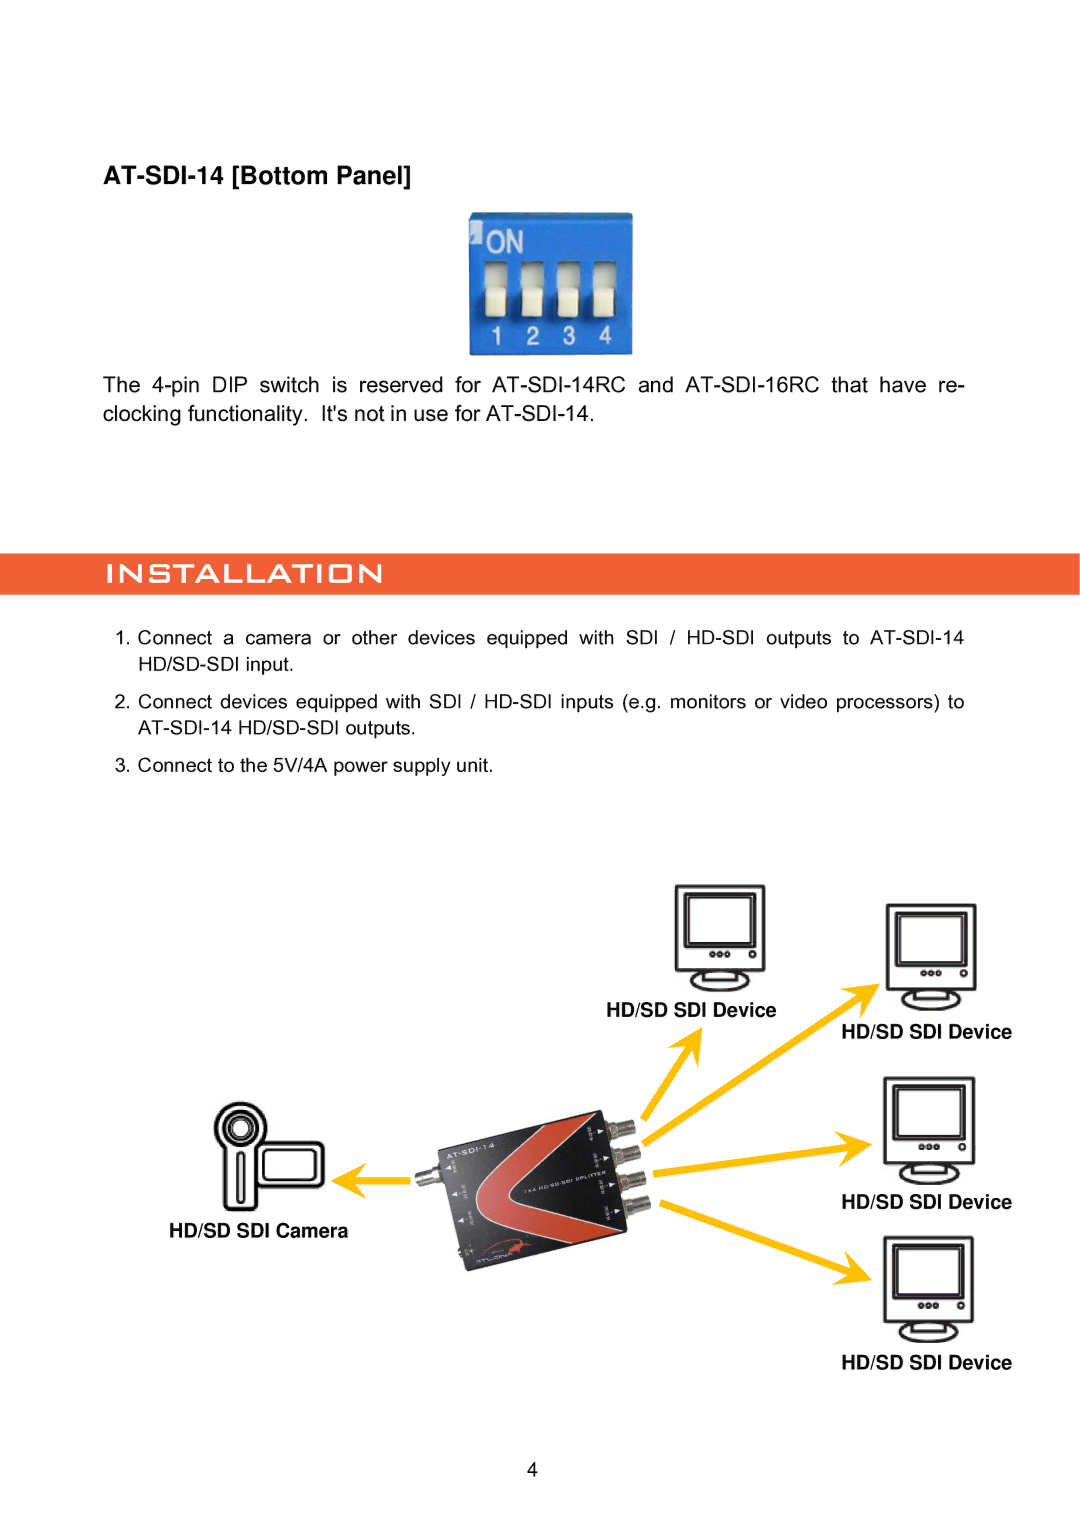
AT-SDI-14 [Bottom Panel]

The 4-pin DIP switch is reserved for AT-SDI-14RC and AT-SDI-16RC that have re- clocking functionality. It's not in use for AT-SDI-14.

INSTALLATION

1.Connect a camera or other devices equipped with SDI / HD-SDI outputs to AT-SDI-14 HD/SD-SDI input.

2.Connect devices equipped with SDI / HD-SDI inputs (e.g. monitors or video processors) to AT-SDI-14 HD/SD-SDI outputs.

3.Connect to the 5V/4A power supply unit.

HD/SD SDI Device

HD/SD SDI Device

HD/SD SDI Device

HD/SD SDI Camera

HD/SD SDI Device

4

Page 6
Image 6
Atlona user manual Installation, AT-SDI-14 Bottom Panel