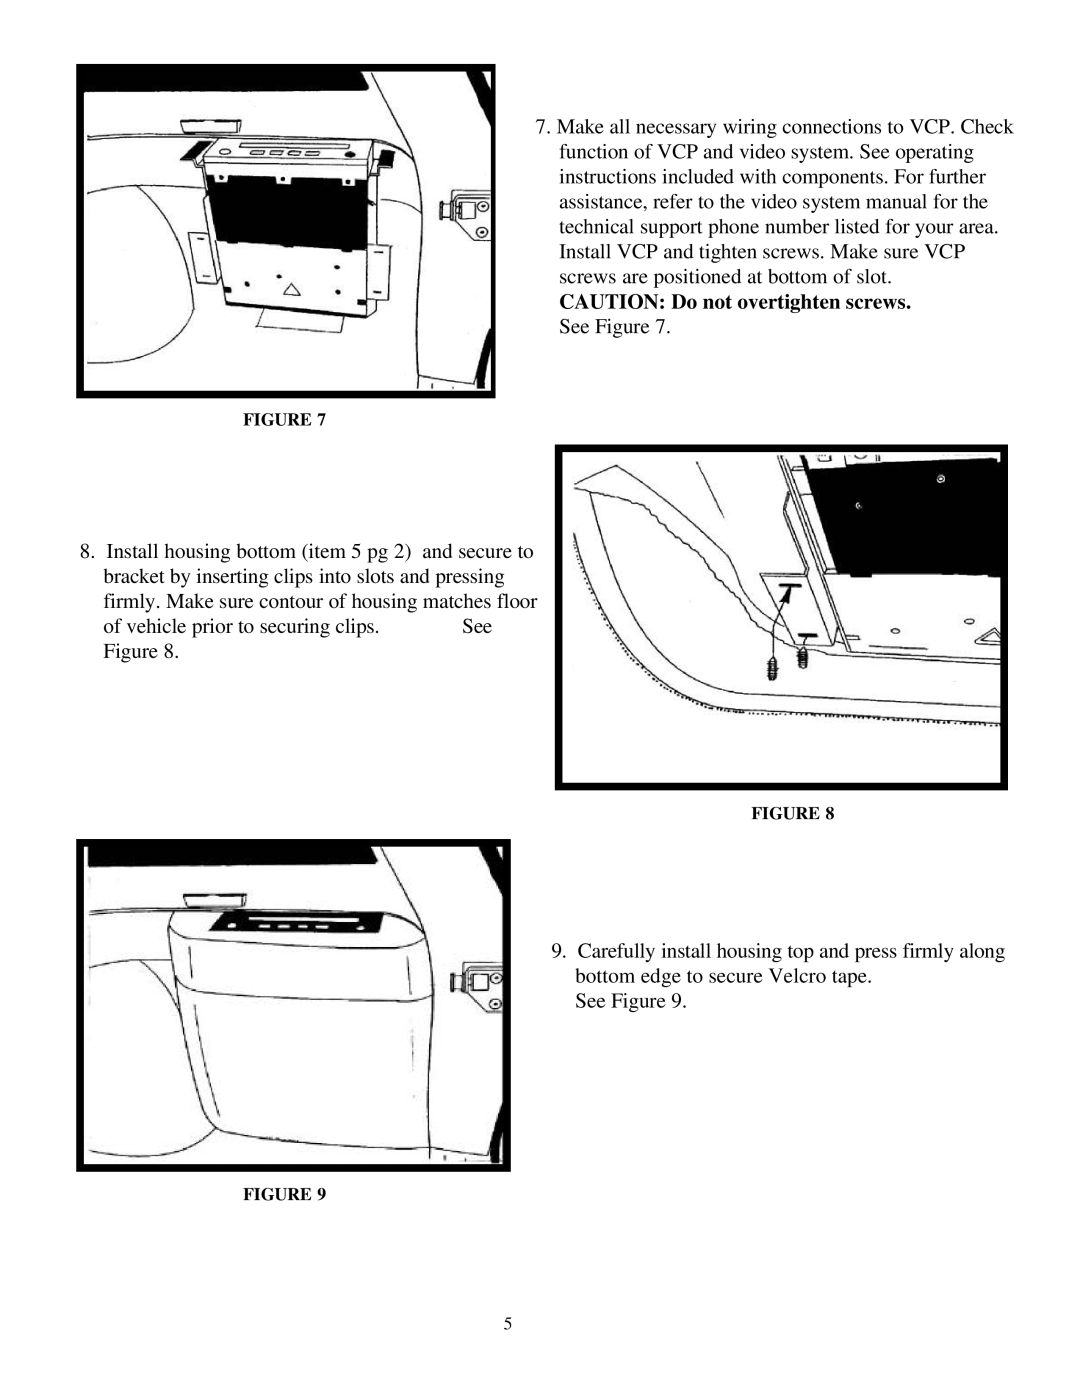
7.Make all necessary wiring connections to VCP. Check function of VCP and video system. See operating instructions included with components. For further assistance, refer to the video system manual for the technical support phone number listed for your area. Install VCP and tighten screws. Make sure VCP screws are positioned at bottom of slot.
CAUTION: Do not overtighten screws. See Figure 7.
FIGURE 7
8.Install housing bottom (item 5 pg 2) and secure to bracket by inserting clips into slots and pressing
firmly. Make sure contour of housing matches floor
of vehicle prior to securing clips. See Figure 8.
FIGURE 8
9. Carefully install housing top and press firmly along bottom edge to secure Velcro tape.
See Figure 9.
FIGURE 9
5