INSTALLATION
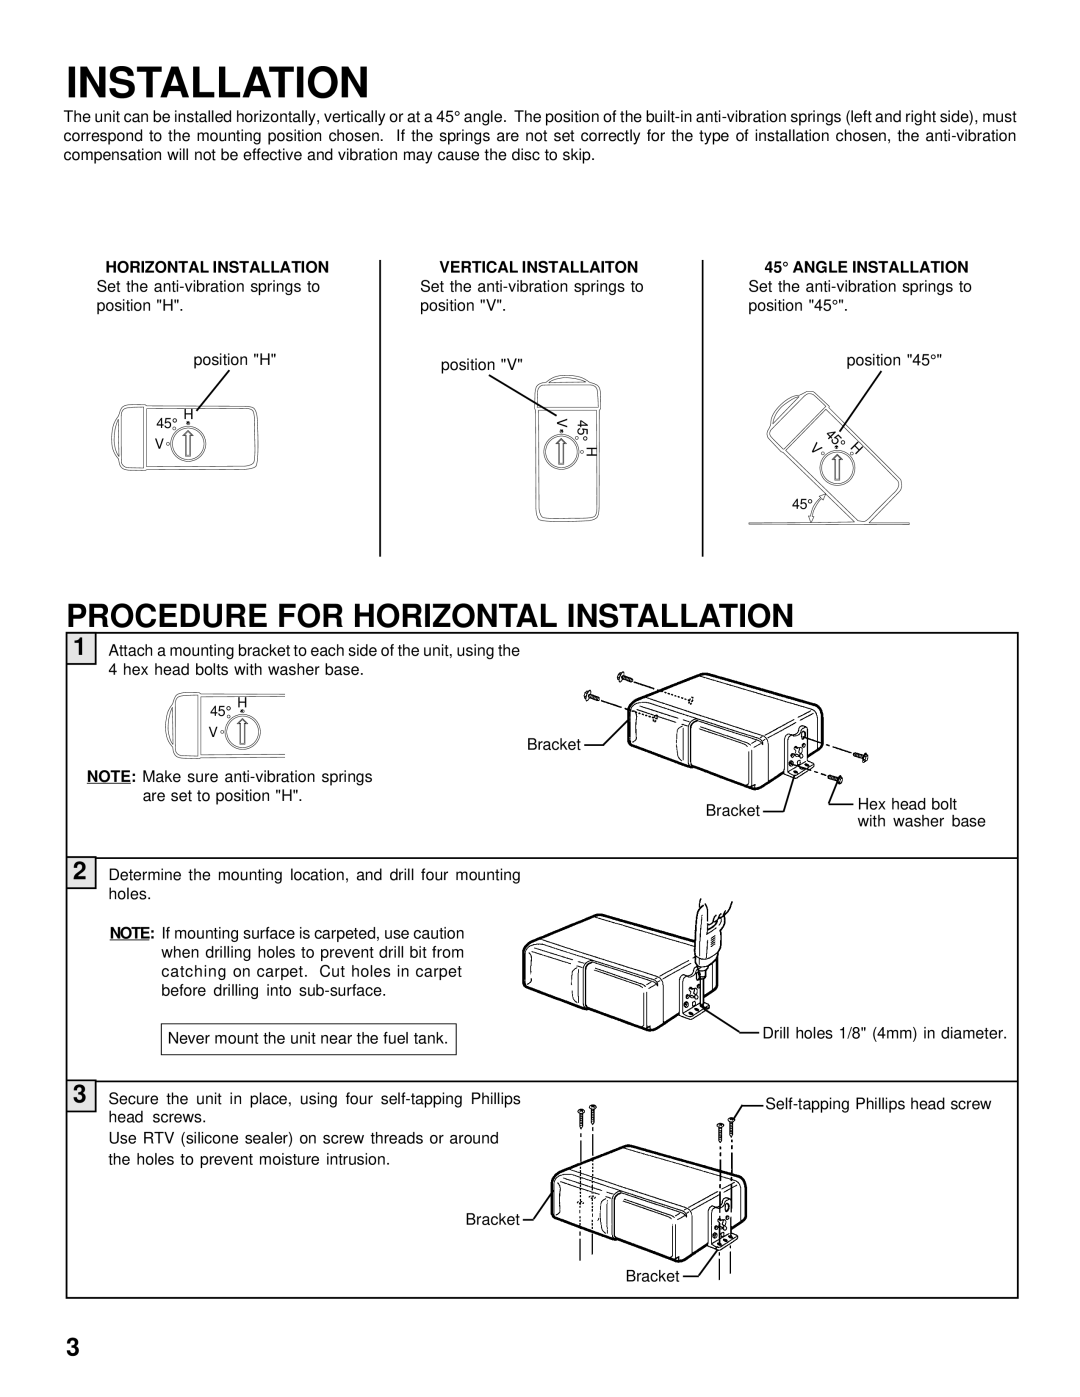
The unit can be installed horizontally, vertically or at a 45° angle. The position of the
HORIZONTAL INSTALLATION
Set the
position "H"
45° H |
V ![]()
VERTICAL INSTALLAITON
Set the
position "V"
V | 45° |
![]() H
H
45° ANGLE INSTALLATION
Set the
position "45°"
V | 45° | H |
|
45°
PROCEDURE FOR HORIZONTAL INSTALLATION
1 Attach a mounting bracket to each side of the unit, using the 4 hex head bolts with washer base.
45° H
V ![]()
Bracket
NOTE: Make sure
2 Determine the mounting location, and drill four mounting holes.
NOTE: If mounting surface is carpeted, use caution when drilling holes to prevent drill bit from catching on carpet. Cut holes in carpet before drilling into
Never mount the unit near the fuel tank.
3 Secure the unit in place, using four
Use RTV (silicone sealer) on screw threads or around the holes to prevent moisture intrusion.
Bracket![]()
Bracket | Hex head bolt | |
with washer base | ||
|
Drill holes 1/8" (4mm) in diameter.
![]() Self-tapping
Self-tapping
Bracket![]()
3