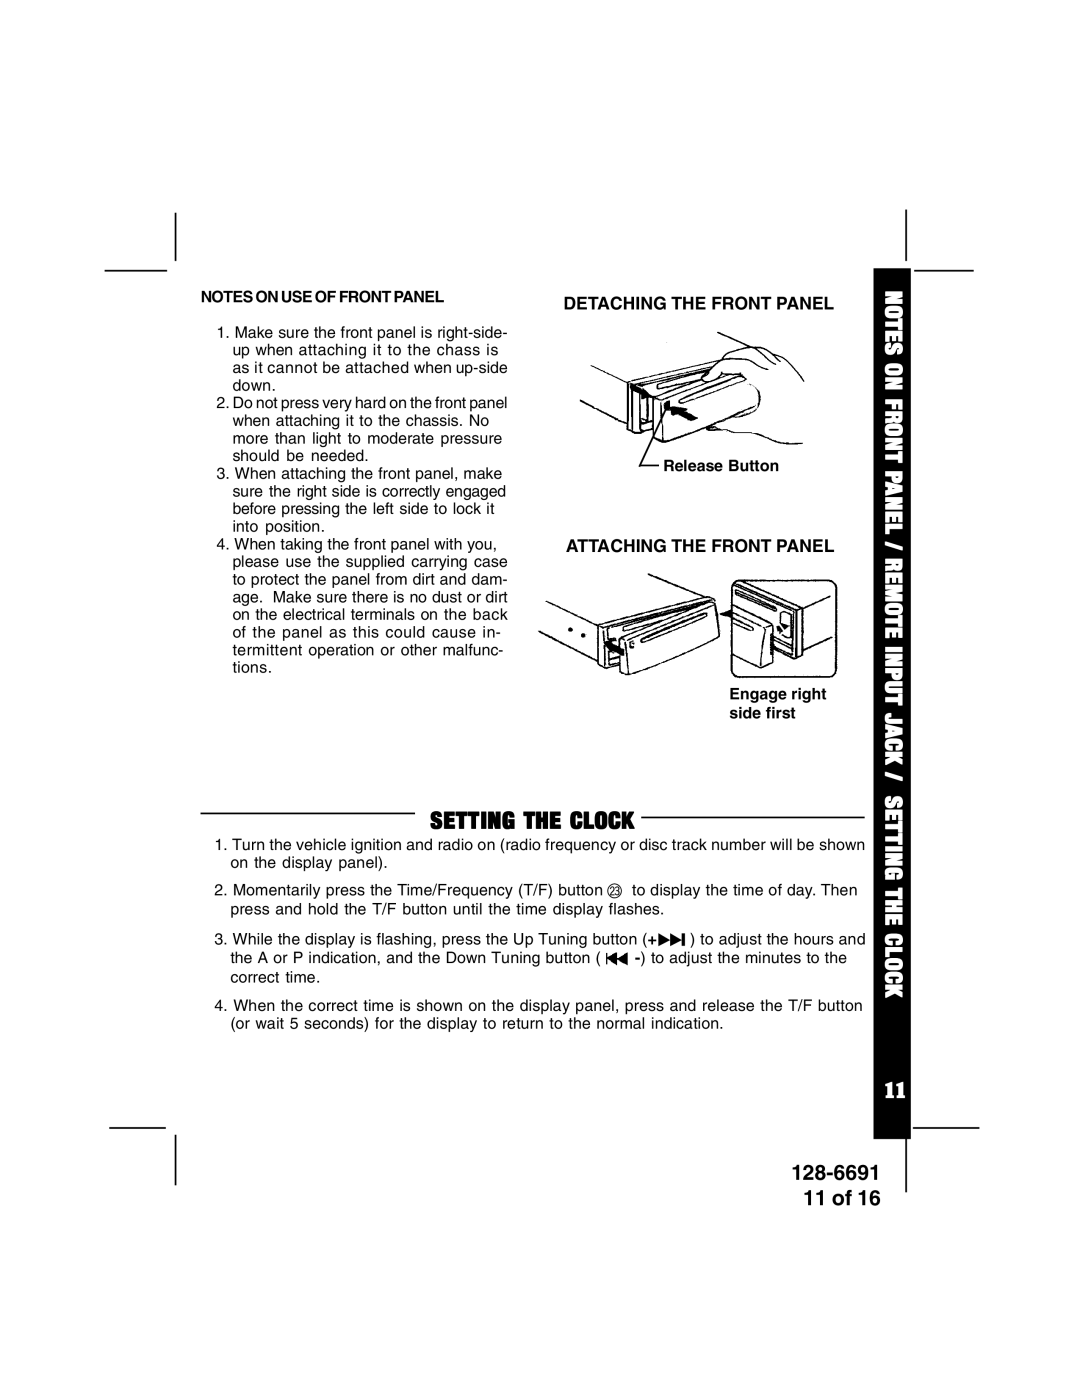
NOTES ON USE OF FRONT PANEL
1.Make sure the front panel is
2.Do not press very hard on the front panel when attaching it to the chassis. No more than light to moderate pressure should be needed.
3.When attaching the front panel, make sure the right side is correctly engaged before pressing the left side to lock it into position.
4.When taking the front panel with you, please use the supplied carrying case to protect the panel from dirt and dam- age. Make sure there is no dust or dirt on the electrical terminals on the back of the panel as this could cause in- termittent operation or other malfunc- tions.
DETACHING THE FRONT PANEL
Release Button
ATTACHING THE FRONT PANEL
Engage right side first
NOTES ON FRONT PANEL / REMOTE INPUT JACK /
SETTING THE CLOCK
1.Turn the vehicle ignition and radio on (radio frequency or disc track number will be shown on the display panel).
2.Momentarily press the Time/Frequency (T/F) button co to display the time of day. Then press and hold the T/F button until the time display flashes.
3.While the display is flashing, press the Up Tuning button (+![]()
![]() ) to adjust the hours and the A or P indication, and the Down Tuning button (
) to adjust the hours and the A or P indication, and the Down Tuning button ( ![]()
4.When the correct time is shown on the display panel, press and release the T/F button (or wait 5 seconds) for the display to return to the normal indication.
SETTING THE CLOCK
11
11 of 16