GX2400 English I/B ver.
9VDC Adapter Jack ![]()
![]() AC Outlet
AC Outlet
Plug
9VDC Adapter
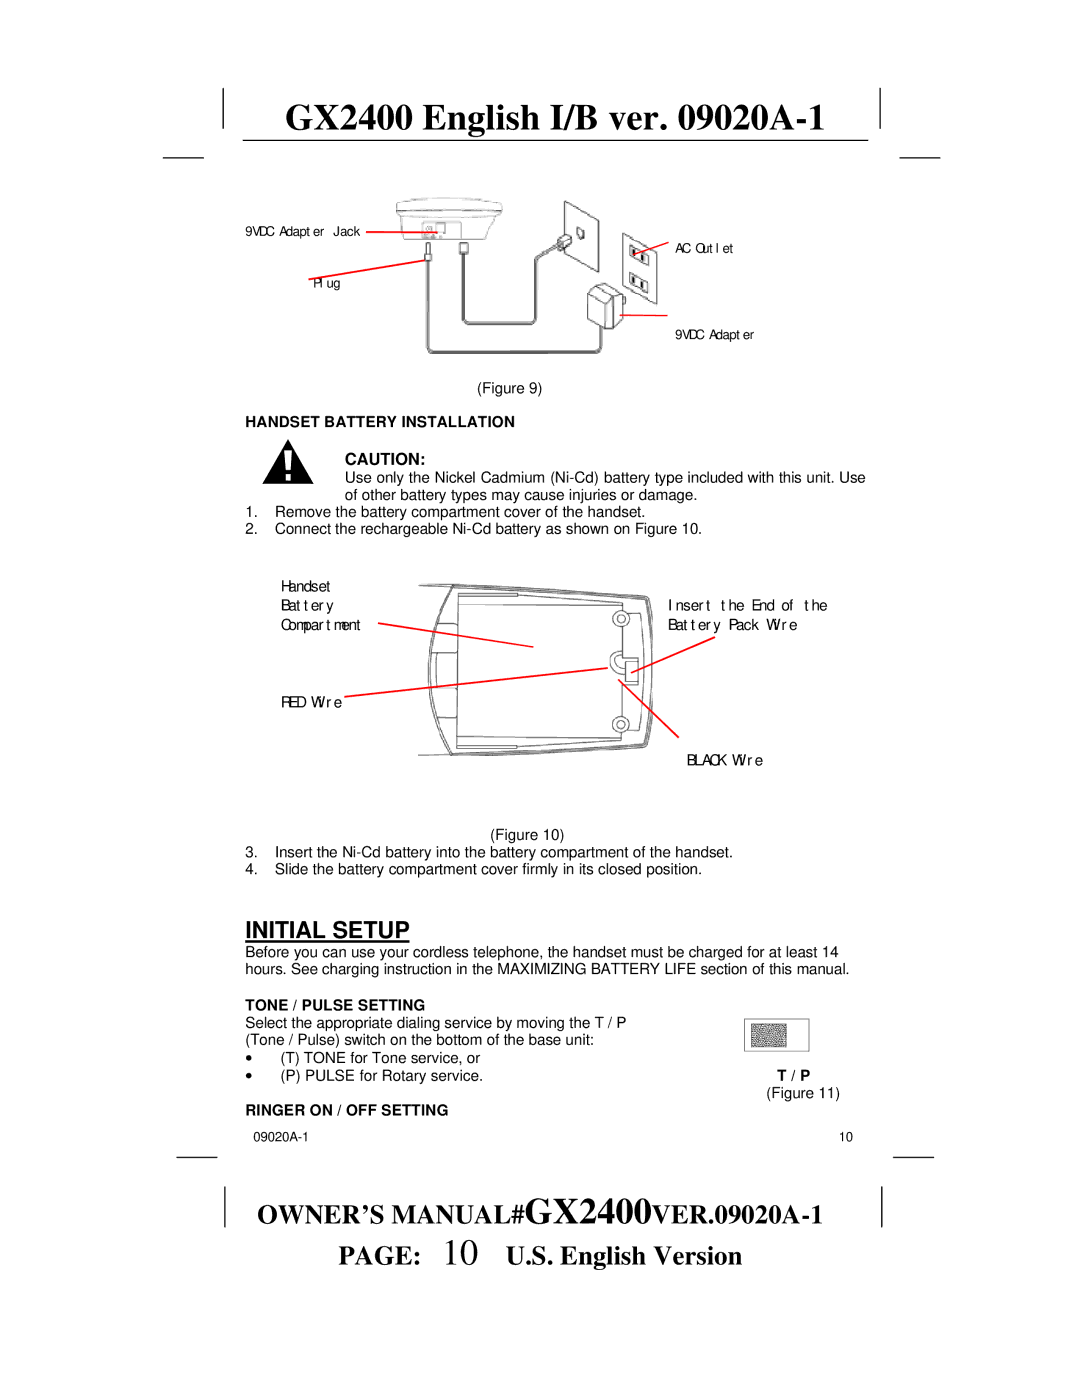
(Figure 9)
HANDSET BATTERY INSTALLATION
CAUTION:
Use only the Nickel Cadmium
1.Remove the battery compartment cover of the handset.
2.Connect the rechargeable
Handset |
|
Battery | Insert the End of the |
Compartment | Battery Pack Wire |
RED Wire
BLACK Wire
(Figure 10)
3.Insert the
4.Slide the battery compartment cover firmly in its closed position.
INITIAL SETUP
Before you can use your cordless telephone, the handset must be charged for at least 14 hours. See charging instruction in the MAXIMIZING BATTERY LIFE section of this manual.
TONE / PULSE SETTING |
|
|
|
|
| |
Select the appropriate dialing service by moving the T / P |
|
|
|
|
|
|
(Tone / Pulse) switch on the bottom of the base unit: |
|
|
|
|
|
|
∙ (T) TONE for Tone service, or |
|
|
|
|
|
|
|
|
| T / P | |||
∙ (P) PULSE for Rotary service. |
|
| ||||
RINGER ON / OFF SETTING |
| (Figure 11) | ||||
|
|
|
|
| ||
10 | ||||||
OWNER’S
PAGE: 10 U.S. English Version
