e.EQ Adjustment: You can adjust the EQ control to Auto mode by rotating the EQ control Anticlockwise. The “EQ” and “AUTO” LEDSs will display blue.
After connecting the extender system, if you see dynamic dots on unclear image on the DVI, you need to adjust the signal from Transmitter.
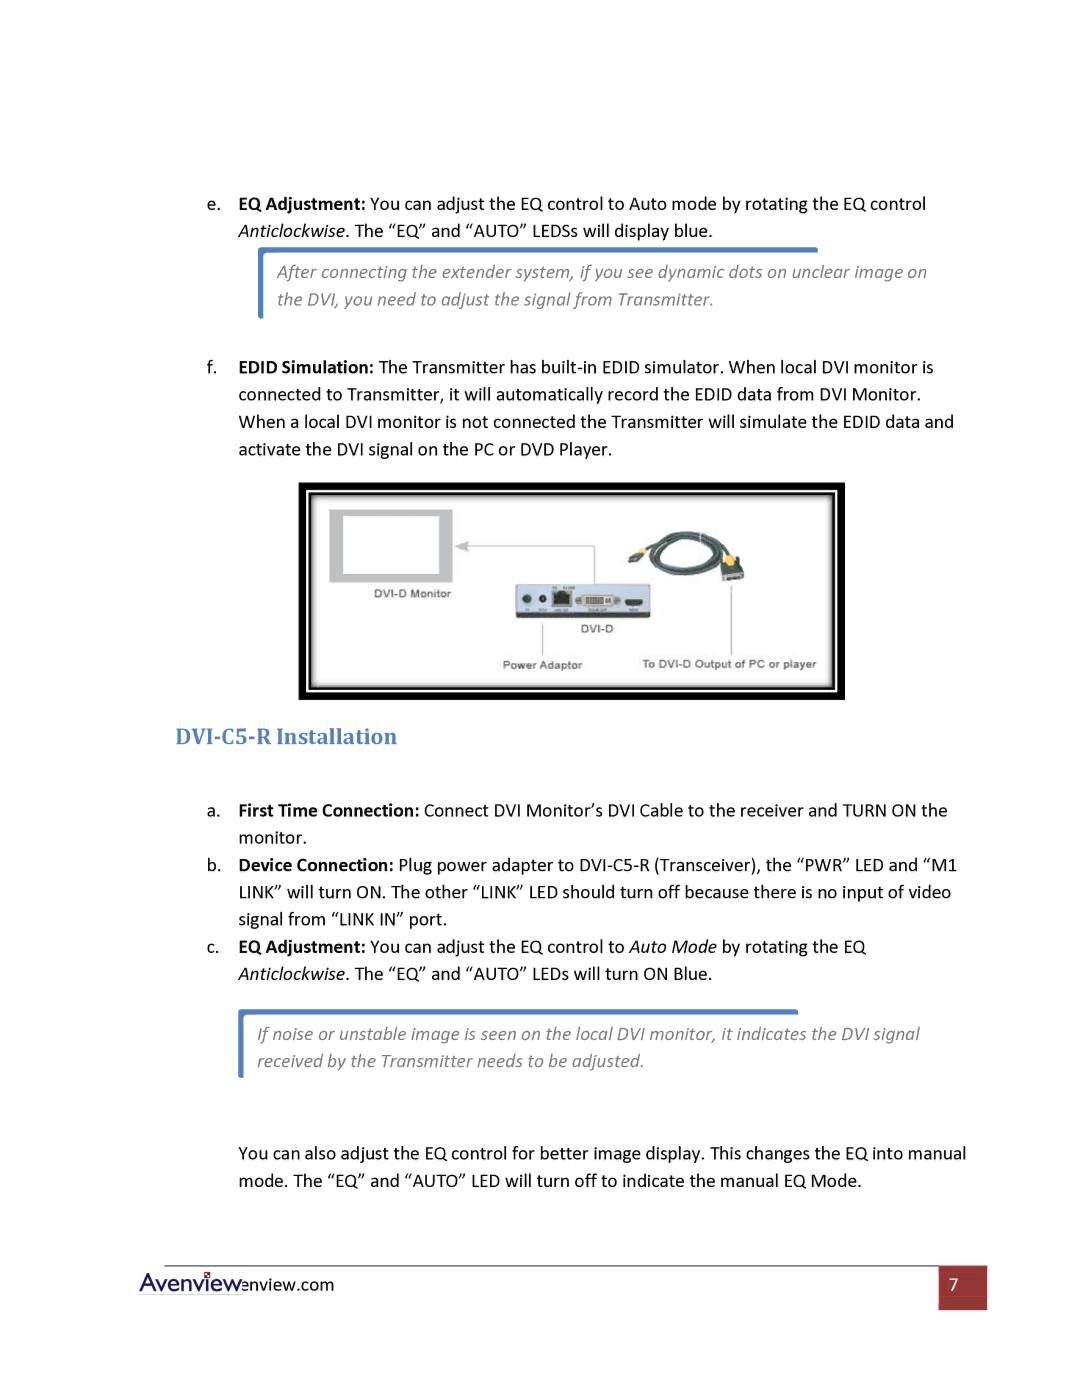
f.EDID Simulation: The Transmitter has
DVI-C5-R Installation
a.First Time Connection: Connect DVI Monitor’s DVI Cable to the receiver and TURN ON the monitor.
b.Device Connection: Plug power adapter to
c.EQ Adjustment: You can adjust the EQ control to Auto Mode by rotating the EQ Anticlockwise. The “EQ” and “AUTO” LEDs will turn ON Blue.
If noise or unstable image is seen on the local DVI monitor, it indicates the DVI signal received by the Transmitter needs to be adjusted.
You can also adjust the EQ control for better image display. This changes the EQ into manual mode. The “EQ” and “AUTO” LED will turn off to indicate the manual EQ Mode.
www.avenview.com | 7 |
|
|