3.3 Computer Control Connection
NOTE: Set the
Phoenix Contact terminal block plug
Figure 3.3 EIA-485 Connector
3.4 Daisy Chaining Audio and Computer Signal Between Modules
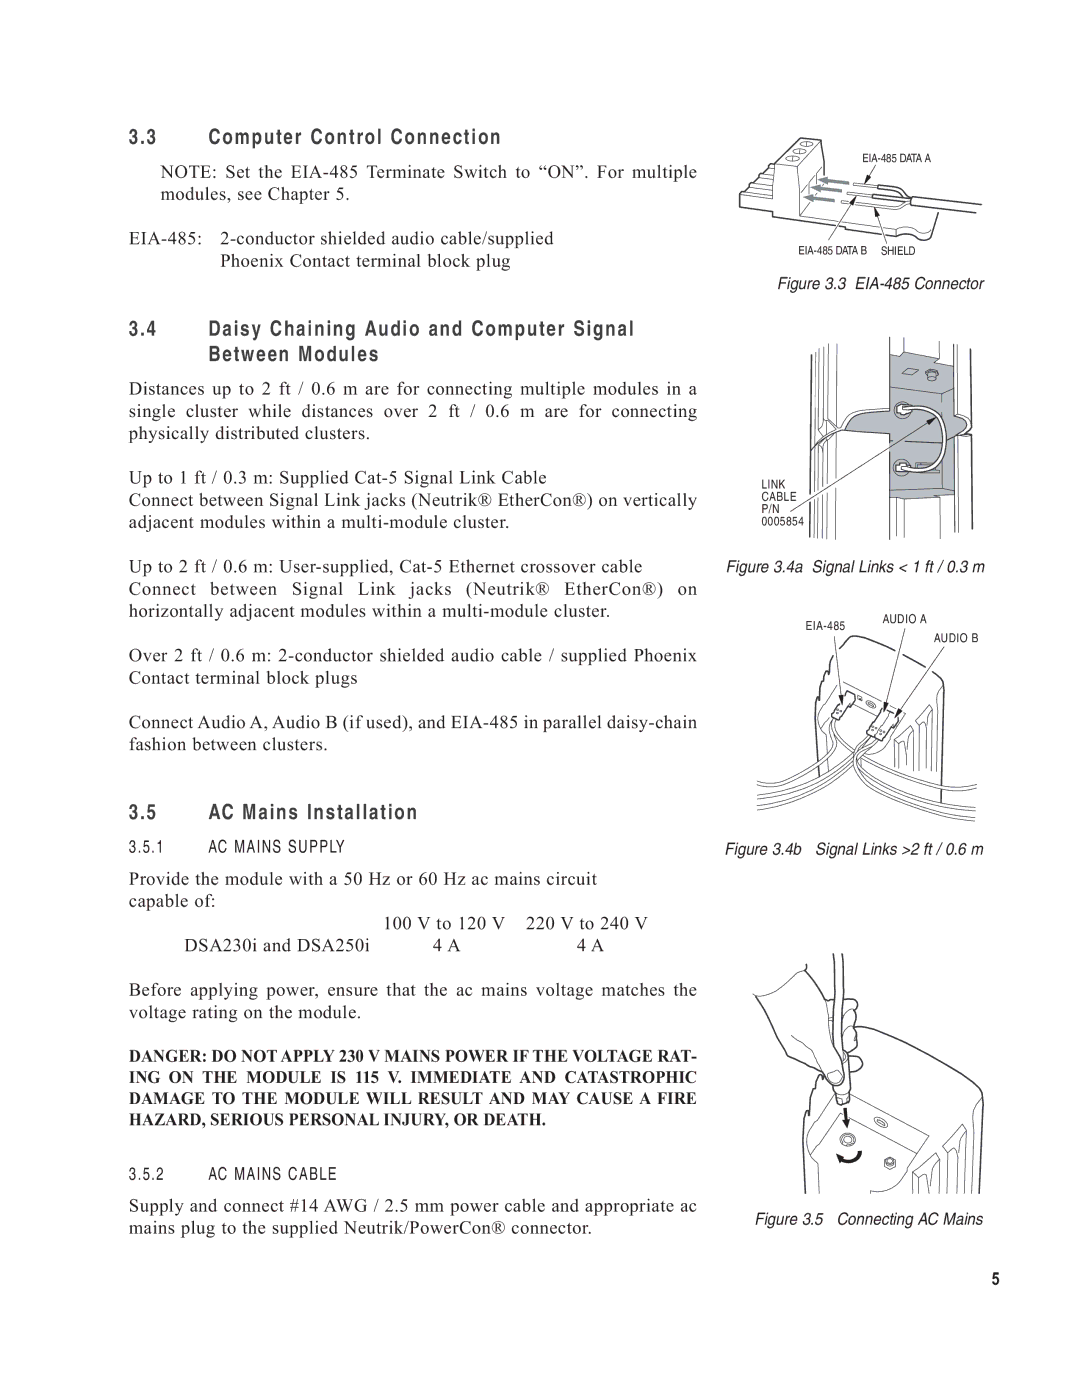
Distances up to 2 ft / 0.6 m are for connecting multiple modules in a single cluster while distances over 2 ft / 0.6 m are for connecting physically distributed clusters.
Up to 1 ft / 0.3 m: Supplied
Connect between Signal Link jacks (Neutrik® EtherCon®) on vertically adjacent modules within a
Up to 2 ft / 0.6 m:
LINK
CABLE P/N 0005854
Figure 3.4a Signal Links < 1 ft / 0.3 m
Over 2 ft / 0.6 m:
Connect Audio A, Audio B (if used), and
3.5 AC Mains Installation
AUDIO A
AUDIO B
3.5.1 AC MAINS SUPPLY
Provide the module with a 50 Hz or 60 Hz ac mains circuit capable of:
| 100 V to 120 V | 220 V to 240 V |
DSA230i and DSA250i | 4 A | 4 A |
Figure 3.4b Signal Links >2 ft / 0.6 m
Before applying power, ensure that the ac mains voltage matches the voltage rating on the module.
DANGER: DO NOT APPLY 230 V MAINS POWER IF THE VOLTAGE RAT-
ING ON THE MODULE IS 115 V. IMMEDIATE AND CATASTROPHIC
DAMAGE TO THE MODULE WILL RESULT AND MAY CAUSE A FIRE
HAZARD, SERIOUS PERSONAL INJURY, OR DEATH.
3.5.2 AC MAINS CABLE
Supply and connect #14 AWG / 2.5 mm power cable and appropriate ac
mains plug to the supplied Neutrik/PowerCon® connector. | Figure 3.5 Connecting AC Mains |
|
5