V-AMPIRE LX110
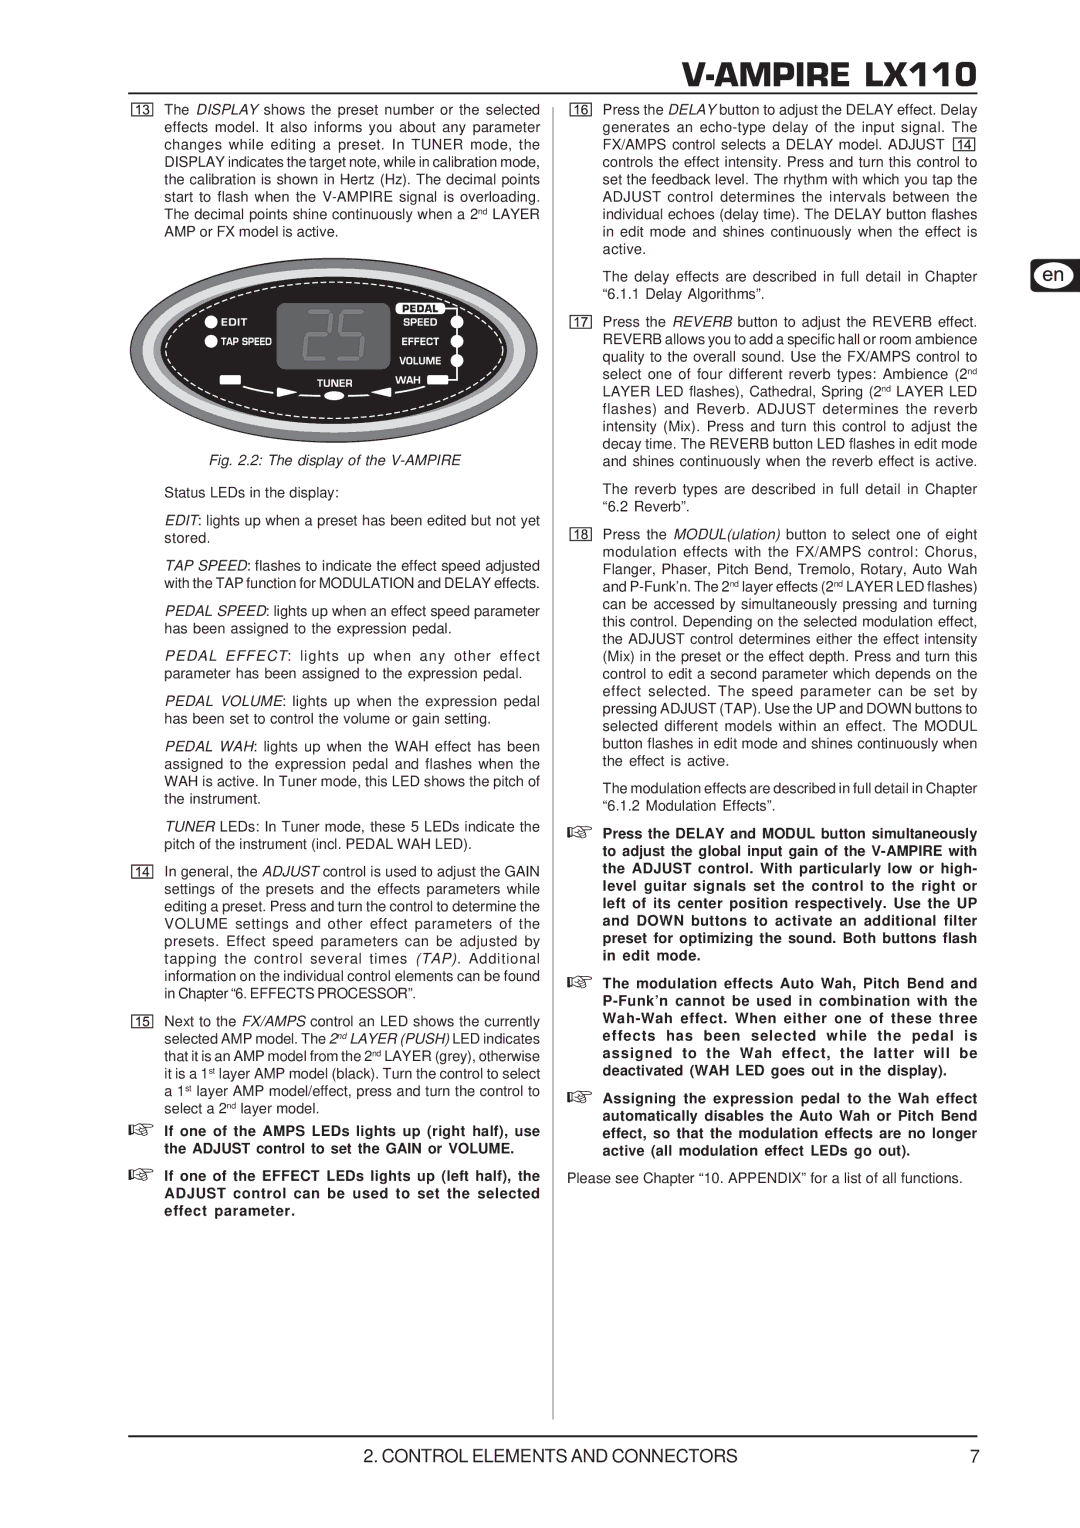
The DISPLAY shows the preset number or the selected effects model. It also informs you about any parameter changes while editing a preset. In TUNER mode, the DISPLAY indicates the target note, while in calibration mode, the calibration is shown in Hertz (Hz). The decimal points start to flash when the
Fig. 2.2: The display of the V-AMPIRE
Status LEDs in the display:
EDIT: lights up when a preset has been edited but not yet stored.
TAP SPEED: flashes to indicate the effect speed adjusted with the TAP function for MODULATION and DELAY effects.
PEDAL SPEED: lights up when an effect speed parameter has been assigned to the expression pedal.
PEDAL EFFECT: lights up when any other effect parameter has been assigned to the expression pedal.
PEDAL VOLUME: lights up when the expression pedal has been set to control the volume or gain setting.
PEDAL WAH: lights up when the WAH effect has been assigned to the expression pedal and flashes when the WAH is active. In Tuner mode, this LED shows the pitch of the instrument.
TUNER LEDs: In Tuner mode, these 5 LEDs indicate the pitch of the instrument (incl. PEDAL WAH LED).
In general, the ADJUST control is used to adjust the GAIN settings of the presets and the effects parameters while editing a preset. Press and turn the control to determine the VOLUME settings and other effect parameters of the presets. Effect speed parameters can be adjusted by tapping the control several times (TAP). Additional information on the individual control elements can be found in Chapter “6. EFFECTS PROCESSOR”.
Next to the FX/AMPS control an LED shows the currently selected AMP model. The 2nd LAYER (PUSH) LED indicates that it is an AMP model from the 2nd LAYER (grey), otherwise it is a 1st layer AMP model (black). Turn the control to select a 1st layer AMP model/effect, press and turn the control to select a 2nd layer model.
If one of the AMPS LEDs lights up (right half), use the ADJUST control to set the GAIN or VOLUME.
If one of the EFFECT LEDs lights up (left half), the ADJUST control can be used to set the selected effect parameter.
Press the DELAY button to adjust the DELAY effect. Delay generates an ![]()
![]()
![]()
![]() controls the effect intensity. Press and turn this control to set the feedback level. The rhythm with which you tap the ADJUST control determines the intervals between the individual echoes (delay time). The DELAY button flashes in edit mode and shines continuously when the effect is active.
controls the effect intensity. Press and turn this control to set the feedback level. The rhythm with which you tap the ADJUST control determines the intervals between the individual echoes (delay time). The DELAY button flashes in edit mode and shines continuously when the effect is active.
The delay effects are described in full detail in Chapter “6.1.1 Delay Algorithms”.
Press the REVERB button to adjust the REVERB effect. REVERB allows you to add a specific hall or room ambience quality to the overall sound. Use the FX/AMPS control to select one of four different reverb types: Ambience (2nd LAYER LED flashes), Cathedral, Spring (2nd LAYER LED flashes) and Reverb. ADJUST determines the reverb intensity (Mix). Press and turn this control to adjust the decay time. The REVERB button LED flashes in edit mode and shines continuously when the reverb effect is active.
The reverb types are described in full detail in Chapter “6.2 Reverb”.
Press the MODUL(ulation) button to select one of eight modulation effects with the FX/AMPS control: Chorus, Flanger, Phaser, Pitch Bend, Tremolo, Rotary, Auto Wah and
The modulation effects are described in full detail in Chapter “6.1.2 Modulation Effects”.
Press the DELAY and MODUL button simultaneously to adjust the global input gain of the
The modulation effects Auto Wah, Pitch Bend and
Assigning the expression pedal to the Wah effect automatically disables the Auto Wah or Pitch Bend effect, so that the modulation effects are no longer active (all modulation effect LEDs go out).
Please see Chapter “10. APPENDIX” for a list of all functions.
2. CONTROL ELEMENTS AND CONNECTORS | 7 |