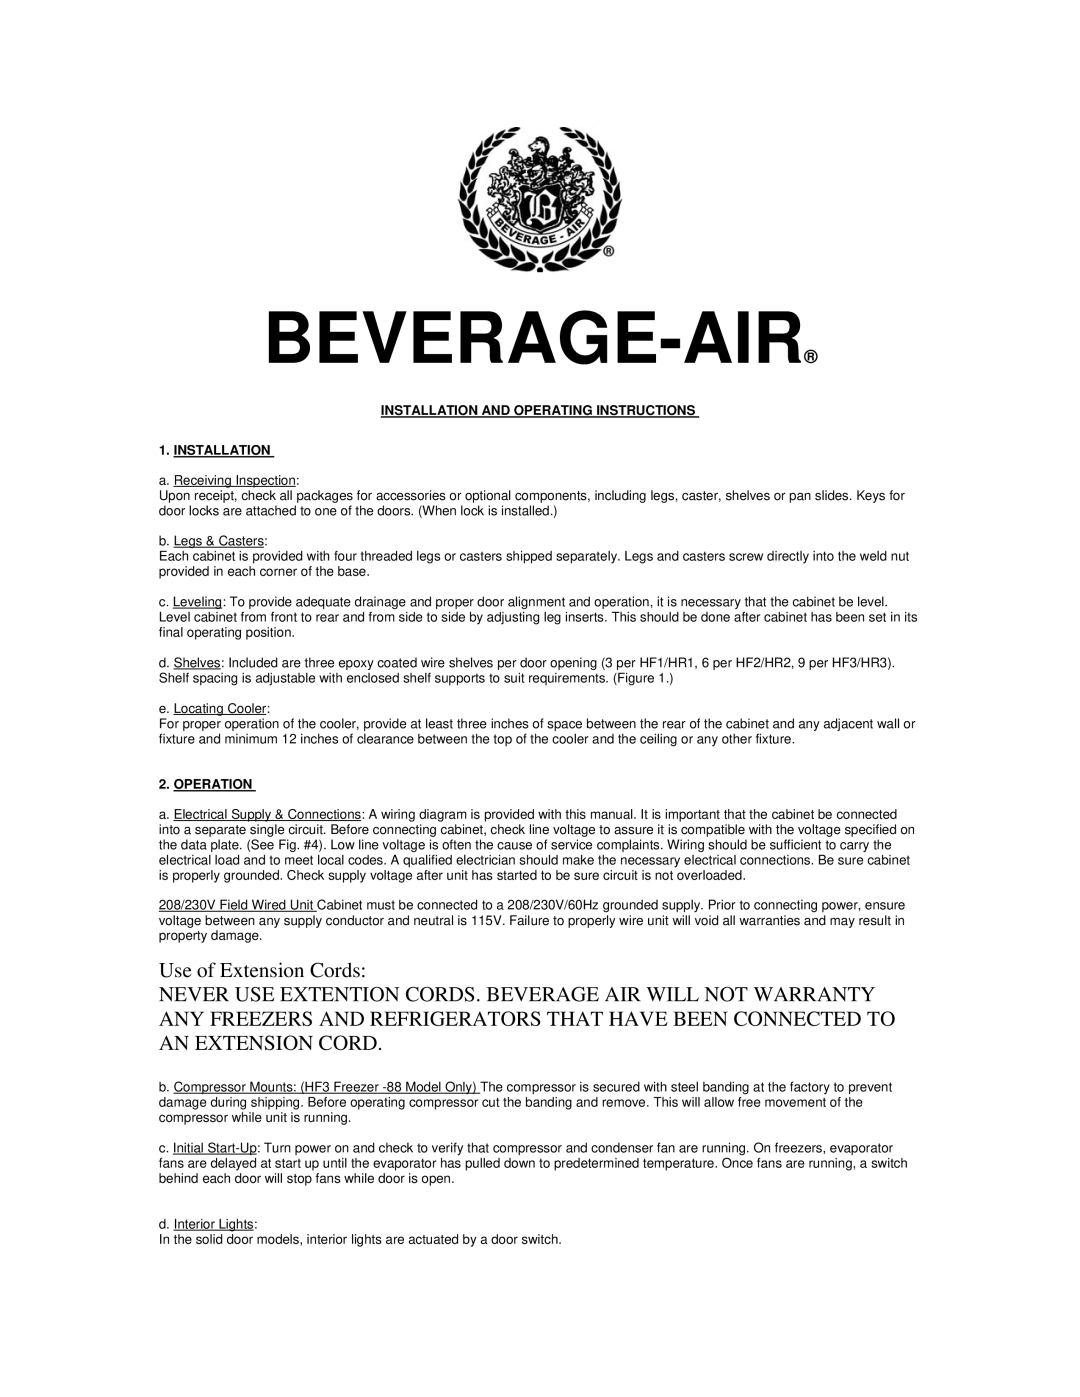
Refrigerator specifications
Beverage-Air is a well-regarded name in the refrigeration industry, known for providing reliable solutions tailored for commercial use. Their refrigerators are specifically designed to meet the rigorous needs of food service establishments, convenience stores, and retail environments. One of the standout features of Beverage-Air refrigerators is their energy efficiency. Many models are ENERGY STAR certified, which means they use less energy while still delivering top-notch refrigeration performance. This not only helps businesses reduce their carbon footprint but also results in substantial savings on energy bills.In terms of capacity, Beverage-Air offers a diverse range of units, from compact countertop models to spacious upright refrigerators. This versatility allows businesses to select the right size for their specific requirements, ensuring optimal organization and easy access to beverages and perishables. Additionally, the adjustable shelving in these refrigerators enhances storage flexibility, accommodating various sizes and types of products.
Beverage-Air refrigerators are built with user-friendly controls that allow for easy temperature management. Many models include digital temperature displays and intuitive interfaces, simplifying the process of monitoring and adjusting settings. This feature is crucial for maintaining food safety standards, as it ensures consistent temperatures that prevent spoilage.
Durability is another key characteristic of Beverage-Air refrigerators. Constructed with high-quality materials, such as stainless steel exteriors and heavy-duty interiors, these units are designed to withstand the rigors of daily commercial use. The design not only provides a professional appearance but also facilitates thorough cleaning, promoting better hygiene practices in food service environments.
Technologically, Beverage-Air incorporates advanced cooling systems that ensure rapid temperature recovery, making their refrigerators efficient during peak usage times. Many models feature environmentally friendly refrigerants, aligning with modern sustainability initiatives. Moreover, options like glass door configurations enhance visibility, allowing customers to easily view product selections, further promoting sales.
In summary, Beverage-Air refrigerators offer a robust combination of energy efficiency, flexibility, durability, and advanced technology. Their dedication to quality and innovation positions them as a leader in the commercial refrigeration market, providing businesses with reliable solutions that enhance operational efficiency and customer satisfaction. Whether for beverages, dairy, or other perishables, Beverage-Air continues to be a trusted choice for establishments looking to optimize their refrigeration needs.

