9400, 9300, 8920 specifications
The Bissell 9200 and 9400 series are prominent models in the realm of carpet cleaning and home maintenance, designed to ease the burden of keeping your living space clean and fresh. These machines exemplify an innovative combination of advanced technology, essential features, and user-oriented characteristics that cater to a variety of cleaning needs.The Bissell 9200, commonly known as the ProHeat 2X, boasts a robust design with unique characteristics aimed at deep cleaning carpets. One of its standout features is the built-in heater that helps maintain hot water temperatures during the cleaning process, enhancing the effectiveness of the cleaning solution. This ensures that dirt, stains, and allergens are effectively lifted from the fibers of your carpet, providing a deeper clean compared to standard methods.
Equipped with two large capacity water tanks, the Bissell 9200 facilitates longer cleaning sessions without the need for frequent refills. The separate tanks for clean and dirty water ensure that you are continually applying fresh cleaning solution while efficiently disposing of dirt. Additionally, the multi-surface cleaning capability allows for versatility, enabling users to clean carpets, upholstery, and stair surfaces with ease.
Transitioning to the Bissell 9400, or the ProHeat 2X Revolution, customers will find enhanced features and performance efficiency. It features a lightweight design, making it easier to maneuver around the house. The 9400 model also comes equipped with the "CleanShot" technology, which provides users the ability to pre-treat tough stains directly from the machine, delivering targeted cleaning power without additional mess.
One of the key highlights of the 9400 is its express clean mode that allows carpets to dry in approximately 30 minutes, a significant improvement over traditional steam cleaning methods. This quick-drying feature not only promotes convenience but also reduces the time required for carpets to be put back into use, making it ideal for busy households.
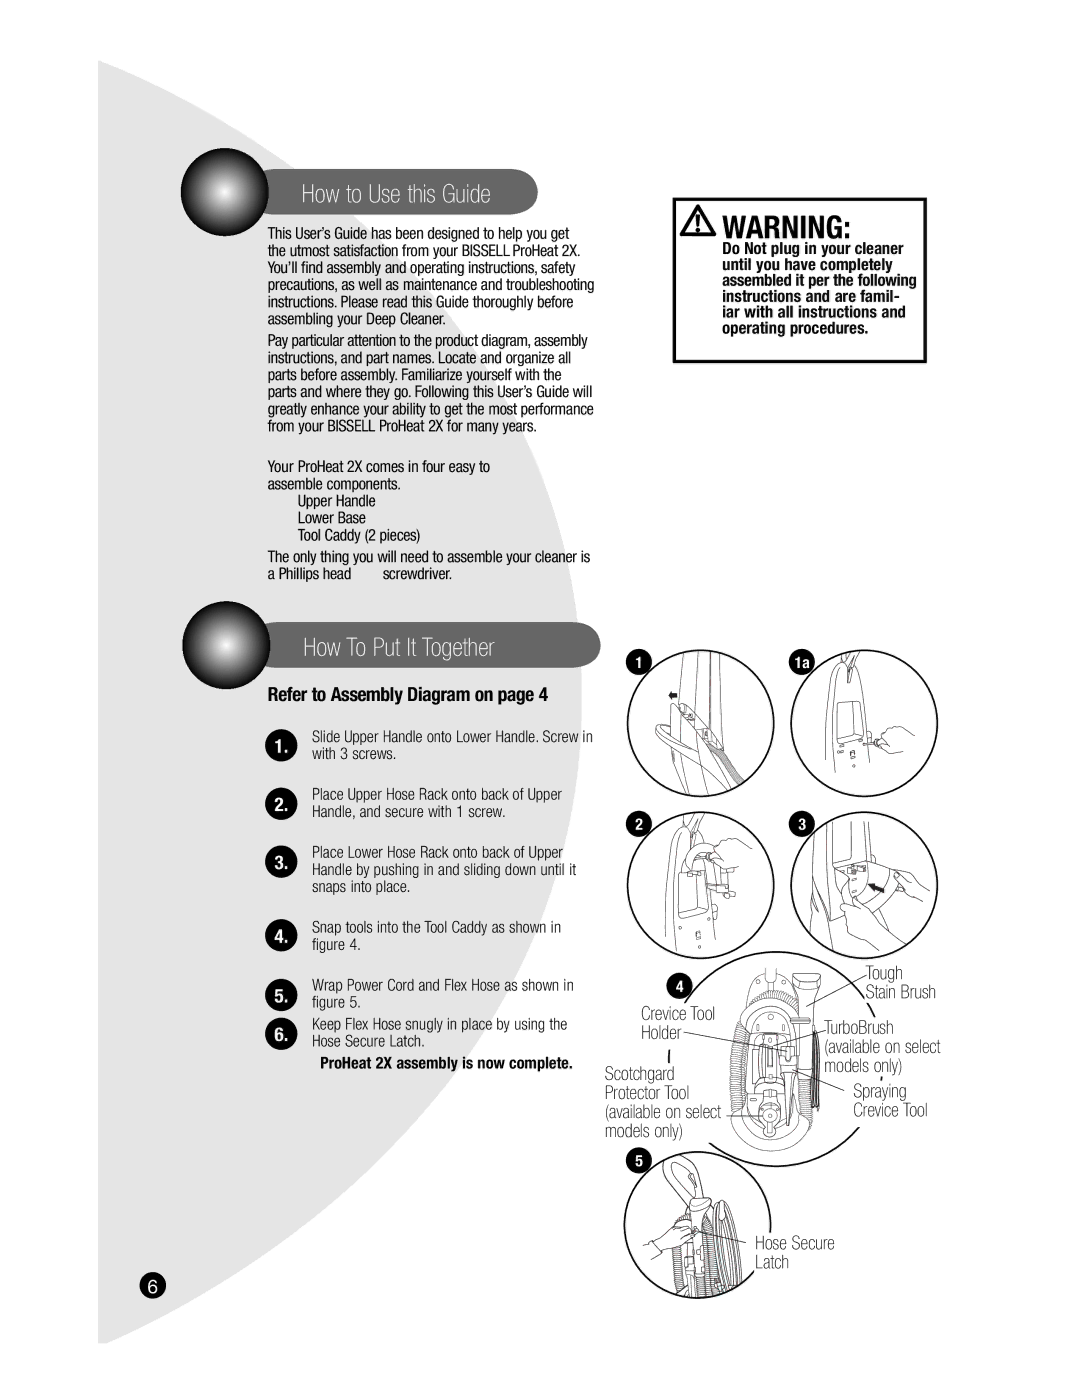
Both models feature a “Triple Action Brush Roll” that works during cleaning to loosen, lift, and remove embedded dirt in carpet fibers. Moreover, they come equipped with specialized attachments like the pet tool and upholstery tool, catering specifically to pet owners and those looking for additional cleaning versatility.
In summary, the Bissell 9200 and 9400 models are designed with practicality and efficiency in mind. They combine powerful cleaning capabilities, rapid drying features, and specialized tools to meet the diverse cleaning demands of any home, making them valuable additions to your cleaning arsenal.