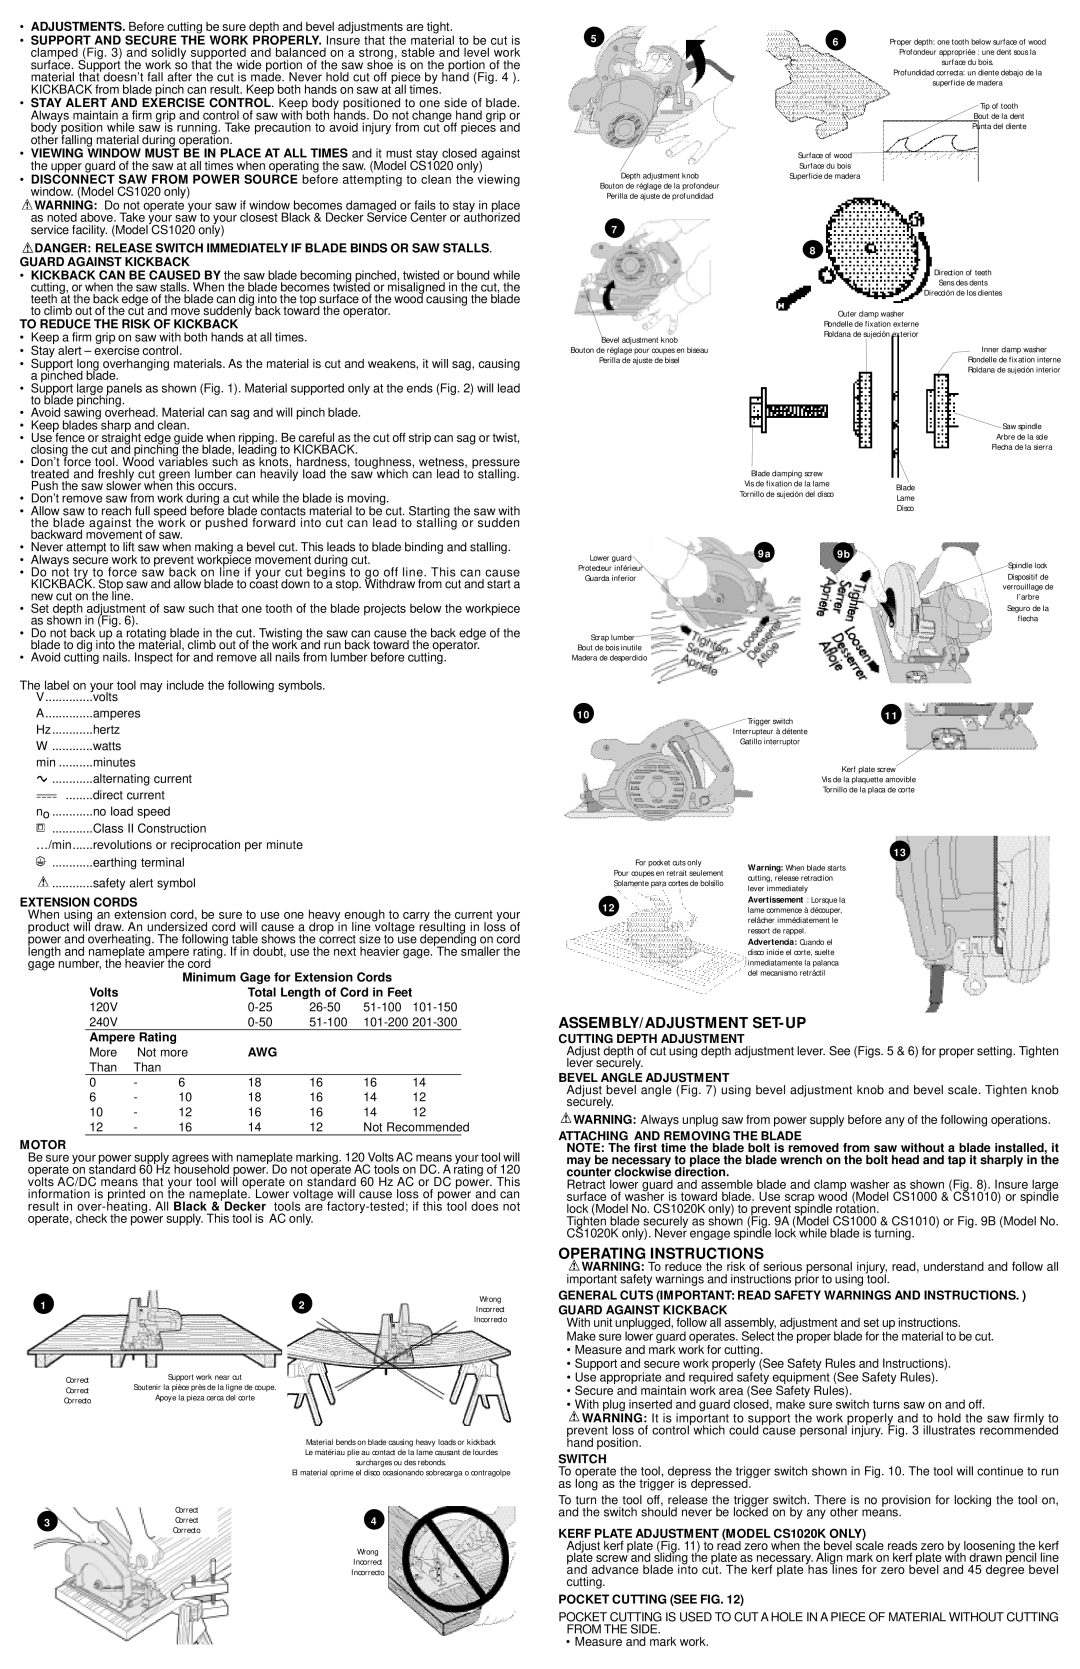
Black & Decker CS1020, CS1010 Assembly/Adjustment Set-Up, Operating Instructions, 9a9b

Models: CS1020

1 6
Download 6 pages 62.11 Kb
Page 2
Image 2
9a9b

ADJUSTMENTS. Before cutting be sure depth and bevel adjustments are tight.

SUPPORT AND SECURE THE WORK PROPERLY. Insure that the material to be cut is clamped (Fig. 3) and solidly supported and balanced on a strong, stable and level work surface. Support the work so that the wide portion of the saw shoe is on the portion of the material that doesn’t fall after the cut is made. Never hold cut off piece by hand (Fig. 4 ). KICKBACK from blade pinch can result. Keep both hands on saw at all times.

STAY ALERT AND EXERCISE CONTROL. Keep body positioned to one side of blade. Always maintain a firm grip and control of saw with both hands. Do not change hand grip or body position while saw is running. Take precaution to avoid injury from cut off pieces and other falling material during operation.

VIEWING WINDOW MUST BE IN PLACE AT ALL TIMES and it must stay closed against the upper guard of the saw at all times when operating the saw. (Model CS1020 only)

DISCONNECT SAW FROM POWER SOURCE before attempting to clean the viewing window. (Model CS1020 only)

ASSEMBLY/ADJUSTMENT SET-UP WARNING: Do not operate your saw if window becomes damaged or fails to stay in place as noted above. Take your saw to your closest Black & Decker Service Center or authorized

5

6

Proper depth: one tooth below surface of wood


Profondeur appropriée : une dent sous la


surface du bois.


Profundidad correcta: un diente debajo de la


superficie de madera


Tip of tooth


Bout de la dent


Punta del diente


Surface of wood


Depth adjustment knob

Surface du bois


Superficie de madera


Bouton de réglage de la profondeur


Perilla de ajuste de profundidad


service facility. (Model CS1020 only)

OPERATING INSTRUCTIONS DANGER: RELEASE SWITCH IMMEDIATELY IF BLADE BINDS OR SAW STALLS.

GUARD AGAINST KICKBACK

KICKBACK CAN BE CAUSED BY the saw blade becoming pinched, twisted or bound while cutting, or when the saw stalls. When the blade becomes twisted or misaligned in the cut, the teeth at the back edge of the blade can dig into the top surface of the wood causing the blade to climb out of the cut and move suddenly back toward the operator.

TO REDUCE THE RISK OF KICKBACK

• Keep a firm grip on saw with both hands at all times.

7

Bevel adjustment knob

8

Direction of teeth

Sens des dents

Dirección de los dientes

Outer clamp washer

Rondelle de fixation externe

Roldana de sujeción exterior

Stay alert – exercise control.

Support long overhanging materials. As the material is cut and weakens, it will sag, causing


a pinched blade.

Support large panels as shown (Fig. 1). Material supported only at the ends (Fig. 2) will lead


to blade pinching.

Avoid sawing overhead. Material can sag and will pinch blade.

• Keep blades sharp and clean.

Use fence or straight edge guide when ripping. Be careful as the cut off strip can sag or twist,


closing the cut and pinching the blade, leading to KICKBACK.

Don’t force tool. Wood variables such as knots, hardness, toughness, wetness, pressure


treated and freshly cut green lumber can heavily load the saw which can lead to stalling.


Push the saw slower when this occurs.

Don’t remove saw from work during a cut while the blade is moving.

Allow saw to reach full speed before blade contacts material to be cut. Starting the saw with


the blade against the work or pushed forward into cut can lead to stalling or sudden


backward movement of saw.

Bouton de réglage pour coupes en biseau

Perilla de ajuste de bisel

Blade clamping screw

Vis de fixation de la lame Tornillo de sujeción del disco

Inner clamp washer

Rondelle de fixation interne

Roldana de sujeción interior

Manual background Saw spindle

Arbre de la scie

Flecha de la sierra

Blade

Lame

Disco

Never attempt to lift saw when making a bevel cut. This leads to blade binding and stalling.

• Always secure work to prevent workpiece movement during cut.

• Do not try to force saw back on line if your cut begins to go off line. This can cause


KICKBACK. Stop saw and allow blade to coast down to a stop. Withdraw from cut and start a


new cut on the line.

Set depth adjustment of saw such that one tooth of the blade projects below the workpiece


as shown in (Fig. 6).

Do not back up a rotating blade in the cut. Twisting the saw can cause the back edge of the


blade to dig into the material, climb out of the work and run back toward the operator.

Avoid cutting nails. Inspect for and remove all nails from lumber before cutting.

The label on your tool may include the following symbols.

V..............volts

A

amperes

Hz

hertz

W

watts

min

minutes

............

alternating current

........

direct current

no

no load speed

............

Class II Construction

…/min

revolutions or reciprocation per minute

Lower guard

Protecteur inférieur

Guarda inferior

Scrap lumberManual background Bout de bois inutile

Madera de desperdicio

10

9a9b

Spindle lock Dispositif de verrouillage de l’arbre Seguro de la flecha

Trigger switch

11

Interrupteur à détente

Gatillo interruptor

Kerf plate screw

Vis de la plaquette amovible

Tornillo de la placa de corte

............earthing terminal

............safety alert symbol

EXTENSION CORDS

When using an extension cord, be sure to use one heavy enough to carry the current your product will draw. An undersized cord will cause a drop in line voltage resulting in loss of power and overheating. The following table shows the correct size to use depending on cord length and nameplate ampere rating. If in doubt, use the next heavier gage. The smaller the gage number, the heavier the cord

Minimum Gage for Extension Cords

Volts


Total Length of Cord in Feet


120V


0-25

26-50

51-100

101-150


240V


0-50

51-100

101-200

201-300


Ampere Rating


More

Not more

AWG


Than

Than


0

-

6

18

16

16

14


6

-

10

18

16

14

12


10

-

12

16

16

14

12


12

-

16

14

12

Not Recommended


MOTOR

Be sure your power supply agrees with nameplate marking. 120 Volts AC means your tool will operate on standard 60 Hz household power. Do not operate AC tools on DC. A rating of 120 volts AC/DC means that your tool will operate on standard 60 Hz AC or DC power. This information is printed on the nameplate. Lower voltage will cause loss of power and can result in over-heating. All Black & Decker tools are factory-tested; if this tool does not operate, check the power supply. This tool is AC only.

1

2

Wrong

Incorrect


Incorrecto

Correct

Support work near cut


Correct

Soutenir la pièce près de la ligne de coupe.


Correcto

Apoye la pieza cerca del corte


Material bends on blade causing heavy loads or kickback Le matériau plie au contact de la lame causant de lourdes surcharges ou des rebonds.

El material oprime el disco ocasionando sobrecarga o contragolpe

3

Correct

4

Correct


Correcto


Wrong

Incorrect

Incorrecto

13

For pocket cuts only

Warning: When blade starts

Pour coupes en retrait seulement

cutting, release retraction

Solamente para cortes de bolsillo

lever immediately


12

Avertissement : Lorsque la

lame commence à découper,


relâcher immédiatement le


ressort de rappel.


Advertencia: Cuando el


disco inicie el corte, suelte


inmediatamente la palanca


del mecanismo retráctil

ASSEMBLY/ADJUSTMENT SET-UP

CUTTING DEPTH ADJUSTMENT

Adjust depth of cut using depth adjustment lever. See (Figs. 5 & 6) for proper setting. Tighten lever securely.

BEVEL ANGLE ADJUSTMENT

Adjust bevel angle (Fig. 7) using bevel adjustment knob and bevel scale. Tighten knob securely.

Manual background WARNING: Always unplug saw from power supply before any of the following operations.

ATTACHING AND REMOVING THE BLADE

NOTE: The first time the blade bolt is removed from saw without a blade installed, it may be necessary to place the blade wrench on the bolt head and tap it sharply in the counter clockwise direction.

Retract lower guard and assemble blade and clamp washer as shown (Fig. 8). Insure large surface of washer is toward blade. Use scrap wood (Model CS1000 & CS1010) or spindle lock (Model No. CS1020K only) to prevent spindle rotation.

Tighten blade securely as shown (Fig. 9A (Model CS1000 & CS1010) or Fig. 9B (Model No. CS1020K only). Never engage spindle lock while blade is turning.

OPERATING INSTRUCTIONS

Manual background WARNING: To reduce the risk of serious personal injury, read, understand and follow all important safety warnings and instructions prior to using tool.

GENERAL CUTS (IMPORTANT: READ SAFETY WARNINGS AND INSTRUCTIONS. ) GUARD AGAINST KICKBACK

With unit unplugged, follow all assembly, adjustment and set up instructions. Make sure lower guard operates. Select the proper blade for the material to be cut.

Measure and mark work for cutting.

Support and secure work properly (See Safety Rules and Instructions).

Use appropriate and required safety equipment (See Safety Rules).

Secure and maintain work area (See Safety Rules).

With plug inserted and guard closed, make sure switch turns saw on and off.

Manual background WARNING: It is important to support the work properly and to hold the saw firmly to prevent loss of control which could cause personal injury. Fig. 3 illustrates recommended hand position.

SWITCH

To operate the tool, depress the trigger switch shown in Fig. 10. The tool will continue to run as long as the trigger is depressed.

To turn the tool off, release the trigger switch. There is no provision for locking the tool on, and the switch should never be locked on by any other means.

KERF PLATE ADJUSTMENT (MODEL CS1020K ONLY)

Adjust kerf plate (Fig. 11) to read zero when the bevel scale reads zero by loosening the kerf plate screw and sliding the plate as necessary. Align mark on kerf plate with drawn pencil line and advance blade into cut. The kerf plate has lines for zero bevel and 45 degree bevel cutting.

POCKET CUTTING (SEE FIG. 12)

POCKET CUTTING IS USED TO CUT A HOLE IN A PIECE OF MATERIAL WITHOUT CUTTING FROM THE SIDE.

• Measure and mark work.

Page 2
Image 2
Black & Decker CS1020, CS1010 instruction manual Assembly/Adjustment Set-Up, Operating Instructions, 9a9b