Additional Safety Instructions for Sanders
English | • ALWAYS WEAR EYE PROTECTION. | |
• Clean your tool out periodically. | ||
| ||
| CAUTION: Wear appropriate personal hearing protection during | |
| use. Under some conditions and duration of use, noise from this | |
| product may contribute to hearing loss. | |
| WARNING: Some dust created by power sanding, sawing, grinding, | |
| drilling, and other construction activities contains chemicals known to | |
| cause cancer, birth defects or other reproductive harm. Some | |
| examples of these chemicals are: |
•lead from
•crystalline silica from bricks and cement and other masonry products, and
•arsenic and chromium from
Your risk from these exposures varies, depending on how often you do this type of work. To reduce your exposure to these chemicals: work in a well ventilated area, and work with approved safety equipment, such as those dust masks that are specially designed to filter out microscopic particles.
•Avoid prolonged contact with dust from power sanding, sawing, grinding, drilling, and other construction activities. Wear protective clothing and wash exposed areas with soap and water. Allowing dust to get into your mouth, eyes, or lay on the skin may promote absorption of harmful chemicals.
SAVE THESE INSTRUCTIONS
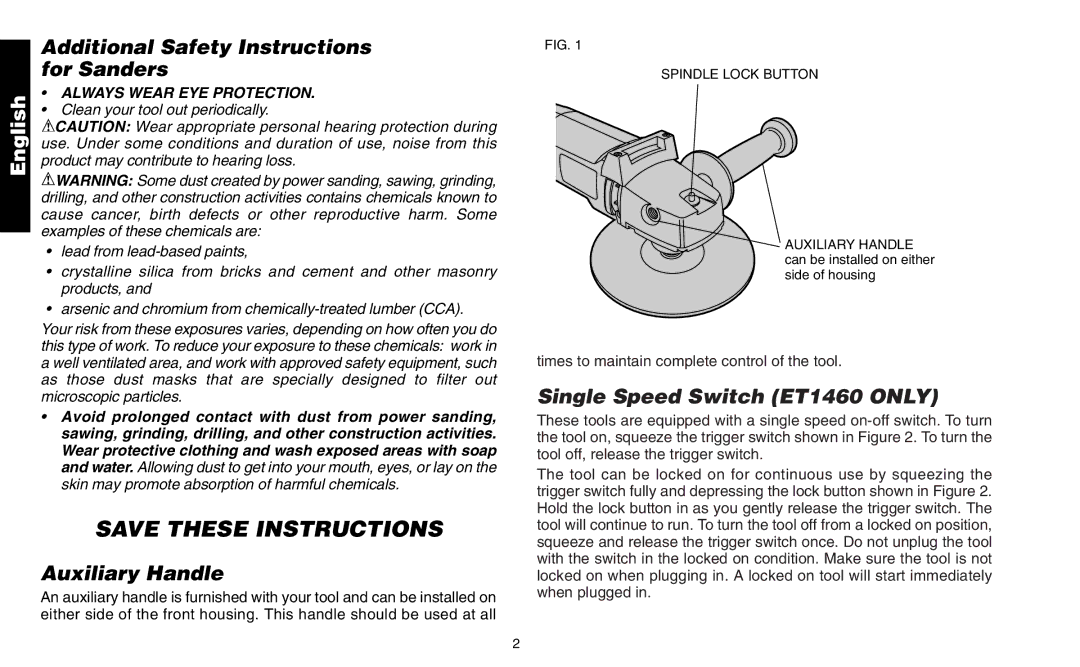
Auxiliary Handle
An auxiliary handle is furnished with your tool and can be installed on either side of the front housing. This handle should be used at all
FIG. 1
SPINDLE LOCK BUTTON
AUXILIARY HANDLE can be installed on either side of housing
times to maintain complete control of the tool.
Single Speed Switch (ET1460 ONLY)
These tools are equipped with a single speed
The tool can be locked on for continuous use by squeezing the trigger switch fully and depressing the lock button shown in Figure 2. Hold the lock button in as you gently release the trigger switch. The tool will continue to run. To turn the tool off from a locked on position, squeeze and release the trigger switch once. Do not unplug the tool with the switch in the locked on condition. Make sure the tool is not locked on when plugging in. A locked on tool will start immediately when plugged in.
2