90549168 SS12D, SS14, SS18 Smart Select 6/2/09 10:07 AM Page 9
KEYLESS CHUCK (FIGURE F) | F | |
To insert a drill bit or other accessory: | ||
| ||
1. Grasp the rear half of the chuck (4) with |
| |
one hand and use your other hand to |
| |
rotate the front half in the |
| |
counterclockwise direction, as viewed |
| |
from the chuck end. | 4 |
2.Insert the bit or other accessory fully into the chuck, and tighten securely by holding the rear half of the chuck and rotating the front portion in the clockwise direction as viewed from the chuck end.
![]() WARNING: Do not attempt to tighten drill bits (or any other accessory) by gripping the
WARNING: Do not attempt to tighten drill bits (or any other accessory) by gripping the
front part of the chuck and turning the tool on. Damage to the chuck and personal injury may occur when changing accessories.
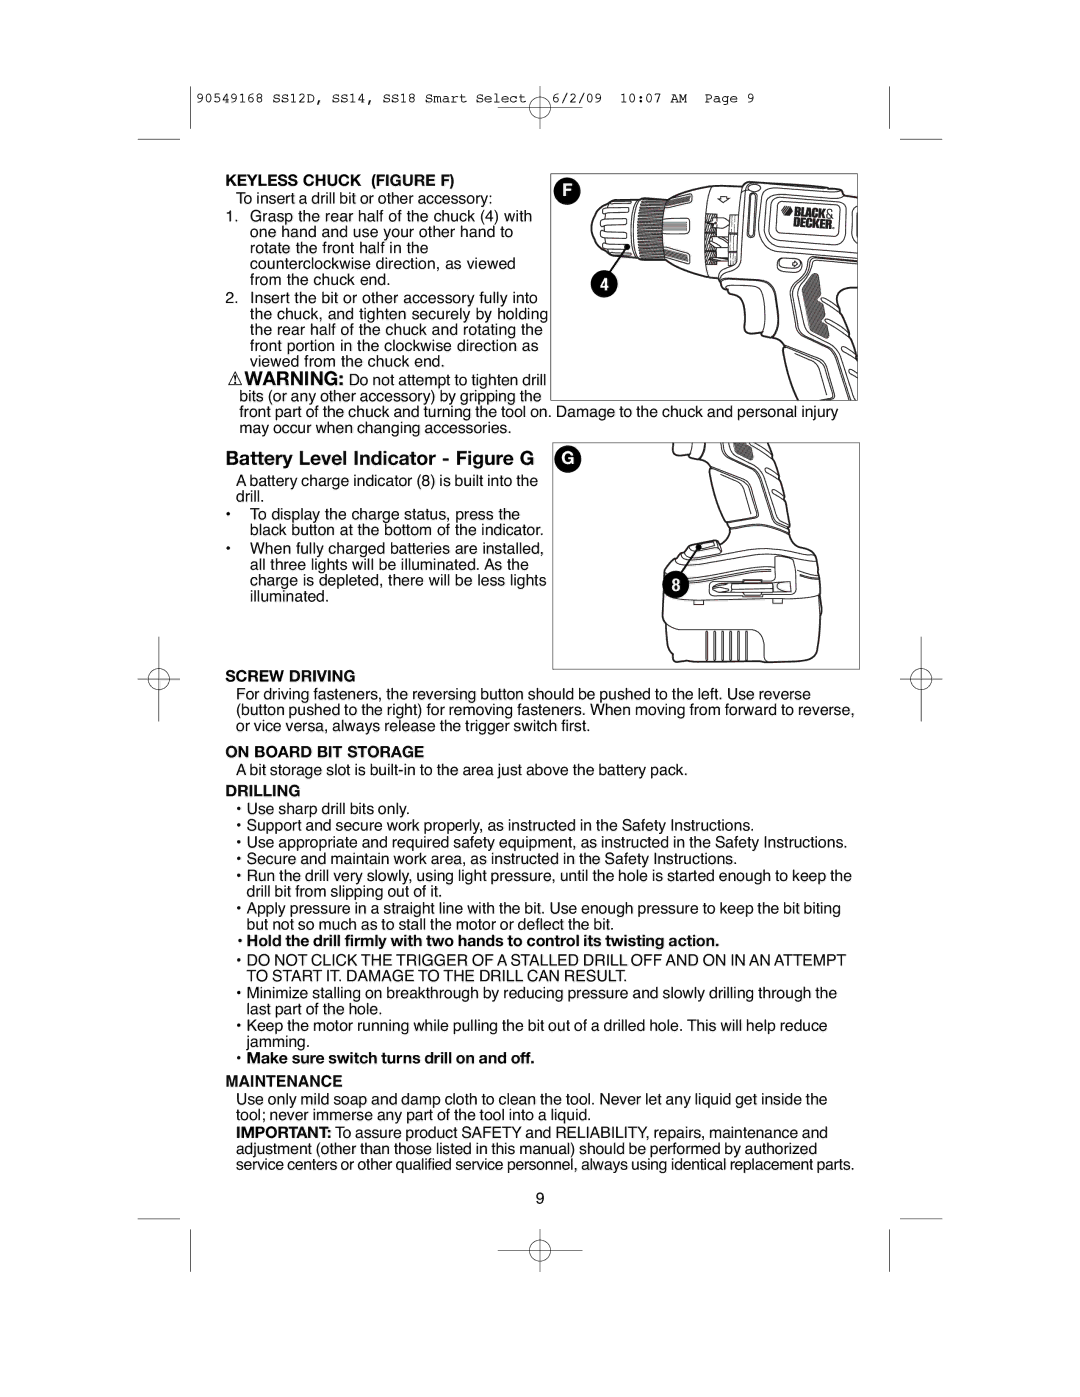
Battery Level Indicator - Figure G
A battery charge indicator (8) is built into the drill.
•To display the charge status, press the black button at the bottom of the indicator.
•When fully charged batteries are installed, all three lights will be illuminated. As the charge is depleted, there will be less lights illuminated.
G
8
SCREW DRIVING
For driving fasteners, the reversing button should be pushed to the left. Use reverse (button pushed to the right) for removing fasteners. When moving from forward to reverse, or vice versa, always release the trigger switch first.
ON BOARD BIT STORAGE
A bit storage slot is
DRILLING
•Use sharp drill bits only.
•Support and secure work properly, as instructed in the Safety Instructions.
•Use appropriate and required safety equipment, as instructed in the Safety Instructions.
•Secure and maintain work area, as instructed in the Safety Instructions.
•Run the drill very slowly, using light pressure, until the hole is started enough to keep the drill bit from slipping out of it.
•Apply pressure in a straight line with the bit. Use enough pressure to keep the bit biting but not so much as to stall the motor or deflect the bit.
•Hold the drill firmly with two hands to control its twisting action.
•DO NOT CLICK THE TRIGGER OF A STALLED DRILL OFF AND ON IN AN ATTEMPT TO START IT. DAMAGE TO THE DRILL CAN RESULT.
•Minimize stalling on breakthrough by reducing pressure and slowly drilling through the last part of the hole.
•Keep the motor running while pulling the bit out of a drilled hole. This will help reduce jamming.
•Make sure switch turns drill on and off.
MAINTENANCE
Use only mild soap and damp cloth to clean the tool. Never let any liquid get inside the tool; never immerse any part of the tool into a liquid.
IMPORTANT: To assure product SAFETY and RELIABILITY, repairs, maintenance and adjustment (other than those listed in this manual) should be performed by authorized service centers or other qualified service personnel, always using identical replacement parts.
9