APPENDIX C:Compression Mode

Appendix C. Compression Mode

The Multi DVI System features two video compression modes to enable high resoluiotn video extension over long distances. Compression modes may be changed with a simple jumper setting accessible through the front cover. All units must be set to the same compression mode for proper operation.

The two modes are:

Pixel Compression mode. Suitable for static non motion content. DEFAULT Jumper J10 IN

Color Compression mode. Suitable for moving content such as DVD movies. Jumper J10 OUT

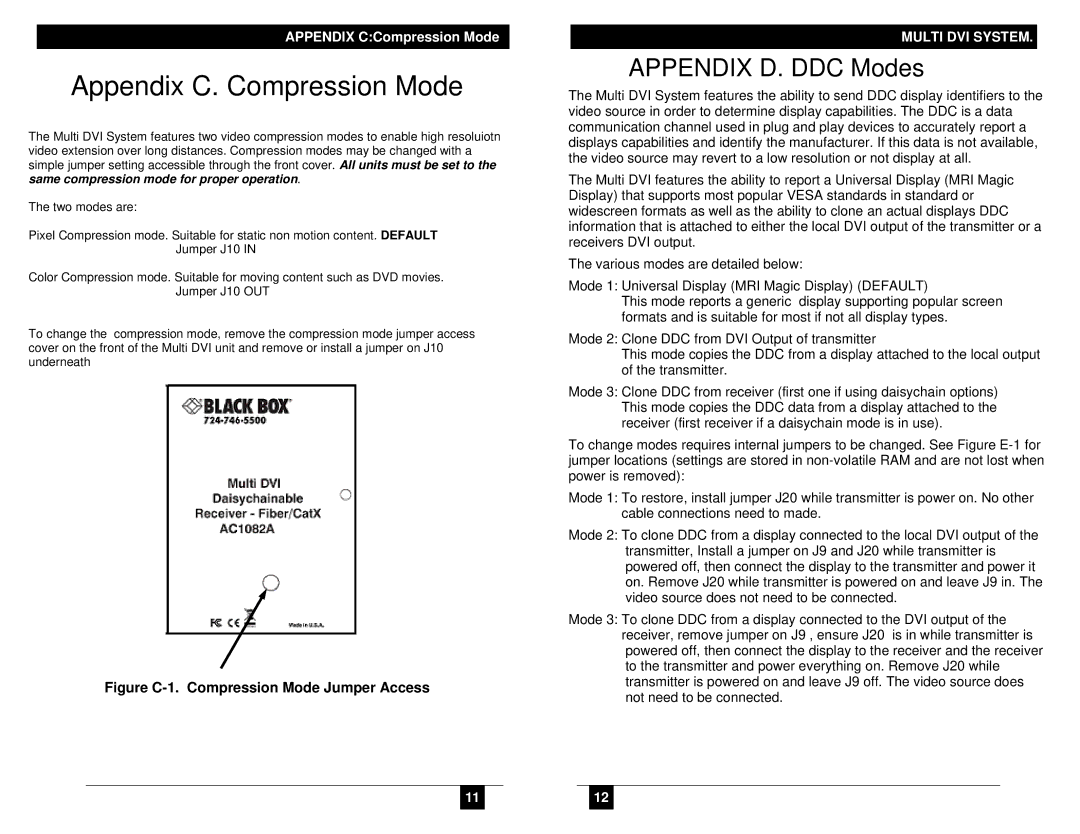
To change the compression mode, remove the compression mode jumper access cover on the front of the Multi DVI unit and remove or install a jumper on J10 underneath

Figure C-1. Compression Mode Jumper Access

MULTI DVI SYSTEM.

APPENDIX D. DDC Modes

The Multi DVI System features the ability to send DDC display identifiers to the video source in order to determine display capabilities. The DDC is a data communication channel used in plug and play devices to accurately report a displays capabilities and identify the manufacturer. If this data is not available, the video source may revert to a low resolution or not display at all.

The Multi DVI features the ability to report a Universal Display (MRI Magic Display) that supports most popular VESA standards in standard or widescreen formats as well as the ability to clone an actual displays DDC information that is attached to either the local DVI output of the transmitter or a receivers DVI output.

The various modes are detailed below:

Mode 1: Universal Display (MRI Magic Display) (DEFAULT)

This mode reports a generic display supporting popular screen formats and is suitable for most if not all display types.

Mode 2: Clone DDC from DVI Output of transmitter

This mode copies the DDC from a display attached to the local output of the transmitter.

Mode 3: Clone DDC from receiver (first one if using daisychain options) This mode copies the DDC data from a display attached to the receiver (first receiver if a daisychain mode is in use).

To change modes requires internal jumpers to be changed. See Figure E-1 for jumper locations (settings are stored in non-volatile RAM and are not lost when power is removed):

Mode 1: To restore, install jumper J20 while transmitter is power on. No other cable connections need to made.

Mode 2: To clone DDC from a display connected to the local DVI output of the transmitter, Install a jumper on J9 and J20 while transmitter is powered off, then connect the display to the transmitter and power it on. Remove J20 while transmitter is powered on and leave J9 in. The video source does not need to be connected.

Mode 3: To clone DDC from a display connected to the DVI output of the receiver, remove jumper on J9 , ensure J20 is in while transmitter is powered off, then connect the display to the receiver and the receiver to the transmitter and power everything on. Remove J20 while transmitter is powered on and leave J9 off. The video source does not need to be connected.


6


11


12


11


Page 7
Image 7
Black Box Multi DVI System CATX Series, AC1100A manual Appendix C. Compression Mode, Appendix D. DDC Modes

AC1100A, Multi DVI System CATX Series specifications

The Black Box AC1100A Multi DVI System CATX Series represents a significant advancement in the field of audiovisual technology, providing exceptional solutions for extending DVI signals over long distances. This system is specifically designed to meet the needs of professional environments, where high-quality video output and reliability are essential.

One of the standout features of the AC1100A is its ability to transmit DVI signals over CATx cables, such as CAT5e or CAT6, eliminating the constraints of traditional DVI cable limitations. It can extend DVI signals up to 100 meters (328 feet) without any loss of signal quality, making it an ideal choice for large venues, auditoriums, or digital signage applications where equipment placement can be distant from the display.

The AC1100A boasts support for high-definition resolutions up to 1920 x 1200 at 60 Hz, ensuring that users experience crisp, clear visuals without compromise. It also accommodates both single-link and dual-link DVI signals, offering flexibility depending on the specific requirements of the connected devices. This dual-link capability allows for the implementation of more demanding visual applications, such as high-definition video playback and graphic-intensive presentations.

In terms of connectivity, the Black Box AC1100A provides multiple input and output options, simplifying system integration. With its plug-and-play design, installation is straightforward and does not require extensive configurations, making it accessible for various user expertise levels.

The AC1100A also features advanced signal integrity technology, which provides additional protection against interference and ensures a stable connection, even in environments with multiple electronic devices. Additionally, this system is equipped with robust shielding, contributing further to its reliability over long distances.

Another notable characteristic of the AC1100A Multi DVI System is its compact and durable form factor. The sturdy construction is designed to withstand the rigors of professional use, making it a reliable option for both permanent installations and temporary setups.

In summary, the Black Box AC1100A Multi DVI System CATX Series is a powerful solution for anyone looking to enhance their audiovisual setup. With its extended reach, high-definition support, easy installation, and robust design, it stands out as a top choice for effectively managing DVI signal transmission in various professional environments. Whether for corporate presentations, educational institutions, or digital signage, the AC1100A is engineered to deliver exceptional performance and reliability.