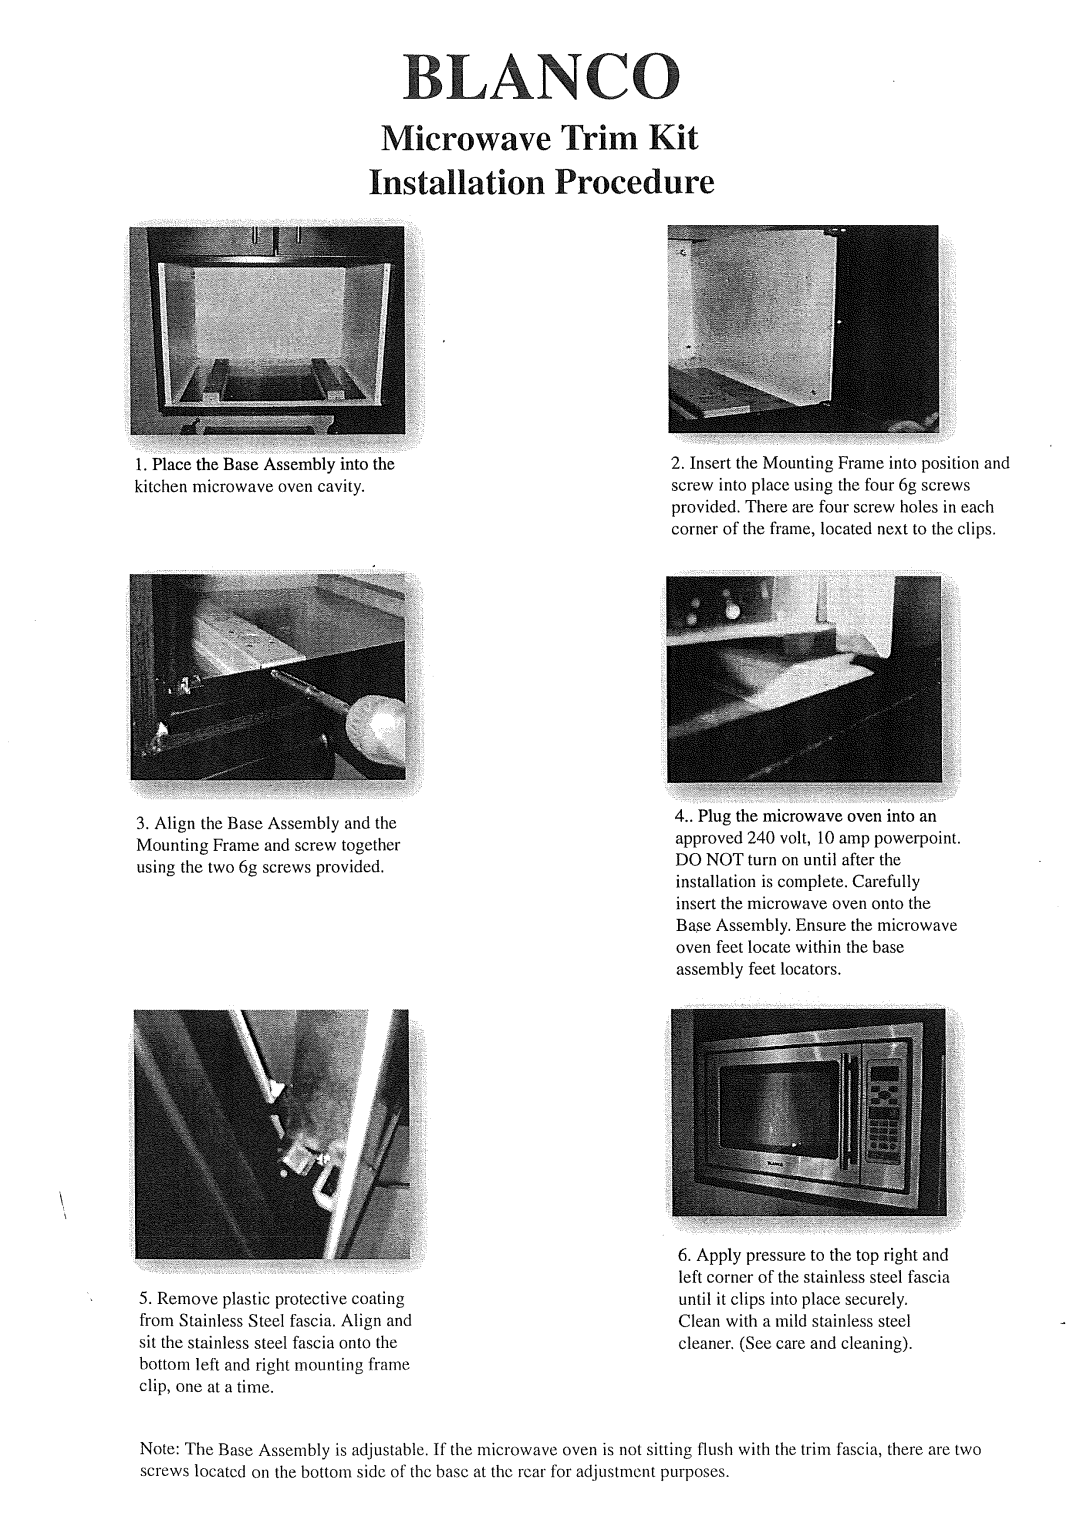
kitchen microwave oven cavity.
3.Align the Base Assembly and the Mounting Frame and screw together using the two 6g screws provided.
5. Remove plastic protective coating from Stainless Steel fascia. Align and sit the stainless steel fascia onto the bottom left and right mounting frame clip, one at a time.
screw into place using the four 6g screws provided. There are four screw holes in each corner of the frame, located next to the clips.
4..Plug the microwave oven into an approved 240 volt, 10 amp powerpoint. DO NOT turn on until after the installation is complete. Carefully insert the microwave oven onto the Base Assembly. Ensure the microwave oven feet locate within the base assembly feet locators.
6.Apply pressure to the top right and left corner of the stainless steel fascia until it clips into place securely.
Clean with a mild stainless steel cleaner. (See care and cleaning).
Note: The Base Assembly is adjustable. If the microwave oven is not sitting flush with the trim fascia, there are two screws located on the bottom sidc of thc basc at thc rcar for adjustrncnt purposes.
