
Mouse specifications
Blue Microphones has been a leader in audio solutions for musicians and content creators alike, and their new accessory, the Blue Mouse, promises to elevate the audio experience to new heights. This innovative microphone is designed to capture sound with remarkable clarity and accuracy, making it an ideal choice for professionals in the music and broadcasting industries.One of the standout features of the Blue Mouse is its condenser capsule, which ensures natural sound reproduction across a wide frequency range. This makes it perfect for both vocal recordings and instrument capture, allowing users to achieve studio-quality audio without the need for extensive post-production processing. The microphone’s cardioid polar pattern helps to isolate the sound source, effectively minimizing background noise and keeping recordings clean and focused.
The Blue Mouse is equipped with a low-frequency roll-off switch that helps reduce unwanted low-end rumble and proximity effect, providing users with greater control over their sound. This feature is especially useful in untreated rooms or when recording close to the microphone. Additionally, the microphone boasts an impressive SPL handling, allowing it to capture loud sound sources without distortion.
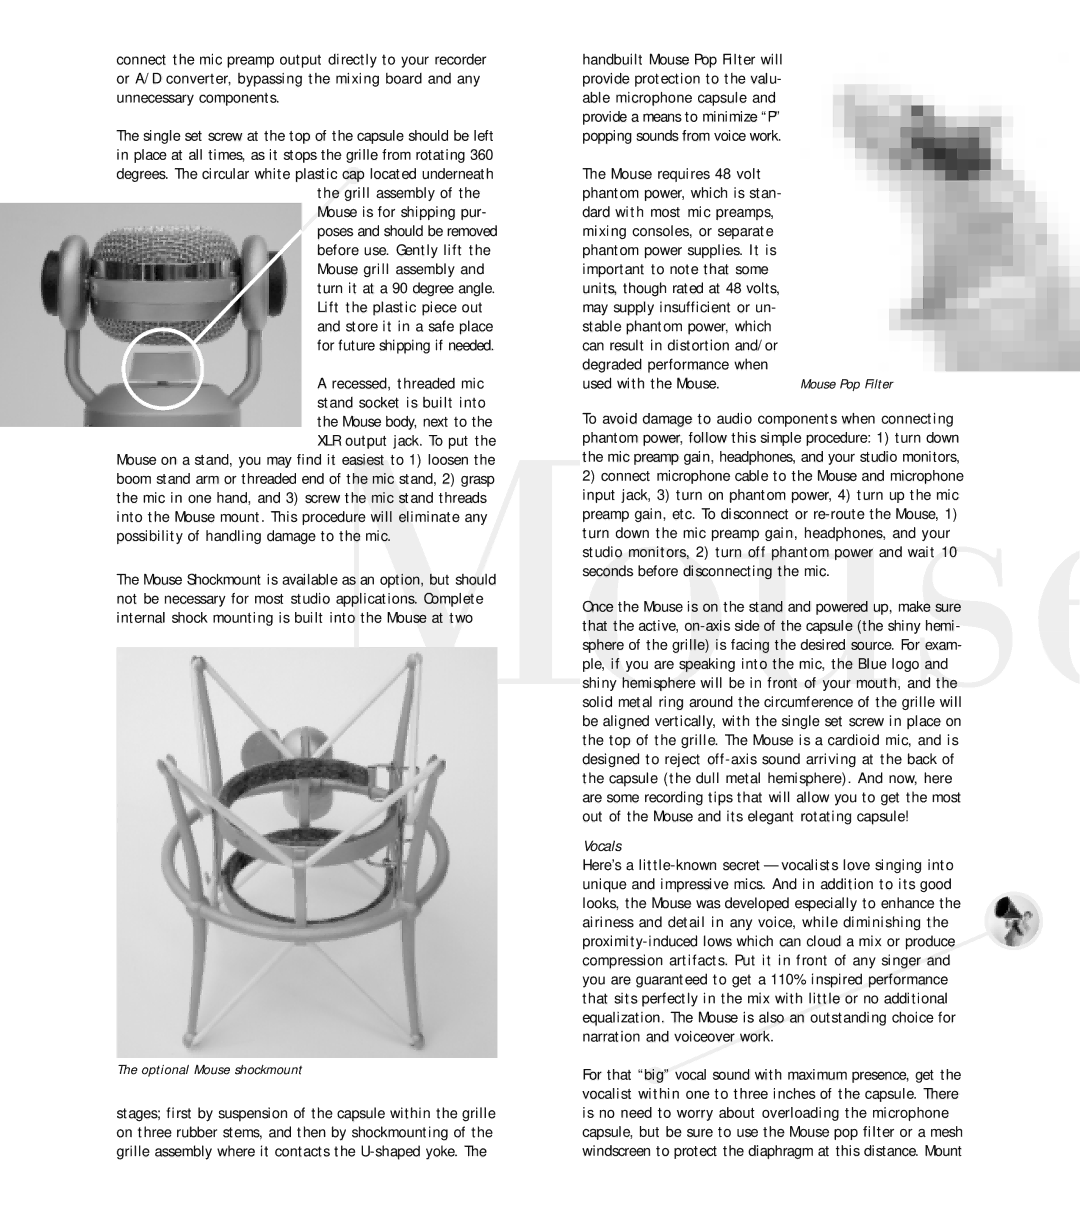
Another notable characteristic of the Blue Mouse is its robust construction. Crafted from high-quality materials, this microphone is built to endure the rigors of studio and stage use, ensuring longevity and reliability for creators on the go. Its sleek design not only looks great in any setup, but it also includes a sturdy shock mount that minimizes vibrations and handling noise.
The Blue Mouse is also compatible with a wide range of audio interfaces and digital audio workstations (DAWs), making it a versatile asset for any recording rig. Whether you are a seasoned professional or an aspiring artist, this microphone can seamlessly integrate into your existing setup.
In conclusion, the Blue Microphones Mouse is an exceptional microphone that combines advanced technology with top-notch audio quality. Its impressive features, robust build, and user-friendly design make it an appealing choice for anyone looking to enhance their sound capture capabilities. Whether for music production, podcasting, or streaming, the Blue Mouse is a reliable companion for achieving outstanding audio results.