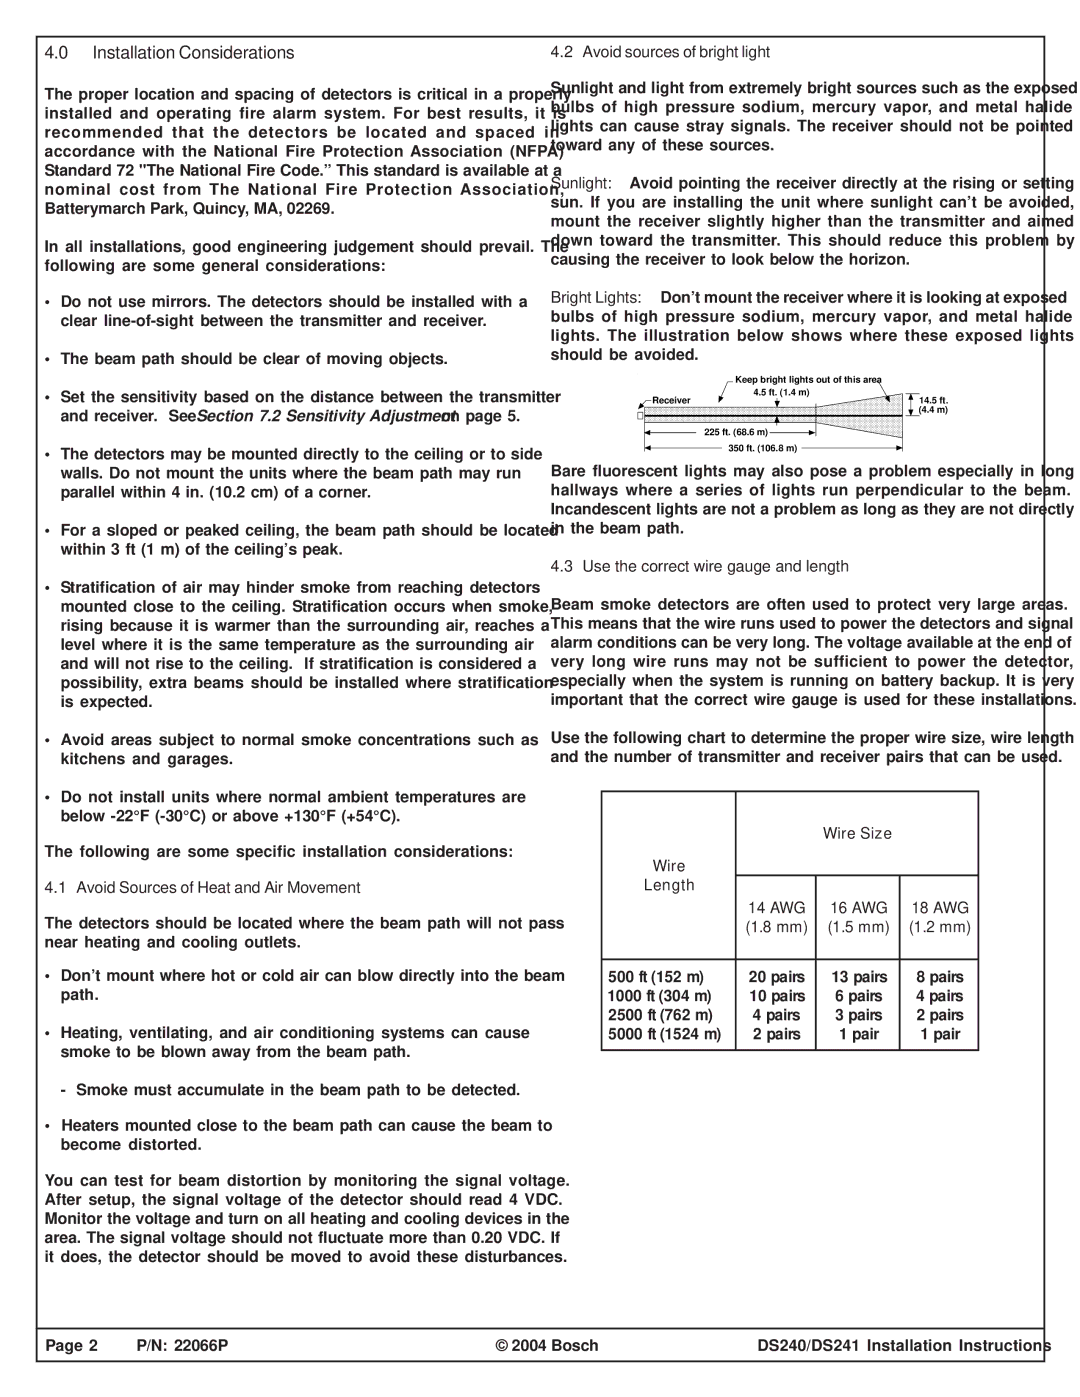
4.0Installation Considerations

The proper location and spacing of detectors is critical in a properly installed and operating fire alarm system. For best results, it is recommended that the detectors be located and spaced in accordance with the National Fire Protection Association (NFPA) Standard 72 "The National Fire Code.” This standard is available at a nominal cost from The National Fire Protection Association, Batterymarch Park, Quincy, MA, 02269.

In all installations, good engineering judgement should prevail. The following are some general considerations:

Do not use mirrors. The detectors should be installed with a clear line-of-sight between the transmitter and receiver.

The beam path should be clear of moving objects.

Set the sensitivity based on the distance between the transmitter and receiver. See Section 7.2 Sensitivity Adjustment on page 5.

The detectors may be mounted directly to the ceiling or to side walls. Do not mount the units where the beam path may run parallel within 4 in. (10.2 cm) of a corner.

For a sloped or peaked ceiling, the beam path should be located within 3 ft (1 m) of the ceiling’s peak.

Stratification of air may hinder smoke from reaching detectors mounted close to the ceiling. Stratification occurs when smoke, rising because it is warmer than the surrounding air, reaches a level where it is the same temperature as the surrounding air and will not rise to the ceiling. If stratification is considered a possibility, extra beams should be installed where stratification is expected.

Avoid areas subject to normal smoke concentrations such as kitchens and garages.

Do not install units where normal ambient temperatures are below -22°F (-30°C) or above +130°F (+54°C).

The following are some specific installation considerations:

4.1 Avoid Sources of Heat and Air Movement

The detectors should be located where the beam path will not pass near heating and cooling outlets.

Don’t mount where hot or cold air can blow directly into the beam path.

Heating, ventilating, and air conditioning systems can cause smoke to be blown away from the beam path.

- Smoke must accumulate in the beam path to be detected.

Heaters mounted close to the beam path can cause the beam to become distorted.

You can test for beam distortion by monitoring the signal voltage. After setup, the signal voltage of the detector should read 4 VDC. Monitor the voltage and turn on all heating and cooling devices in the area. The signal voltage should not fluctuate more than 0.20 VDC. If it does, the detector should be moved to avoid these disturbances.

4.2 Avoid sources of bright light

Sunlight and light from extremely bright sources such as the exposed bulbs of high pressure sodium, mercury vapor, and metal halide lights can cause stray signals. The receiver should not be pointed toward any of these sources.

Sunlight: Avoid pointing the receiver directly at the rising or setting sun. If you are installing the unit where sunlight can’t be avoided, mount the receiver slightly higher than the transmitter and aimed down toward the transmitter. This should reduce this problem by causing the receiver to look below the horizon.

Bright Lights: Don’t mount the receiver where it is looking at exposed bulbs of high pressure sodium, mercury vapor, and metal halide lights. The illustration below shows where these exposed lights should be avoided.

Keep bright lights out of this area 4.5 ft. (1.4 m)

Receiver


14.5 ft.


(4.4 m)


225 ft. (68.6 m)

350 ft. (106.8 m)

Bare fluorescent lights may also pose a problem especially in long hallways where a series of lights run perpendicular to the beam. Incandescent lights are not a problem as long as they are not directly in the beam path.

4.3 Use the correct wire gauge and length

Beam smoke detectors are often used to protect very large areas. This means that the wire runs used to power the detectors and signal alarm conditions can be very long. The voltage available at the end of very long wire runs may not be sufficient to power the detector, especially when the system is running on battery backup. It is very important that the correct wire gauge is used for these installations.

Use the following chart to determine the proper wire size, wire length and the number of transmitter and receiver pairs that can be used.


Wire Size


Wire


Length

14 AWG

16 AWG

18 AWG


(1.8 mm)

(1.5 mm)

(1.2 mm)


500 ft (152 m)

20 pairs

13 pairs

8 pairs

1000 ft (304 m)

10 pairs

6 pairs

4 pairs

2500 ft (762 m)

4 pairs

3 pairs

2 pairs

5000 ft (1524 m)

2 pairs

1 pair

1 pair


Page 2

P/N: 22066P

© 2004 Bosch

DS240/DS241 Installation Instructions

Page 2
Image 2
Bosch Power Tools DS241 Installation Considerations, Avoid Sources of Heat and Air Movement, Avoid sources of bright light

DS240, DS241 specifications

Bosch has long been a leader in the power tool industry, renowned for its innovation and quality. Among its impressive lineup are the Bosch Power Tools DS240 and DS241, which are designed for professionals demanding durability, precision, and performance in various applications.

The Bosch DS240 and DS241 models serve as exceptional circular saws that are packed with advanced features for optimal performance. Both tools are powered by robust motors delivering high torque, ensuring that they can cut through tough materials with ease. The DS240 boasts a 15-amp motor, providing ample power for heavy-duty operations, while the DS241 is designed for lighter, more intricate tasks without sacrificing efficiency.

One of the standout features of both models is their precision cutting capabilities. Equipped with laser guide technology, the saws allow users to achieve straight cuts with enhanced accuracy. The integrated laser helps in aligning the cut line, thus reducing the risk of error, making these tools perfect for those working on detailed projects.

Another significant characteristic of the Bosch DS240 and DS241 is their ergonomic design. Both models feature soft-grip handles that ensure comfort during prolonged use, reducing hand fatigue. The lightweight construction of the saws further enhances user maneuverability, making them ideal for overhead and tight-space applications.

In terms of safety, Bosch does not compromise. Both saws feature electronic brake systems that stop the blade almost instantly when the trigger is released, preventing accidents. Additionally, they come with safety guards that minimize exposure to cutting edges, ensuring a secure operating environment.

The dual bevel capability of the DS241 allows for versatile cutting angles, making it suitable for a variety of woodworking tasks. Conversely, the DS240 focuses on robust performance for straight cuts, appealing to users who prioritize power over versatility.

Both models incorporate advanced dust extraction systems, helping to maintain clean work areas and improve visibility during cutting tasks. This feature is particularly valued by professionals working in environments where cleanliness is crucial.

Overall, the Bosch Power Tools DS240 and DS241 deliver a perfect blend of power, precision, and safety, embodying Bosch's commitment to quality and innovation in power tools. Whether tackling complex construction projects or simple home improvements, these tools stand ready to meet the demands of their users.