QuadX 3000 specifications
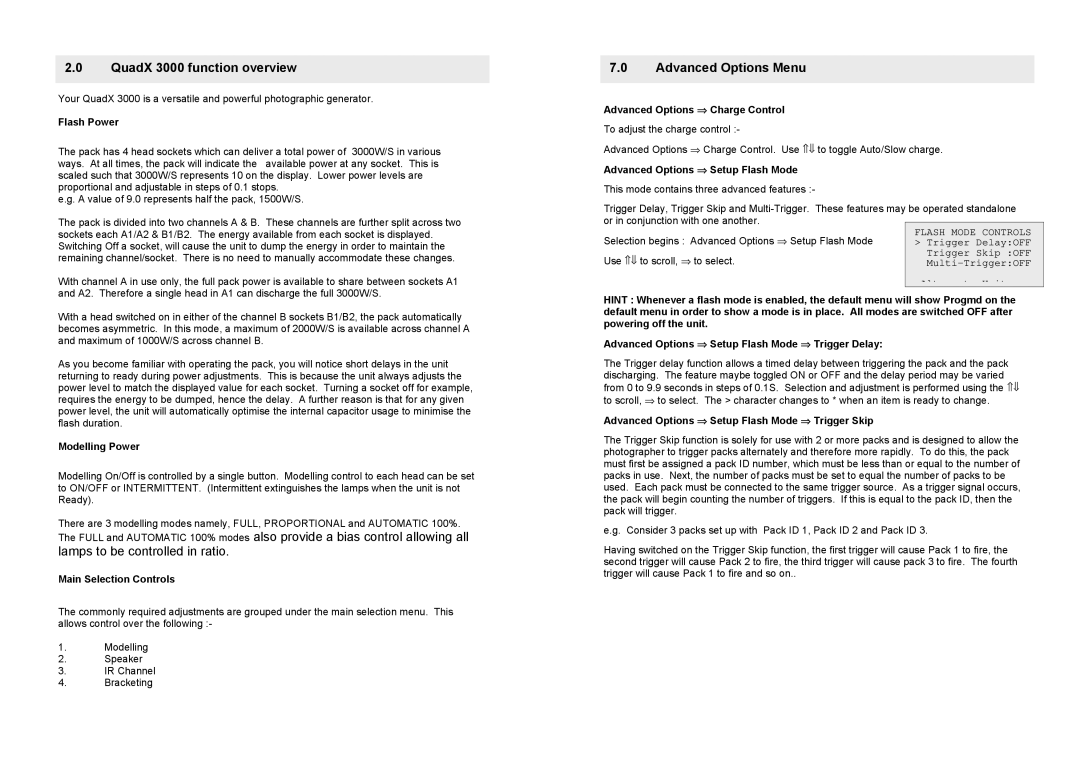
The Bowens QuadX 3000 is a cutting-edge lighting solution designed for professional photographers and videographers seeking versatility and performance. This innovative lighting system boasts a host of features, technologies, and characteristics that make it an essential tool for achieving outstanding results in various shooting environments.At the heart of the QuadX 3000 is its impressive 3000 watt-second output, delivering consistent and powerful bursts of light. This high output allows photographers to capture images with exceptional detail and dynamic range, even in challenging lighting conditions. The unit is designed to offer a fast recycle time, enabling users to shoot continuously without delay, making it suitable for fast-paced environments such as events or action shoots.
One of the standout features of the QuadX 3000 is its advanced modeling light technology. The system offers adjustable modeling lights that allow users to visualize their lighting setup effectively before taking the shot. This feature helps photographers to fine-tune their lighting angles and intensities, resulting in more accurate and creative compositions. The modeling lights also double as continuous lights, making this system a versatile choice for both video and photography.
Portability and ease of use are also key characteristics of the Bowens QuadX 3000. It incorporates a compact design and a lightweight aluminum body, ensuring that the system can be transported easily to various locations. The unit is equipped with an intuitive user interface that provides quick access to settings and adjustments, allowing photographers to focus on their creative process instead of struggling with complicated machinery.
Additionally, the QuadX 3000 is compatible with an extensive range of light modifiers, such as softboxes, umbrellas, and grids, allowing users to shape and control their light sources to suit their specific needs. This compatibility enhances the creative possibilities for photographers and videographers, enabling them to achieve the perfect lighting effect for each shot.
In terms of reliability, the Bowens QuadX 3000 features robust internal components and a cooling system that prevents overheating during extended use. This ensures that the lighting system maintains performance without the risk of malfunction, making it a trusted choice for professionals.
In summary, the Bowens QuadX 3000 combines powerful output, advanced modeling light technology, portability, user-friendly design, and compatibility with various light modifiers to create a versatile lighting solution for photographers and videographers. Its reliability and innovative features make it a standout choice for those who demand excellence in their lighting equipment.

