BASIC OPERATION
ADJUSTING SCREEN
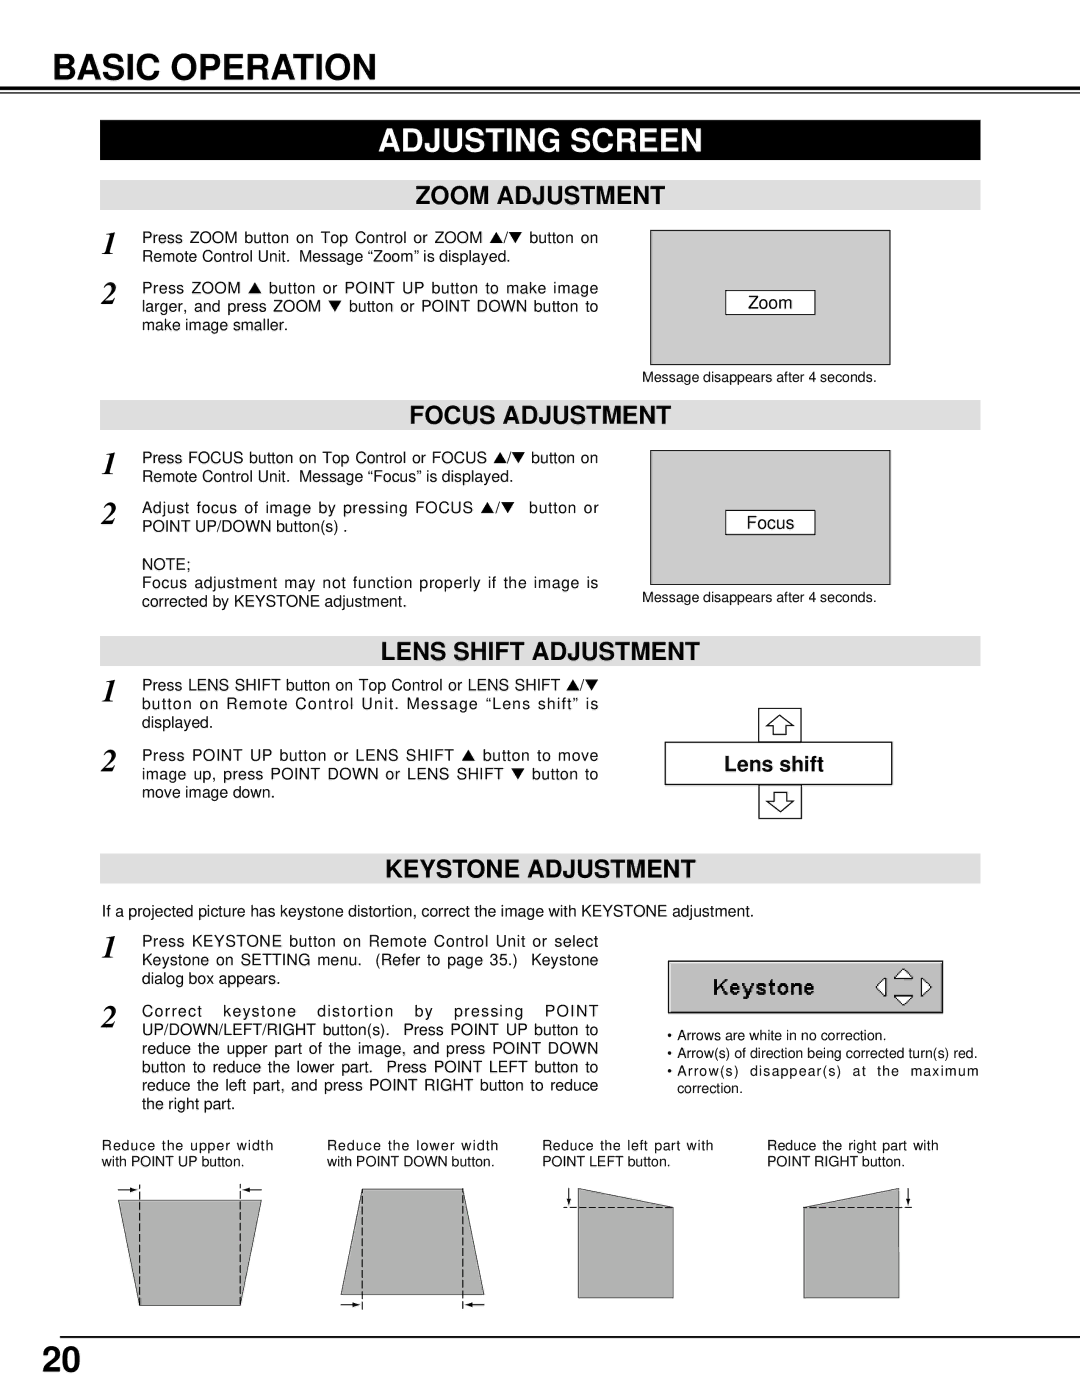
ZOOM ADJUSTMENT
1 | Press ZOOM button on Top Control or ZOOM ▲ /▼ button on |
Remote Control Unit. Message “Zoom” is displayed. | |
2 | Press ZOOM ▲ button or POINT UP button to make image |
larger, and press ZOOM ▼ button or POINT DOWN button to |
make image smaller.
Zoom
Message disappears after 4 seconds.
FOCUS ADJUSTMENT
1 | Press FOCUS button on Top Control or FOCUS ▲/▼ button on |
Remote Control Unit. Message “Focus” is displayed. | |
2 | Adjust focus of image by pressing FOCUS ▲ /▼ button or |
POINT UP/DOWN button(s) . |
NOTE;
Focus adjustment may not function properly if the image is corrected by KEYSTONE adjustment.
Focus
Message disappears after 4 seconds.
| LENS SHIFT ADJUSTMENT | |
1 | Press LENS SHIFT button on Top Control or LENS SHIFT ▲/▼ | |
button on Remote Control Unit. Message “Lens shift” is | ||
| displayed. | |
2 |
| |
Press POINT UP button or LENS SHIFT ▲ button to move |
| |
image up, press POINT DOWN or LENS SHIFT ▼ button to |
| |
move image down.
�
Lens shift
�
�
| KEYSTONE ADJUSTMENT | |
If a projected picture has keystone distortion, correct the image with KEYSTONE adjustment. | ||
1 | Press KEYSTONE button on Remote Control Unit or select |
|
Keystone on SETTING menu. (Refer to page 35.) Keystone |
| |
| dialog box appears. |
|
2 | Correct keystone distortion by pressing POINT |
|
UP/DOWN/LEFT/RIGHT button(s). Press POINT UP button to | • Arrows are white in no correction. | |
| reduce the upper part of the image, and press POINT DOWN | |
| • Arrow(s) of direction being corrected turn(s) red. | |
| button to reduce the lower part. Press POINT LEFT button to | • Arrow(s) disappear(s) at the maximum |
| reduce the left part, and press POINT RIGHT button to reduce | correction. |
| the right part. |
|
Reduce the upper width | Reduce the lower width | Reduce the left part with | |||||
with POINT UP button. | with POINT DOWN button. | POINT LEFT button. | |||||
|
|
|
|
|
|
|
|
|
|
|
|
|
|
|
|
Reduce the right part with POINT RIGHT button.
20
