Optimum Adjustments for Image Quality
(Using color and film correction)
Are you satisfied with the quality of the preview image?
You can create images of acceptable quality with the
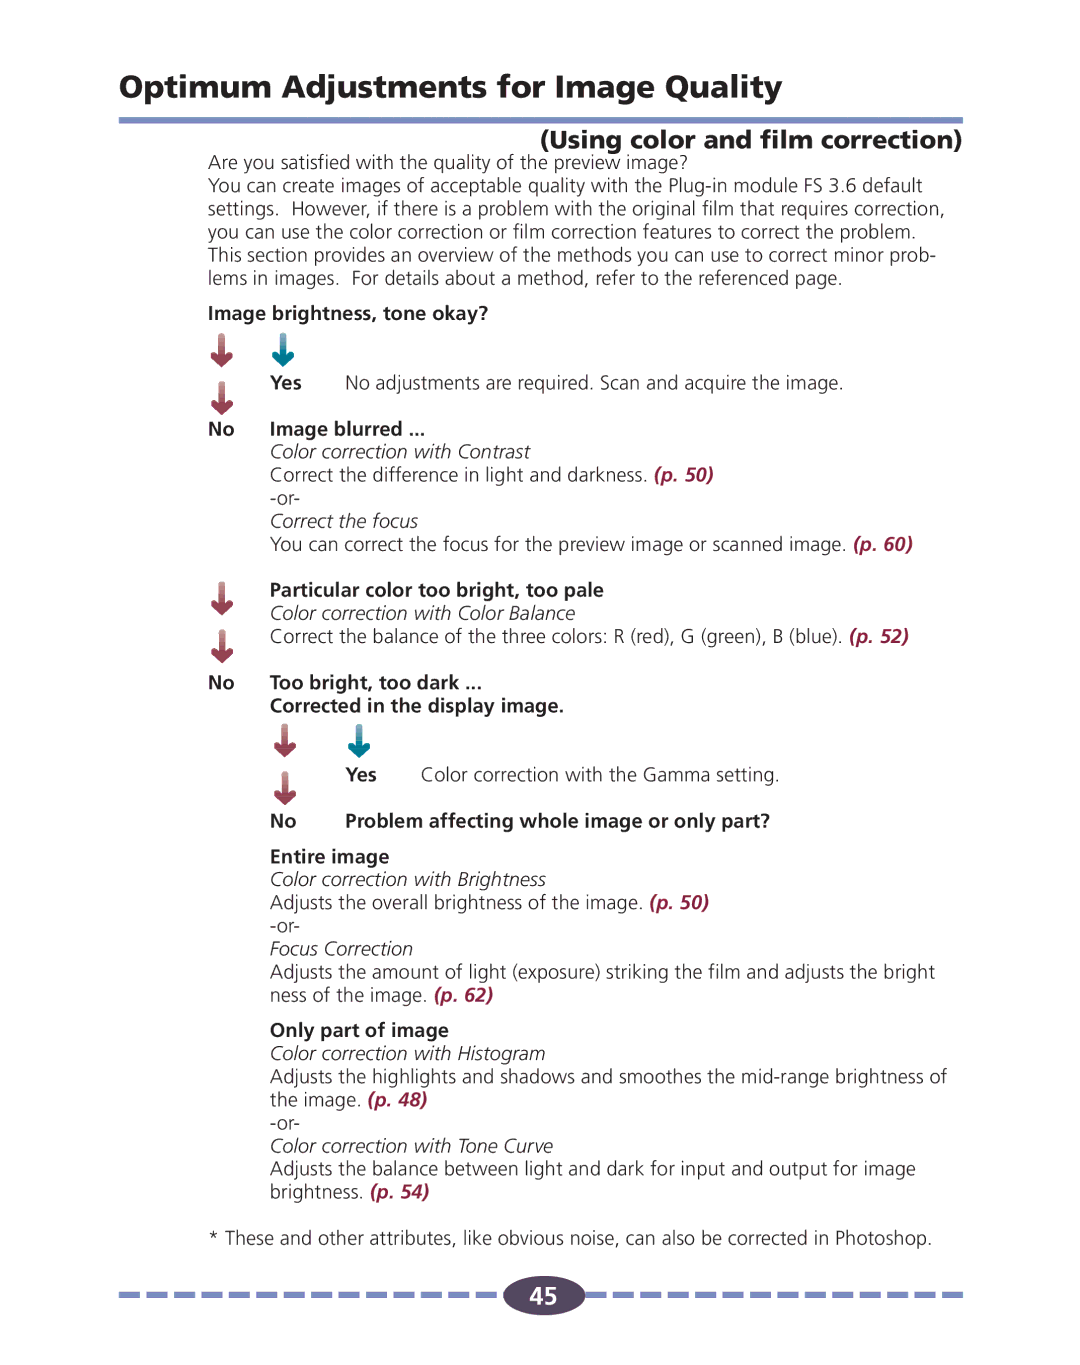
Image brightness, tone okay?
No
No
Yes No adjustments are required. Scan and acquire the image.
Image blurred ...
Color correction with Contrast
Correct the difference in light and darkness. (p. 50)
Correct the focus
You can correct the focus for the preview image or scanned image. (p. 60)
Particular color too bright, too pale
Color correction with Color Balance
Correct the balance of the three colors: R (red), G (green), B (blue). (p. 52)
Too bright, too dark ...
Corrected in the display image.
|
| Yes | Color correction with the Gamma setting. |
| |||
No |
| Problem affecting whole image or only part? | |
Entire image
Color correction with Brightness
Adjusts the overall brightness of the image. (p. 50)
Focus Correction
Adjusts the amount of light (exposure) striking the film and adjusts the bright ness of the image. (p. 62)
Only part of image
Color correction with Histogram
Adjusts the highlights and shadows and smoothes the
Color correction with Tone Curve
Adjusts the balance between light and dark for input and output for image brightness. (p. 54)
* These and other attributes, like obvious noise, can also be corrected in Photoshop.
45
![]()
![]()
![]()
![]()
![]()
![]()
![]()
![]()
![]()
![]()
![]()
![]()
![]()
![]()
![]() 45
45![]()
![]()
![]()
![]()
![]()
![]()
![]()
![]()
![]()
![]()
![]()
![]()
![]()
![]()
![]()
