Rosettes

On lightly floured board, roll about 1½ oz piece of dough into 14 inch rope. Tie in a loose knot, leaving 2 long ends. Tuck one end under knot and second end into the top center of the loose knot. Place 2-inches apart on lightly greased baking sheet.

ARTISAN DOUGH CYCLE

Tips for Best Results

Consider using more refined ingredients such as, organic flours, unrefined sea salt and spring water.

Make sure you are using the freshest ingredients, including fresh herbs, seeds or nuts.

If using delay bake timer, make sure yeast is on top of flour, away from liquids.

Important: Never allow artisan dough to remain in bread maker after cycle is complete; it may over rise and damage machine.

Rising times for dough after it is shaped and placed in baking pan will vary due to recipe, temperature and humidity level of your kitchen. Optimum temperature for rising is 70°– 75°F. Rising is the most essential feature in bread making.

Bread maker allows dough to have first rise or fermentationbefore dough is removed. Fermentation conditions gluten, (becoming pliable and elastic with a soft, smooth quality) develops flavor and leavens product.

Resting allows gluten to relax and makes handling easier. Shape as desired and allow to rise until doubled in volume.

Baker’s Tip: Dough has doubled in volume when an indentation remains after tip of a finger is pressed lightly and quickly into dough. If indentation springs back, cover and let rise a few more minutes and check again.

16

JAM CYCLE

Method

1.Following steps in USING YOUR BREAD MAKER; select JAM cycle.

2.Once JAM cycle is complete, remove bread pan from bread maker and pour hot mixture into heat-safe jars, leaving ½” of space at the top.

3.Allow to partially cool. Cover tightly to store. Mixture will thicken upon cooling.

Tips for Best Results

Do not reduce sugar or use sugar substitutes. Exact amounts of sugar, fruit, and other ingredients are necessary for good set.

Use only ripe fruit (not overripe or under-ripe) for best flavor.

Do not puree fruit. Jam should have bits of fruit in it.

Recipes should not exceed 3 cups fruit.

Remove stems, seeds or pits from fruit.

You may use strawberries, blackberries, raspberries or other thin skinned berries. Fruit such as peaches, pears and apricots may be used, but should be peeled and have seeds removed.

Frozen berries or fruit (no sugar added) may be substituted for fresh. Thaw and drain before measuring. For thinner jam, use juice as part of 3 cups of berry or fruit amount.

Lemon juice adds necessary acid to berries or fruit.

You may decrease amount of sugar, but it will produce a thinner result. More sugar will make it thicker. For best results, sugar substitutes are not recommended.

Average refrigerated life of jam is 2 weeks or up to several months if frozen.

Important: Do not exceed amounts given in recipes!

Care and Cleaning

This product contains no user serviceable parts. Refer service to qualified service personnel.

CLEANING

Important: Always unplug bread maker and allow to cool completely prior to cleaning.

Bread pan and kneading paddle have nonstick surfaces, which make cleaning easier.

1.After baking each loaf of bread, unplug bread maker and allow to cool; discard any crumbs.

2.Remove bread pan from oven chamber and kneading paddle from bread pan. Wash bread pan and kneading paddle inside and out with warm, soapy water. Avoid scratching nonstick surfaces.

Caution: Do not place bread pan in dishwasher, or soak it in water.

3.If kneading paddle is stuck to drive shaft, pour warm water into bread pan for up to 30 minutes, to loosen it. Do not use excessive force.

4.Wipe inside of lid and oven baking chamber with slightly damp cloth or sponge. If any residue has scorched on heating element or elsewhere, wipe with nonabrasive pad to clean. Lid can be removed for cleaning. Dry baking chamber and lid thoroughly.

Important: Do not put lid in dishwasher, as it may cause warping. Do not immerse in water, as it contains sensitive electronic sensors.

5.To clean glass in lid, use glass cleaner or mild detergent and damp cloth or plastic scouring pad. Do not use abrasive cleaners or scouring pads, as they may scratch glass.

6.Do not use vinegar, bleach or harsh chemicals to clean bread maker.

7.Be sure bread maker is completely cooled before storing.

8.Baking chamber contains heating element and drive shaft. When cleaning, NEVER pour water, solvents or cleaning solutions into this area.

STORAGE

All removable parts should be thoroughly cleaned and dried.

Store lid closed. Place bread pan into bread maker with kneading paddle inside.

17

Page 9
Image 9
Breadman BK1050S, Professional Bread Maker, BK1060S instruction manual Artisan Dough Cycle, JAM Cycle, Cleaning, Storage

BK1060S, Professional Bread Maker, BK1050S specifications

The Breadman BK1050S and BK1060S are two highly regarded professional bread makers that stand out in the crowded home bakery market. Designed with a blend of innovative technology and user-friendly features, these machines cater to both novice bakers and seasoned professionals, making them essential tools for whipping up delicious homemade bread.

Starting with the Breadman BK1050S, this unit is crafted with a sleek design that seamlessly blends into any kitchen decor. It boasts a large LCD display, which enhances usability by providing clear instructions and time displays. With its unique 14 different baking functions, including gluten-free settings, users can experiment with various recipes to create anything from classic white bread to artisan-style loaves. The BK1050S also features a powerful kneading blade that thoroughly mixes ingredients, ensuring a perfect dough consistency.

One of the standout features of the BK1050S is its 2-pound baking capacity. This is ideal for larger families or those who love to entertain guests. The machine automatically adjusts baking time and temperature, ensuring consistent results every time. Moreover, its 15-hour delay timer allows users to prepare their ingredients in advance, so they can wake up to the smell of freshly baked bread, a feature that enhances convenience for busy lifestyles.

Transitioning to the Breadman BK1060S, it builds upon the successes of its predecessor with additional technological enhancements. The BK1060S incorporates a sleek stainless steel exterior, elevating its aesthetic appeal. This model offers an upgraded 25 baking functions, providing even more versatility for the adventurous baker. It also boasts a larger viewing window, allowing users to monitor the baking process without opening the lid, thus maintaining the internal temperature.

In terms of performance, the BK1060S features a dual kneading blade system, which not only ensures better dough mixing but also leads to a fluffier texture in the finished bread. The non-stick baking pan simplifies the cleaning process, making it an easy task to maintain this sophisticated kitchen appliance.

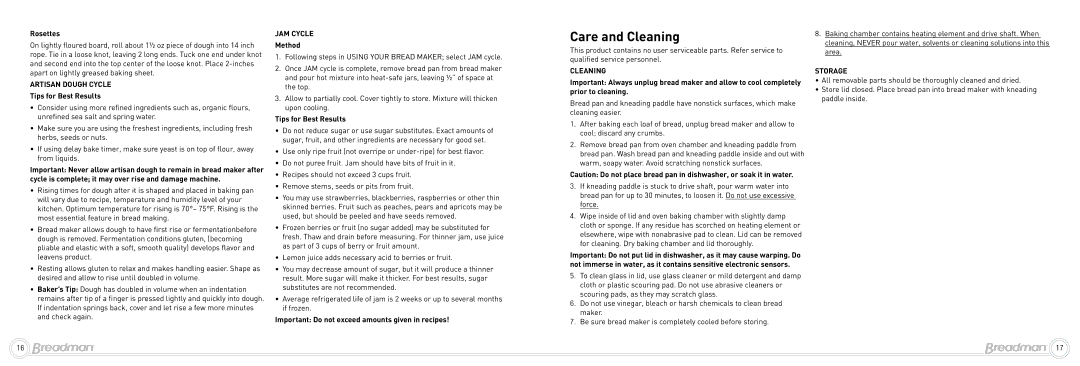
Both models prioritize safety with features like an automatic shut-off and a cool-touch housing to prevent burns. Their comprehensive user manuals provide guidance not only on operating the machines but also on recipe suggestions, making it easier for users to get started.

In conclusion, the Breadman BK1050S and BK1060S are exceptional bread makers that combine functionality, efficiency, and style. With their diverse baking functions and thoughtful design, they empower users to create bakery-quality bread in the comfort of their own homes. Whether you're a bread-making novice or an experienced baker, these machines offer countless possibilities for culinary creativity.