Energy Saving 24 Hour Timer
The LAP16H is fitted with an energy saving programmable 24 hour timer. Each timer features 2 programable timer options allowing you to set your unit to automatically start charging over 2 separate time periods in one 24 hourcycle. This could be from 6:30am to 8:30am ready for morning classes and then again at 12pm to 1pm ready for afternoon classes. The timer can also be set be set to charge your laptops during the evening or weekend to take advantage of
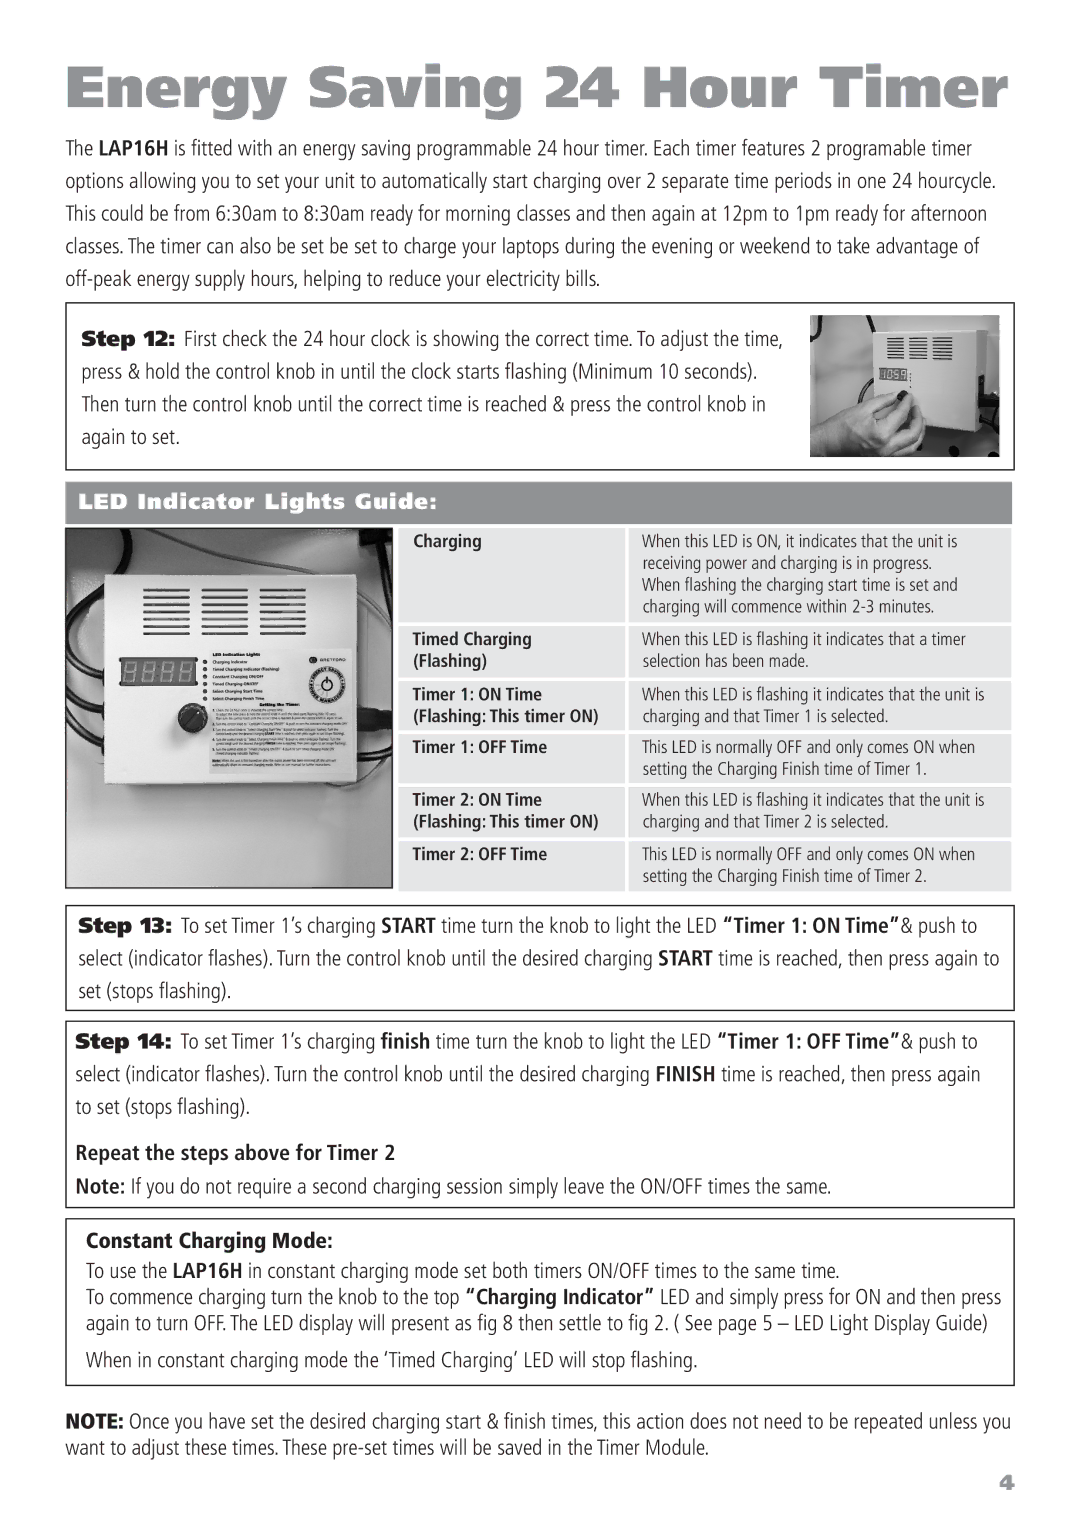
Step 12: First check the 24 hour clock is showing the correct time. To adjust the time, press & hold the control knob in until the clock starts flashing (Minimum 10 seconds). Then turn the control knob until the correct time is reached & press the control knob in again to set.
LED Indicator Lights Guide:
Charging | When this LED is ON, it indicates that the unit is |
| receiving power and charging is in progress. |
| When flashing the charging start time is set and |
| charging will commence within |
Timed Charging | When this LED is flashing it indicates that a timer |
(Flashing) | selection has been made. |
Timer 1: ON Time | When this LED is flashing it indicates that the unit is |
(Flashing: This timer ON) | charging and that Timer 1 is selected. |
Timer 1: OFF Time | This LED is normally OFF and only comes ON when |
| setting the Charging Finish time of Timer 1. |
Timer 2: ON Time | When this LED is flashing it indicates that the unit is |
(Flashing: This timer ON) | charging and that Timer 2 is selected. |
Timer 2: OFF Time | This LED is normally OFF and only comes ON when |
| setting the Charging Finish time of Timer 2. |
Step 13: To set Timer 1’s charging START time turn the knob to light the LED “Timer 1: ON Time”& push to select (indicator flashes). Turn the control knob until the desired charging START time is reached, then press again to set (stops flashing).
Step 14: To set Timer 1’s charging finish time turn the knob to light the LED “Timer 1: OFF Time”& push to select (indicator flashes). Turn the control knob until the desired charging FINISH time is reached, then press again to set (stops flashing).
Repeat the steps above for Timer 2
Note: If you do not require a second charging session simply leave the ON/OFF times the same.
Constant Charging Mode:
To use the LAP16H in constant charging mode set both timers ON/OFF times to the same time.
To commence charging turn the knob to the top “Charging Indicator” LED and simply press for ON and then press again to turn OFF. The LED display will present as fig 8 then settle to fig 2. ( See page 5 – LED Light Display Guide)
When in constant charging mode the ‘Timed Charging’ LED will stop flashing.
NOTE: Once you have set the desired charging start & finish times, this action does not need to be repeated unless you want to adjust these times. These
4