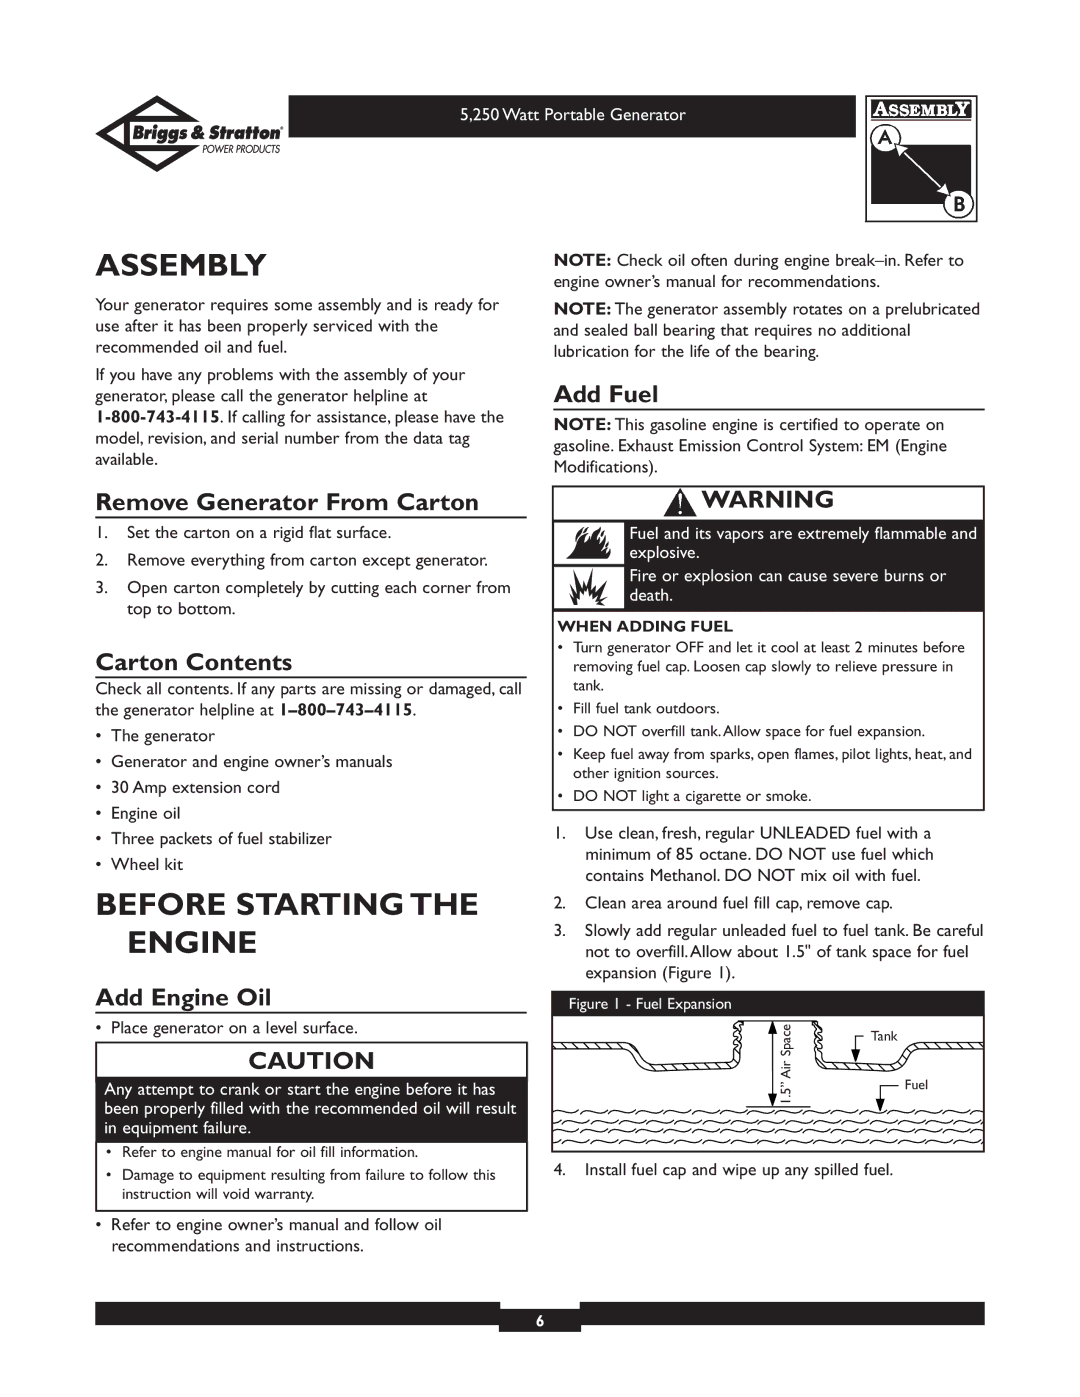
30204 specifications
The Briggs & Stratton 30204 is a powerful and reliable generator, designed to meet the demands of both homeowners and professionals. With a robust 8500 running watts and a max output of 10,000 starting watts, this generator is capable of powering essential appliances, tools, and systems during outages or while on job sites.One of the standout features of the Briggs & Stratton 30204 is its advanced 2100 Series OHV engine. This engine is engineered for efficiency, providing excellent fuel economy while maintaining high performance. The overhead valve design reduces emissions, making it environmentally friendly while enhancing power output and lifespan.
The generator comes equipped with a durable steel frame, designed to withstand the rigors of outdoor use. It features never-flat wheels for easy transportation, making it portable and suitable for various applications such as camping, outdoor events, and emergency backup during power failures. The control panel is user-friendly, featuring multiple outlets that include 120V 20A household outlets, a 120/240V twist-lock outlet, and a 12V DC outlet for battery charging.
Safety is paramount, and the Briggs & Stratton 30204 incorporates several safety features. It includes a low oil shutdown system that automatically turns off the engine when oil levels drop too low, preventing engine damage. Additionally, its circuit breaker protection ensures that the generator operates safely under load, safeguarding both the generator and connected devices.
Another technological highlight is the IntelliGEN Technology, which adjusts the generator’s output based on the load, ensuring optimal fuel efficiency and performance. This smart management reduces fuel waste and extends the operating time of the generator on a single tank.
Overall, the Briggs & Stratton 30204 is a powerful generator that strikes the perfect balance between performance, efficiency, and durability. Whether for home backup during storms or powering tools on a construction site, this generator is a versatile and dependable choice for anyone in need of reliable electrical power. Its blend of advanced technology and robust construction ensures that it can meet a wide range of power demands, providing peace of mind and convenience.