Securing Your Child |
|
| |
Buckling and Tightening the Harness |
|
| |
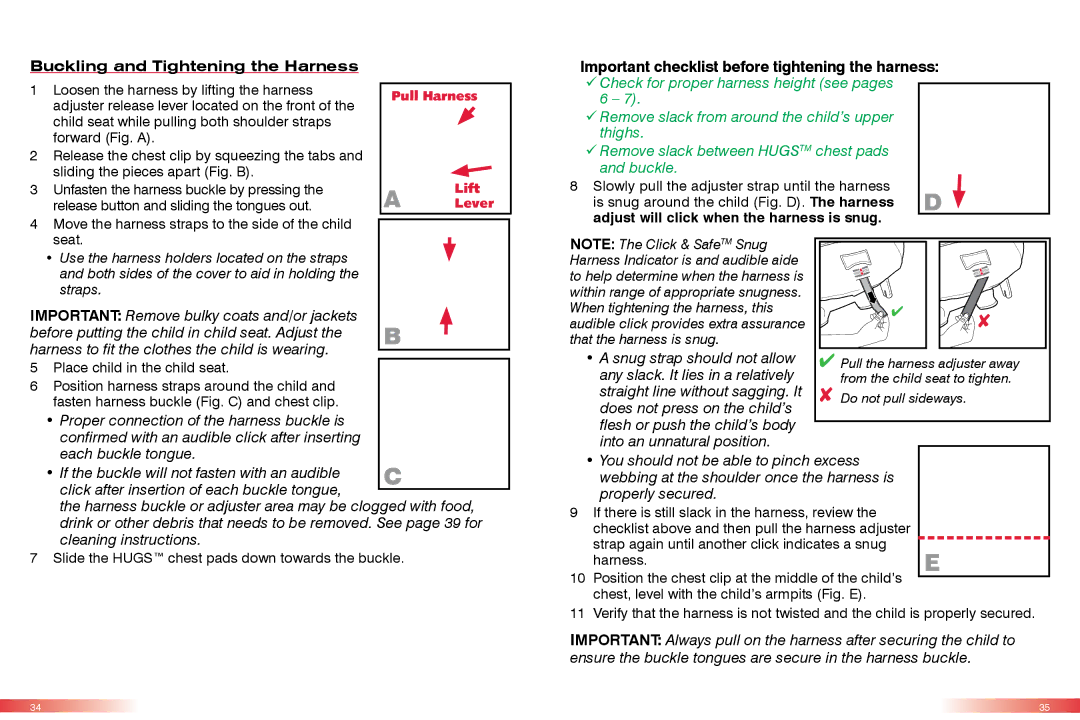
1 | Loosen the harness by lifting the harness | Pull Harness | |
| adjuster release lever located on the front of the | ||
|
|
| |
| child seat while pulling both shoulder straps |
|
|
| forward (Fig. A). |
|
|
2 | Release the chest clip by squeezing the tabs and |
|
|
| sliding the pieces apart (Fig. B). |
|
|
3 | Unfasten the harness buckle by pressing the | A | Lift |
| release button and sliding the tongues out. | Lever | |
4 Move the harness straps to the side of the child seat.
•Use the harness holders located on the straps and both sides of the cover to aid in holding the straps.
IMPORTANT: Remove bulky coats and/or jackets before putting the child in child seat. Adjust the B harness to fit the clothes the child is wearing.
5Place child in the child seat.
6Position harness straps around the child and fasten harness buckle (Fig. C) and chest clip.
•Proper connection of the harness buckle is confirmed with an audible click after inserting each buckle tongue.
• If the buckle will not fasten with an audible | C |
click after insertion of each buckle tongue, |
|
|
the harness buckle or adjuster area may be clogged with food, drink or other debris that needs to be removed. See page 39 for cleaning instructions.
7 Slide the HUGS™ chest pads down towards the buckle.
Securing Your Child
Important checklist before tightening the harness:
99Check for proper harness height (see pages
6 – 7).
99Remove slack from around the child’s upper thighs.
99Remove slack between HUGSTM chest pads and buckle.
8 Slowly pull the adjuster strap until the harness
is snug around the child (Fig. D). The harness D adjust will click when the harness is snug.
NOTE: The Click & SafeTM Snug Harness Indicator is and audible aide to help determine when the harness is within range of appropriate snugness. When tightening the harness, this audible click provides extra assurance that the harness is snug.
• A snug strap should not allow |
|
|
|
|
| ||
Pull the harness adjuster away | |||||||
any slack. It lies in a relatively | |||||||
from the child seat to tighten. | |||||||
straight line without sagging. It | Do not pull sideways. | ||||||
does not press on the child’s | |||||||
|
|
|
|
| |||
flesh or push the child’s body |
|
|
|
|
|
| |
|
|
|
|
|
| ||
into an unnatural position. |
|
|
|
|
| ||
•You should not be able to pinch excess webbing at the shoulder once the harness is properly secured.
9If there is still slack in the harness, review the checklist above and then pull the harness adjuster
strap again until another click indicates a snug | E | |
harness. | ||
10 Position the chest clip at the middle of the child’s | ||
| ||
chest, level with the child’s armpits (Fig. E). |
|
11 Verify that the harness is not twisted and the child is properly secured.
IMPORTANT: Always pull on the harness after securing the child to ensure the buckle tongues are secure in the harness buckle.
34 | 35 |
