P2285_R02c.qxd 12/8/2003 12:19 PM Page 20


 Installation:

 Forward

 Facing


![]()
![]()
![]()
![]()
![]()
![]()
![]()
![]()
![]()
![]()
![]()
![]()
![]()
![]()
![]()
![]()
![]()
![]()
![]()
![]()
![]()
![]()
![]()
![]()
![]()
![]()
![]()
![]()
![]()
![]()
![]()
![]()
![]()
![]()
![]()
![]()
![]()
![]()
![]()
![]()
![]()
![]()
![]()
![]()
![]()
![]()
![]()
![]()
![]()
![]()
![]()
![]()
![]()
![]()
![]()
![]()
![]()
![]()
![]() Installation:
Installation:![]()
![]()
![]()
![]() Forward
Forward![]()
![]()
![]()
![]() Facing
Facing![]()
![]()
![]()
![]()
Forward Facing
Lap-Shoulder Belt Installation
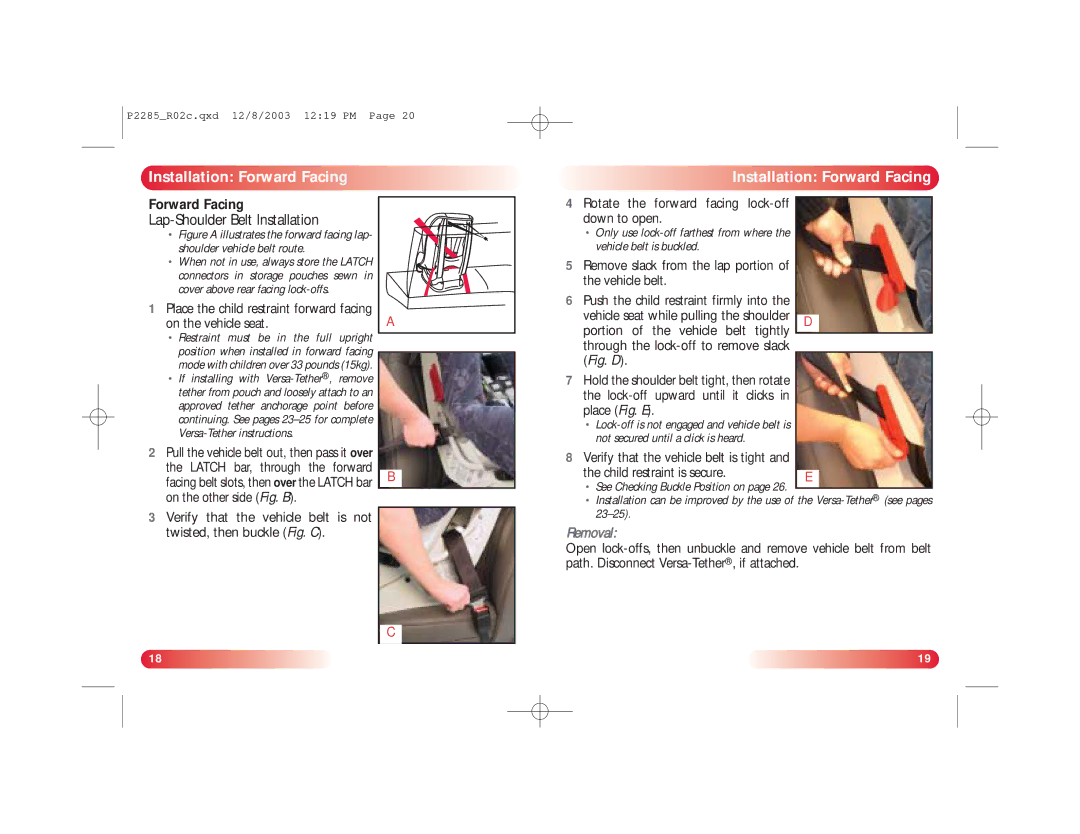
•Figure A illustrates the forward facing lap- shoulder vehicle belt route.
•When not in use, always store the LATCH connectors in storage pouches sewn in cover above rear facing
1Place the child restraint forward facing on the vehicle seat.
•Restraint must be in the full upright position when installed in forward facing mode with children over 33 pounds (15kg).
•If installing with
2Pull the vehicle belt out, then pass it over the LATCH bar, through the forward facing belt slots, then over the LATCH bar on the other side (Fig. B).
A |
B
4 Rotate the forward facing lock-off down to open.
•Only use
5Remove slack from the lap portion of the vehicle belt.
6Push the child restraint firmly into the
vehicle seat while pulling the shoulder |
|
|
|
| D | ||
portion of the vehicle belt tightly |
|
|
|
|
|
| |
through the |
|
|
|
(Fig. D). |
|
|
|
7Hold the shoulder belt tight, then rotate the
•
8Verify that the vehicle belt is tight and
the child restraint is secure. | E |
• | See Checking Buckle Position on page 26. |
|
| ||
• | Installation can be improved by the use of the | |
3Verify that the vehicle belt is not twisted, then buckle (Fig. C).
C
Removal:
Open
18 | 19 |
