683 specifications
The Broan 683 ceiling exhaust fan is an excellent choice for those seeking a reliable and efficient ventilation solution for their homes. Designed with discretion and functionality in mind, this fan combines modern technology with user-friendly features, making it ideal for bathrooms, kitchens, and utility rooms.One of the standout features of the Broan 683 is its powerful motor, which ensures efficient air movement and quick moisture removal. With a CFM (Cubic Feet per Minute) rating that effectively ventilates spaces, the fan helps to reduce humidity levels, which in turn minimizes the risk of mold and mildew growth. This is especially vital in areas prone to moisture accumulation, providing a healthier indoor environment.
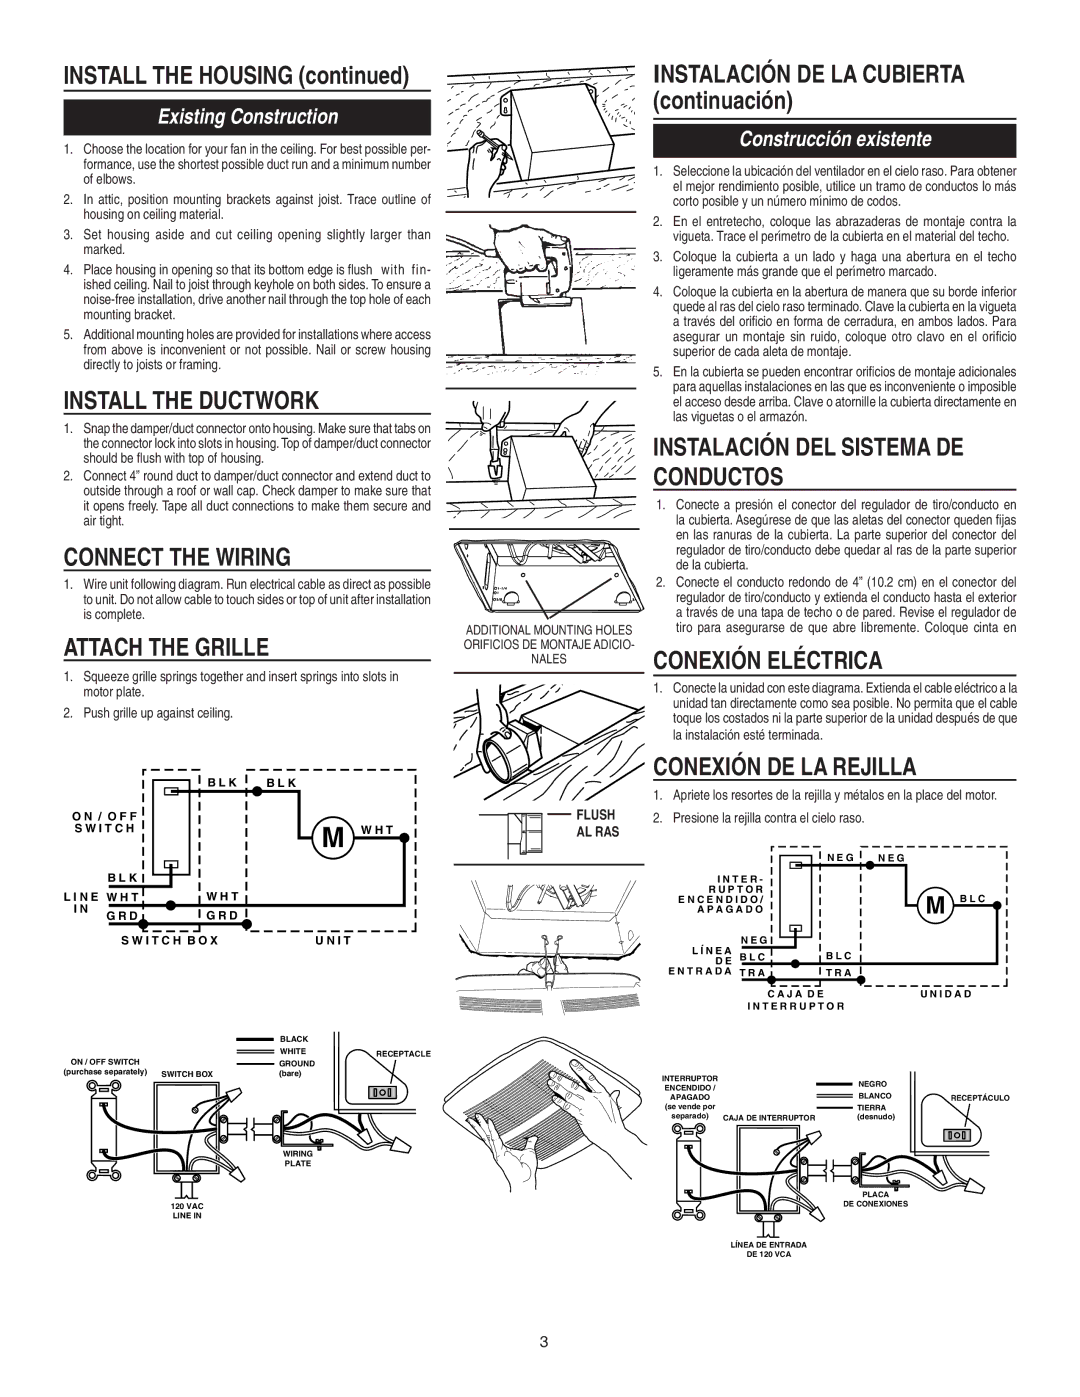
The installation process of the Broan 683 is straightforward, thanks to its compact and lightweight design. It includes a white polymeric grille that blends seamlessly with most decor, ensuring it can complement any room without being an eyesore. The fan itself is built for long-lasting performance, with a durable housing that protects it from wear and tear, thereby extending its functional lifespan.
Another remarkable characteristic of the Broan 683 is its quiet operation. The fan is engineered to reduce noise levels significantly, providing ventilation without disturbing the peace of your living spaces. This feature is especially valuable in bedrooms and bathrooms, where tranquility is essential.
Additionally, the fan is equipped with a plug-in motor, which simplifies maintenance and repair. If any issues arise, users can easily replace the motor without needing to uninstall the entire unit. The motor's design also focuses on energy efficiency, which leads to reduced electricity consumption and lower utility bills—an appealing aspect for cost-conscious consumers.
In terms of technology, the Broan 683 incorporates innovative air circulation engineering. This ensures effective distribution of airflow, ultimately maintaining a consistent ventilation rate across the entire room.
In conclusion, the Broan 683 ceiling exhaust fan is a perfect blend of efficiency, durability, and quiet operation. Its robust motor, ease of installation, discreet design, and energy-efficient performance make it an ideal choice for anyone looking to enhance indoor air quality while maintaining a peaceful home environment. Whether in the bathroom or kitchen, the Broan 683 stands out as a superior ventilation solution.

