21. USE AND CARE (CONT’D)
Avoid: when choosing a detergent
-Any cleaners that contain bleach will attack stainless steel.
-Any products containing : chloride, fluoride, iodide, bromide will deteriorate surfaces rapidly.
-Any combustible products used for cleaning such as acetone, alcohol, ether, benzol, etc., are highly explosive and should never be used close to a range.
22. OPERATION
Always turn your blower on before you begin cooking to establish an air flow in the kitchen. Let the blower run for a few minutes to clear the air after you turn off the range. This will help keep the whole kitchen cleaner and brighter.
|
|
|
|
|
|
|
|
|
|
|
|
|
|
|
|
|
|
|
|
|
|
|
|
HC0007 |
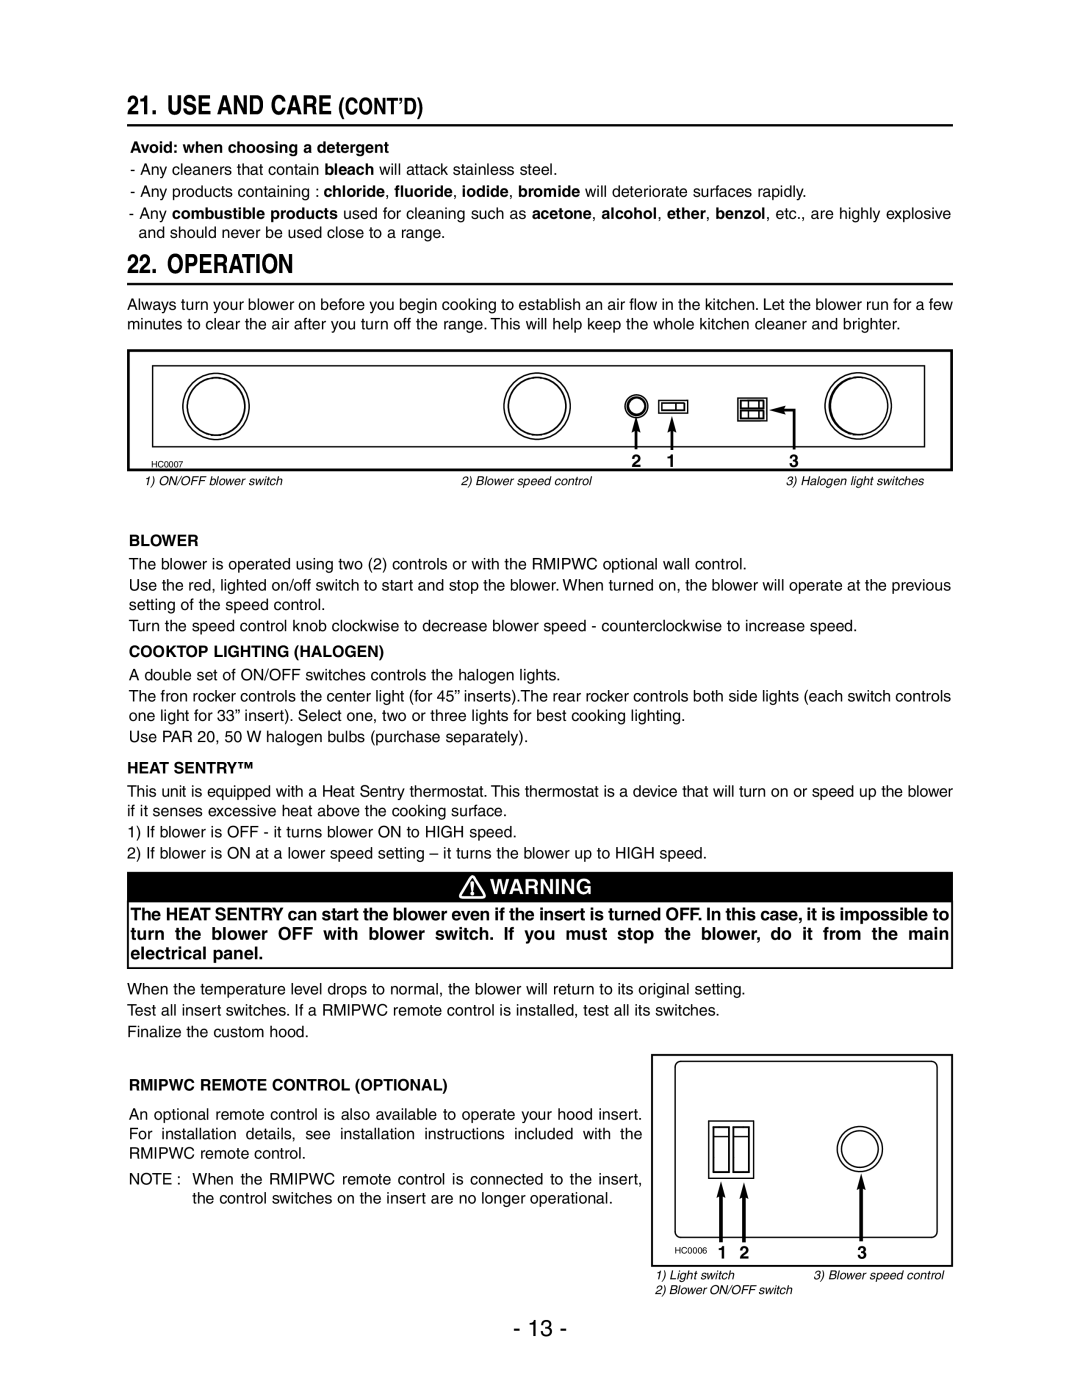
| 2 | 1 | 3 |
| ||
1) ON/OFF blower switch | 2) Blower speed control |
|
| 3) Halogen light switches | |||
BLOWER
The blower is operated using two (2) controls or with the RMIPWC optional wall control.
Use the red, lighted on/off switch to start and stop the blower. When turned on, the blower will operate at the previous setting of the speed control.
Turn the speed control knob clockwise to decrease blower speed - counterclockwise to increase speed.
COOKTOP LIGHTING (HALOGEN)
A double set of ON/OFF switches controls the halogen lights.
The fron rocker controls the center light (for 45’’ inserts).The rear rocker controls both side lights (each switch controls one light for 33’’ insert). Select one, two or three lights for best cooking lighting.
Use PAR 20, 50 W halogen bulbs (purchase separately).
HEAT SENTRY™
This unit is equipped with a Heat Sentry thermostat. This thermostat is a device that will turn on or speed up the blower if it senses excessive heat above the cooking surface.
1)If blower is OFF - it turns blower ON to HIGH speed.
2)If blower is ON at a lower speed setting – it turns the blower up to HIGH speed.
!WARNING
The HEAT SENTRY can start the blower even if the insert is turned OFF. In this case, it is impossible to turn the blower OFF with blower switch. If you must stop the blower, do it from the main electrical panel.
When the temperature level drops to normal, the blower will return to its original setting.
Test all insert switches. If a RMIPWC remote control is installed, test all its switches.
Finalize the custom hood.
RMIPWC REMOTE CONTROL (OPTIONAL)
An optional remote control is also available to operate your hood insert. For installation details, see installation instructions included with the RMIPWC remote control.
NOTE : When the RMIPWC remote control is connected to the insert, the control switches on the insert are no longer operational.
HC0006 | 1 | 2 | 3 |
1) Light switch | 3) Blower speed control |
2) Blower ON/OFF switch |
|
- 13 -