Creating a Serial Connection
To create a serial connection to the SilkWorm 3014 you need to connect to the serial port on the DRAC/MC of the PowerEdge 1855 chassis.
For details about setting up the terminal emulation with the correct connection and login information using the PowerEdge 1855 DRAC/MC, refer to the PowerEdge 1855 documentation.
Connecting to the Switch
To log in to the switch through the serial connection:
1.Verify that the switch has completed POST. When POST is complete, the port status and switch power and status LEDs return to a standard healthy state.
2.Login to the DRAC/MC as specified in “Creating a Serial Connection” on page 5.
3.At the command prompt, type connect
4.At the login prompt, log in to the Silkworm 3014 switch as admin and enter the password.
Setting the Switch IP Address
By default, the IP address for the SilkWork 3014 is configured as 10.77.77.77. To replace the default IP address and related information:
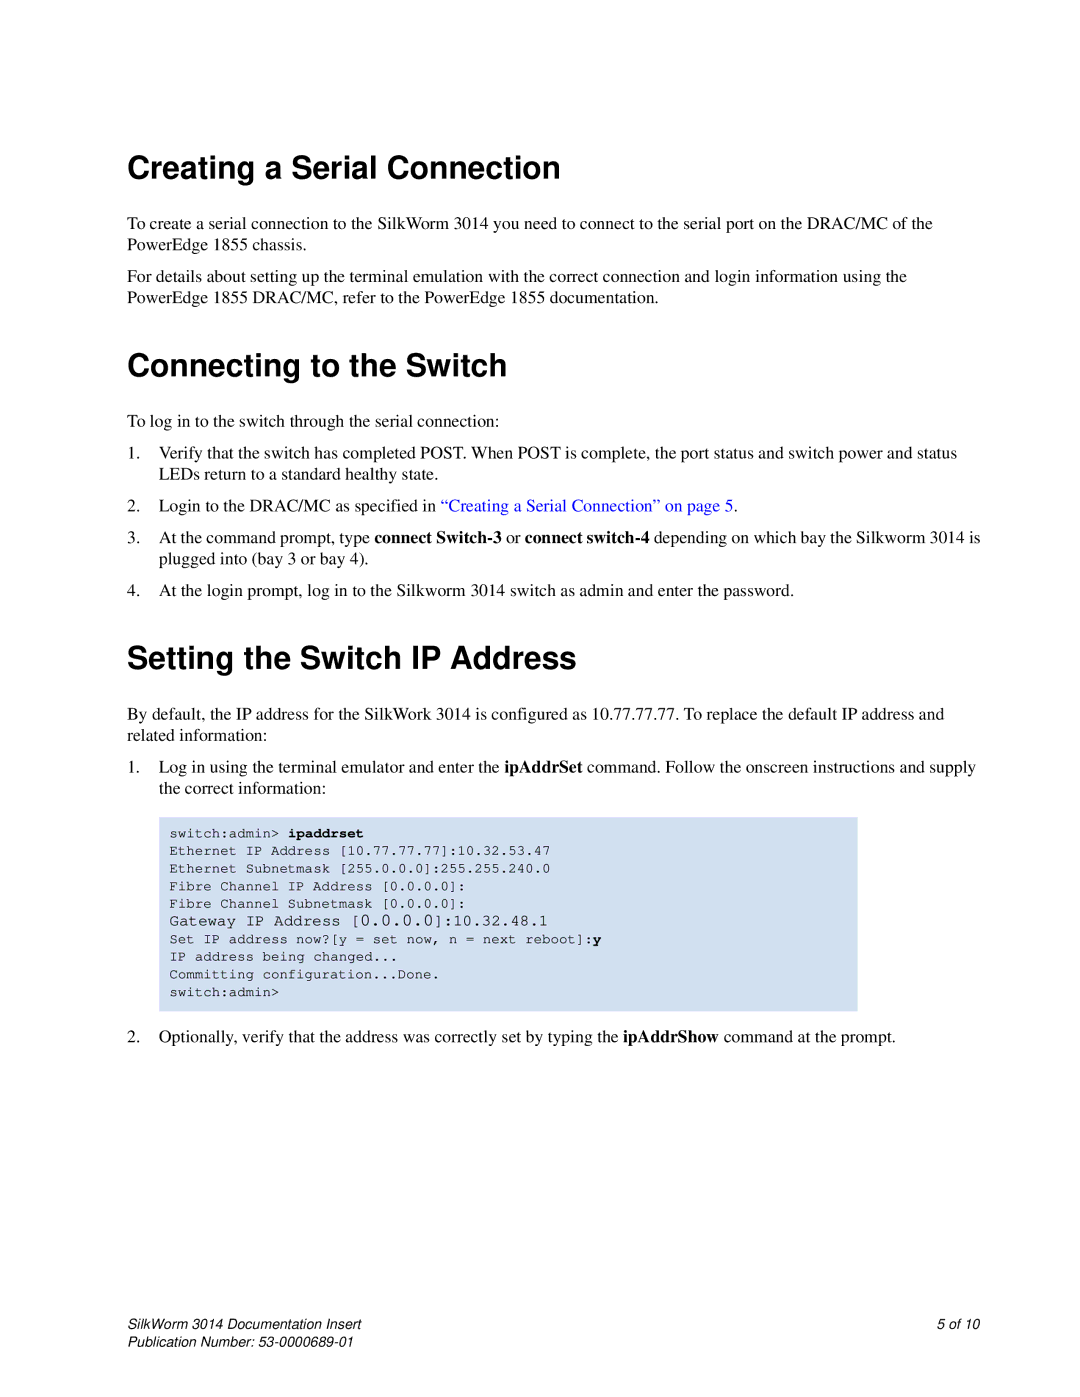
1.Log in using the terminal emulator and enter the ipAddrSet command. Follow the onscreen instructions and supply the correct information:
switch:admin> ipaddrset
Ethernet IP Address [10.77.77.77]:10.32.53.47
Ethernet Subnetmask [255.0.0.0]:255.255.240.0
Fibre Channel IP Address [0.0.0.0]:
Fibre Channel Subnetmask [0.0.0.0]:
Gateway IP Address [0.0.0.0]:10.32.48.1
Set IP address now?[y = set now, n = next reboot]:y
IP address being changed...
Committing configuration...Done.
switch:admin>
2.Optionally, verify that the address was correctly set by typing the ipAddrShow command at the prompt.
SilkWorm 3014 Documentation Insert | 5 of 10 |
Publication Number:
