ES 2000 specifications
The Brother ES-2000 is a versatile and user-friendly sewing machine designed for both beginners and experienced sewists. This model is well-regarded for its combination of functionality, ease of use, and advanced technology. It caters to a broad range of sewing projects, making it a worthy addition to any sewing room.One of the standout features of the Brother ES-2000 is its extensive stitch selection. With over 100 stitch options, including utility stitches, decorative stitches, and quilting stitches, users have the flexibility to tackle a diverse array of sewing tasks. The machine also boasts an automatic one-step buttonhole feature, making the process of creating buttonholes straightforward and hassle-free.
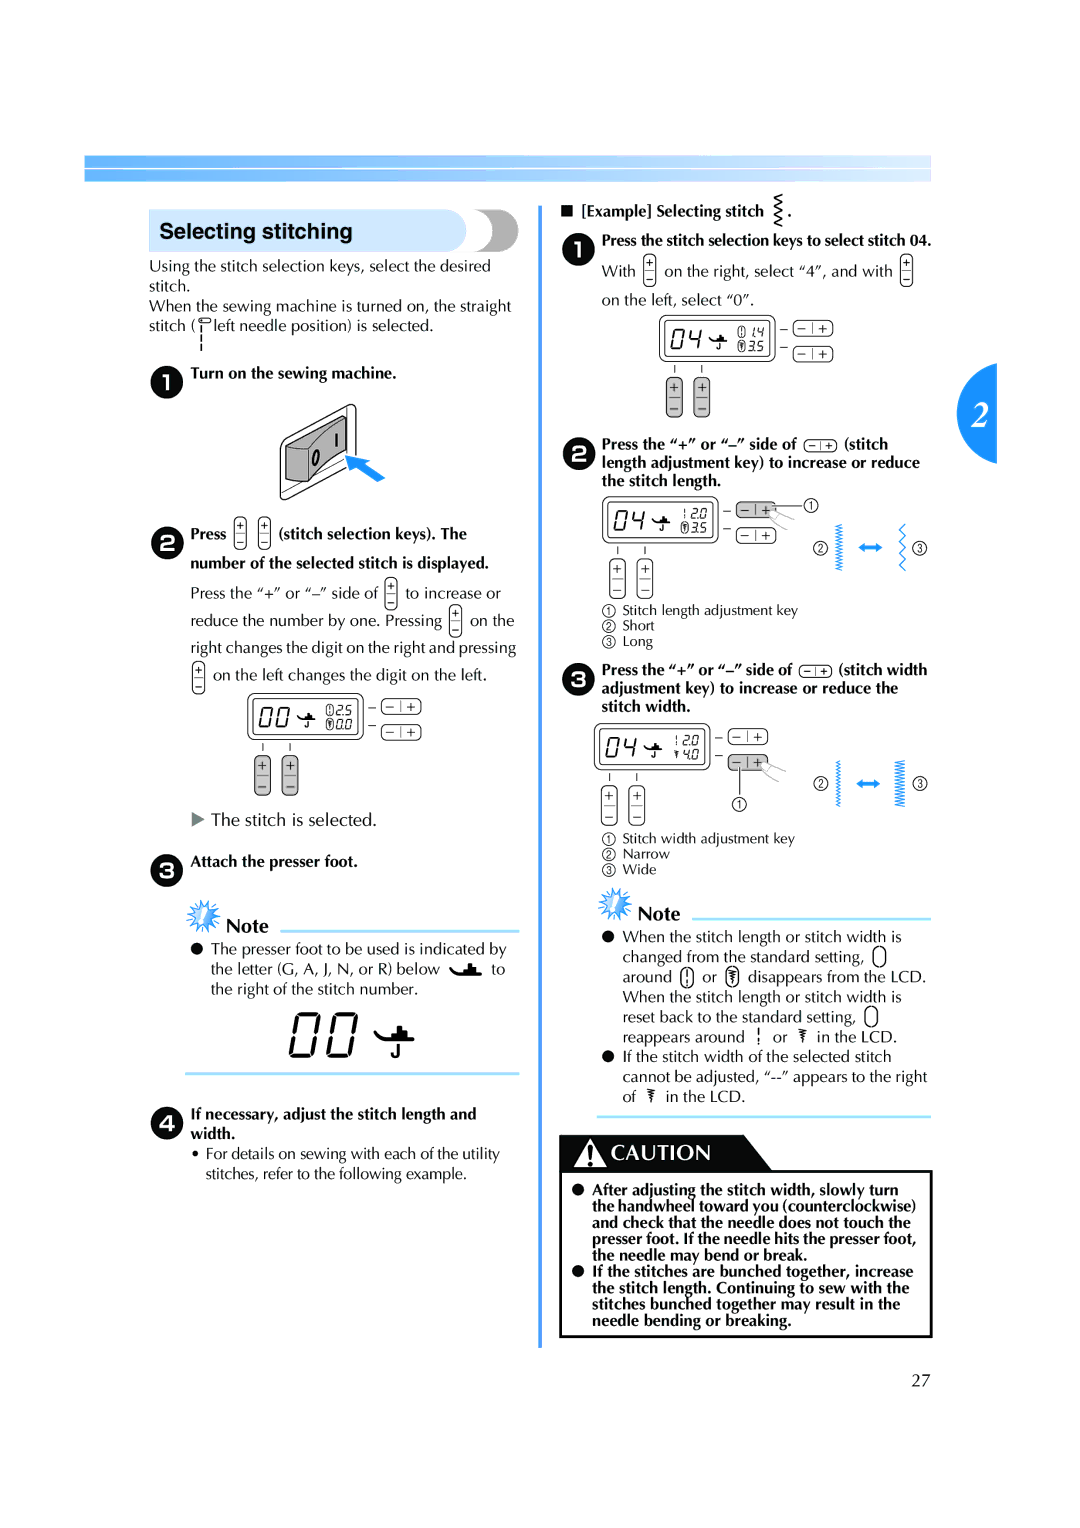
In terms of technology, the Brother ES-2000 is equipped with an intuitive LCD screen, allowing users to easily navigate through stitch selections and settings. This display simplifies the sewing experience, providing clear visibility of stitch choices, adjustments, and any necessary instructions. With a built-in needle threader, threading is made even more effortless, saving time and reducing frustration.
The Brother ES-2000 incorporates powerful feed technology, which ensures smooth fabric handling and consistent stitch quality across various material types. This feature is particularly beneficial when working with thicker fabrics or multiple layers, as it provides the necessary control and support.
Another notable characteristic is the adjustable sewing speed control, which allows users to tailor their crafting experience to their skill level. This feature is invaluable for beginners who may prefer a slower pace while learning the ropes, while intermediates and experts can take advantage of the higher speeds for more complex projects.
Additionally, the sewing machine is designed with convenience in mind. The lightweight and portable design make it easy to transport, and the built-in carrying handle adds to its portability. The Brother ES-2000 also offers ample workspace, featuring a wide table that provides extra support for larger projects, making it an excellent choice for quilting and other extensive sewing tasks.
In conclusion, the Brother ES-2000 is a well-rounded sewing machine that combines an impressive range of features with modern technology. Its versatility and user-friendly design make it suitable for both novice and experienced sewists, allowing users to explore their creativity and tackle a wide variety of sewing projects with confidence.

