SP2 PREAMP/PROCESSOR

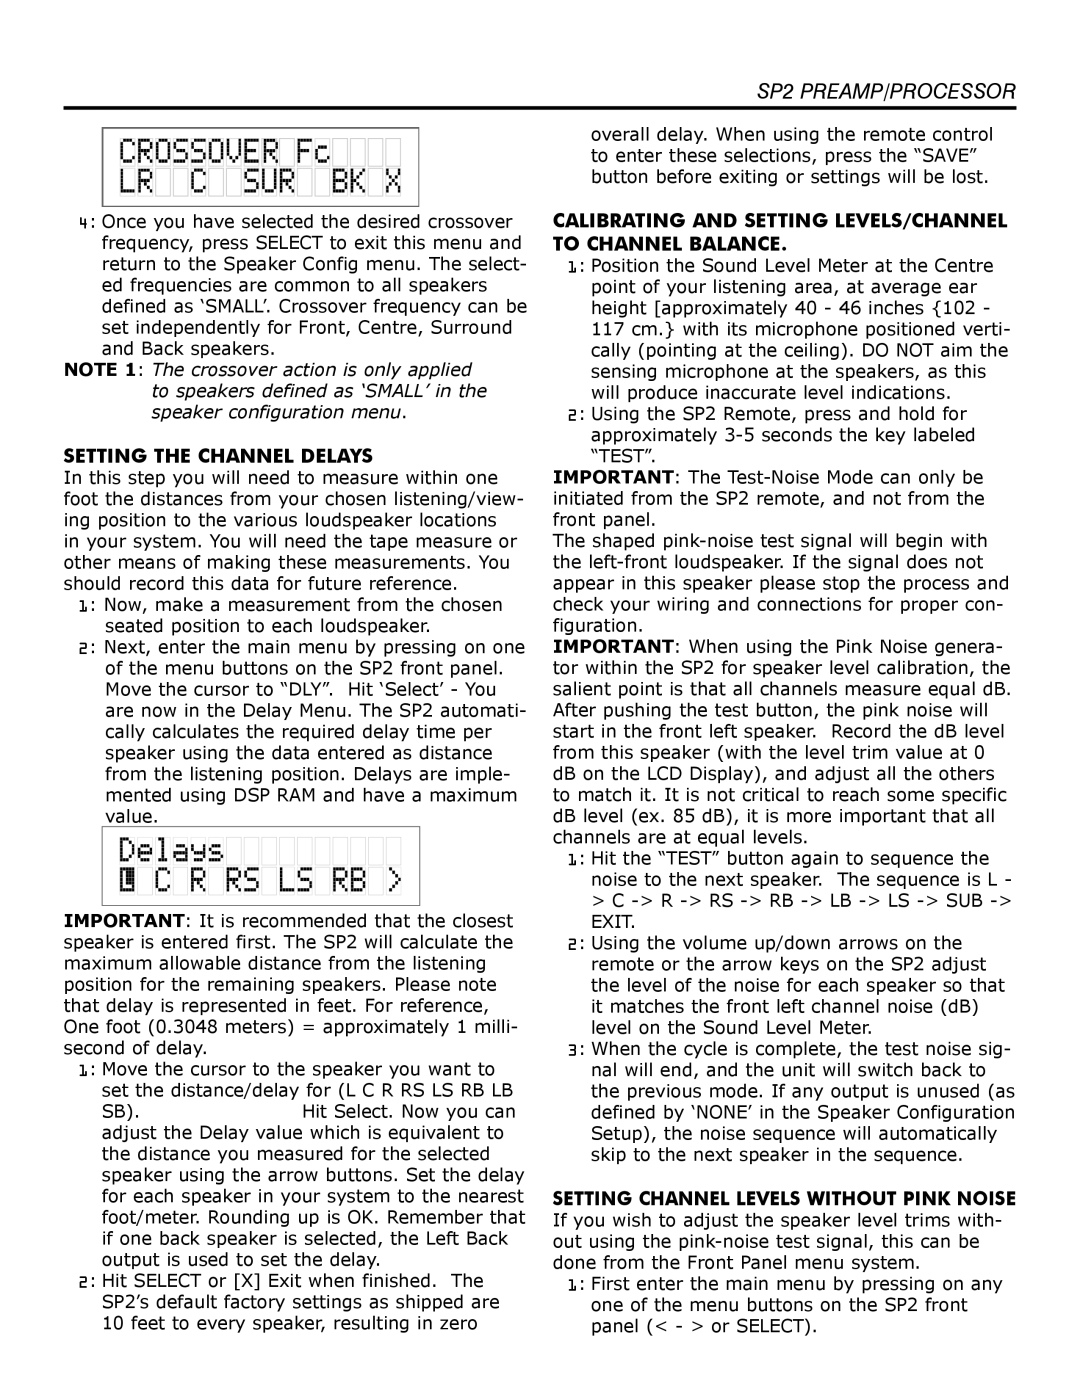
4: Once. .you .have .selected .the .desired .crossover . frequency, .press .SELECT .to .exit .this .menu .and . return .to .the .Speaker .Config .menu. .The .select- ed .frequencies .are .common .to .all .speakers . defined .as .‘SMALL’. .Crossover .frequency .can .be . set .independently .for .Front, .Centre, .Surround . and .Back .speakers.

NOTE 1: The. crossover action is only applied to speakers defined as ‘SMALL’ in the speaker configuration menu. .

Setting the Channel Delays

In .this .step .you .will .need .to .measure .within .one . foot .the .distances .from .your .chosen .listening/view- ing .position .to .the .various .loudspeaker .locations . in .your .system. .You .will .need .the .tape .measure .or . other .means .of .making .these .measurements. .You . should .record .this .data .for .future .reference. .

. 1: Now,. .make .a .measurement .from .the .chosen . seated .position .to .each .loudspeaker. .

. 2: Next,. .enter .the .main .menu .by .pressing .on .one . of .the .menu .buttons .on .the .SP2 .front .panel. . Move .the .cursor .to .“DLY”. .Hit .‘Select’ .- .You . are .now .in .the .Delay .Menu. .The .SP2 .automati- cally .calculates .the .required .delay .time .per . speaker .using .the .data .entered .as .distance . from .the .listening .position. .Delays .are .imple- mented .using .DSP .RAM .and .have .a .maximum . value. .

IMPORTANT: .It .is .recommended .that .the .closest . speaker .is .entered .first. .The .SP2 .will .calculate .the . maximum .allowable .distance .from .the .listening . position .for .the .remaining .speakers. .Please .note . that .delay .is .represented .in .feet. .For .reference, . One .foot .(0.3048 .meters) .= .approximately .1 .milli- second .of .delay. .

. 1: Move. .the .cursor .to .the .speaker .you .want .to . set .the .distance/delay .for .(L .C .R .RS .LS .RB .LB .

SB). . .Hit .Select. .Now .you .can . adjust .the .Delay .value .which .is .equivalent .to . the .distance .you .measured .for .the .selected . speaker .using .the .arrow .buttons. .Set .the .delay . for .each .speaker .in .your .system .to .the .nearest . foot/meter. .Rounding .up .is .OK. .Remember .that . if .one .back .speaker .is .selected, .the .Left .Back . output .is .used .to .set .the .delay. .

. 2: Hit. .SELECT .or .[X] .Exit .when .finished. .The . SP2’s .default .factory .settings .as .shipped .are .

10 .feet .to .every .speaker, .resulting .in .zero .

overall .delay. .When .using .the .remote .control . to .enter .these .selections, .press .the .“SAVE” . button .before .exiting .or .settings .will .be .lost.

Calibrating and Setting Levels/Channel to Channel Balance.

. 1: Position. .the .Sound .Level .Meter .at .the .Centre . point .of .your .listening .area, .at .average .ear . height .[approximately .40 .- .46 .inches .{102 .- .

117.cm.} .with .its .microphone .positioned .verti- cally .(pointing .at .the .ceiling). .DO .NOT .aim .the . sensing .microphone .at .the .speakers, .as .this . will .produce .inaccurate .level .indications. .

. 2: Using. .the .SP2 .Remote, .press .and .hold .for . approximately .3-5 .seconds .the .key .labeled . “TEST”. .

IMPORTANT: .The .Test-Noise .Mode .can .only .be . initiated .from .the .SP2 .remote, .and .not .from .the . front .panel. .

The .shaped .pink-noise .test .signal .will .begin .with . the .left-front .loudspeaker. .If .the .signal .does .not . appear .in .this .speaker .please .stop .the .process .and . check .your .wiring .and .connections .for .proper .con- figuration. .

IMPORTANT: .When .using .the .Pink .Noise .genera- tor .within .the .SP2 .for .speaker .level .calibration, .the . salient .point .is .that .all .channels .measure .equal .dB. . After .pushing .the .test .button, .the .pink .noise .will . start .in .the .front .left .speaker. .Record .the .dB .level . from .this .speaker .(with .the .level .trim .value .at .0 . dB .on .the .LCD .Display), .and .adjust .all .the .others . to .match .it. .It .is .not .critical .to .reach .some .specific . dB .level .(ex. .85 .dB), .it .is .more .important .that .all . channels .are .at .equal .levels. .

. 1: Hit. .the .“TEST” .button .again .to .sequence .the . noise .to .the .next .speaker. .The .sequence .is .L .-

>.C .-> .R .-> .RS .-> .RB .-> .LB .-> .LS .-> .SUB .-> . EXIT. .

. 2: Using. .the .volume .up/down .arrows .on .the . remote .or .the .arrow .keys .on .the .SP2 .adjust . the .level .of .the .noise .for .each .speaker .so .that . it .matches .the .front .left .channel .noise .(dB) . level .on .the .Sound .Level .Meter. .

. 3: When. .the .cycle .is .complete, .the .test .noise .sig- nal .will .end, .and .the .unit .will .switch .back .to . the .previous .mode. .If .any .output .is .unused .(as . defined .by .‘NONE’ .in .the .Speaker .Configuration . Setup), .the .noise .sequence .will .automatically . skip .to .the .next .speaker .in .the .sequence. .

Setting Channel Levels without Pink Noise

If .you .wish .to .adjust .the .speaker .level .trims .with- out .using .the .pink-noise .test .signal, .this .can .be . done .from .the .Front .Panel .menu .system. .

. 1: First. .enter .the .main .menu .by .pressing .on .any .

one .of .the .menu .buttons .on .the .SP2 .front . panel .(< .- .> .or .SELECT). .

12

Page 13
Image 13
Bryston SP2 PREAMP owner manual Setting the Channel Delays, Calibrating and Setting Levels/Channel to Channel Balance

SP2 PREAMP specifications

The Bryston SP2 preamplifier stands as a hallmark of high-performance audio engineering, designed to deliver an exceptional listening experience to audiophiles and home theater enthusiasts alike. This remarkable component is not only a testament to Bryston's commitment to quality but also incorporates advanced technologies that cater to a wide range of audio applications.

One of the standout features of the SP2 is its extensive connectivity options. The preamp offers multiple analog and digital inputs, including balanced XLR, unbalanced RCA, and a variety of digital formats such as coaxial, optical, and USB. This versatility allows users to seamlessly integrate the SP2 into their existing audio systems, accommodating a plethora of sources ranging from traditional vinyl players to modern digital streamers.

Incorporating advanced digital signal processing (DSP), the SP2 also features room correction capabilities, enabling users to tailor their audio experience to the unique acoustics of their space. This technology optimizes the sound output, ensuring that every note and nuance is delivered with precision, regardless of environmental factors. Users can benefit from improved spatial imaging and clarity, leading to a more immersive soundstage.

The SP2 also boasts a high-quality D/A converter, which enhances audio playback realism. Capable of decoding high-resolution audio formats, it ensures that even the most intricate details in a recording are accurately reproduced. With support for sample rates up to 192 kHz, the SP2 promises a listening experience that is both engaging and true to the original recording.

Another prominent feature of the Bryston SP2 is its customizable processing options, including bass management and surround sound processing. This allows for an optimized audio experience whether listening to music or immersing in a cinematic adventure. The flexibility of adding or bypassing various sound modes provides users with extensive control over their audio experience.

Built with Bryston's renowned reliability, the SP2 is constructed with premium components that provide durability and long-lasting performance. The design ethos emphasizes both elegance and functionality, making it an attractive centerpiece for any audio setup.

In summary, the Bryston SP2 preamp combines advanced technologies and thoughtful design to create a powerful audio tool. With its extensive connectivity options, superior D/A conversion, DSP capabilities, and robust build quality, the SP2 sets a high standard in the realm of audio preamplifiers, making it an ideal choice for enthusiasts seeking an unparalleled listening experience.