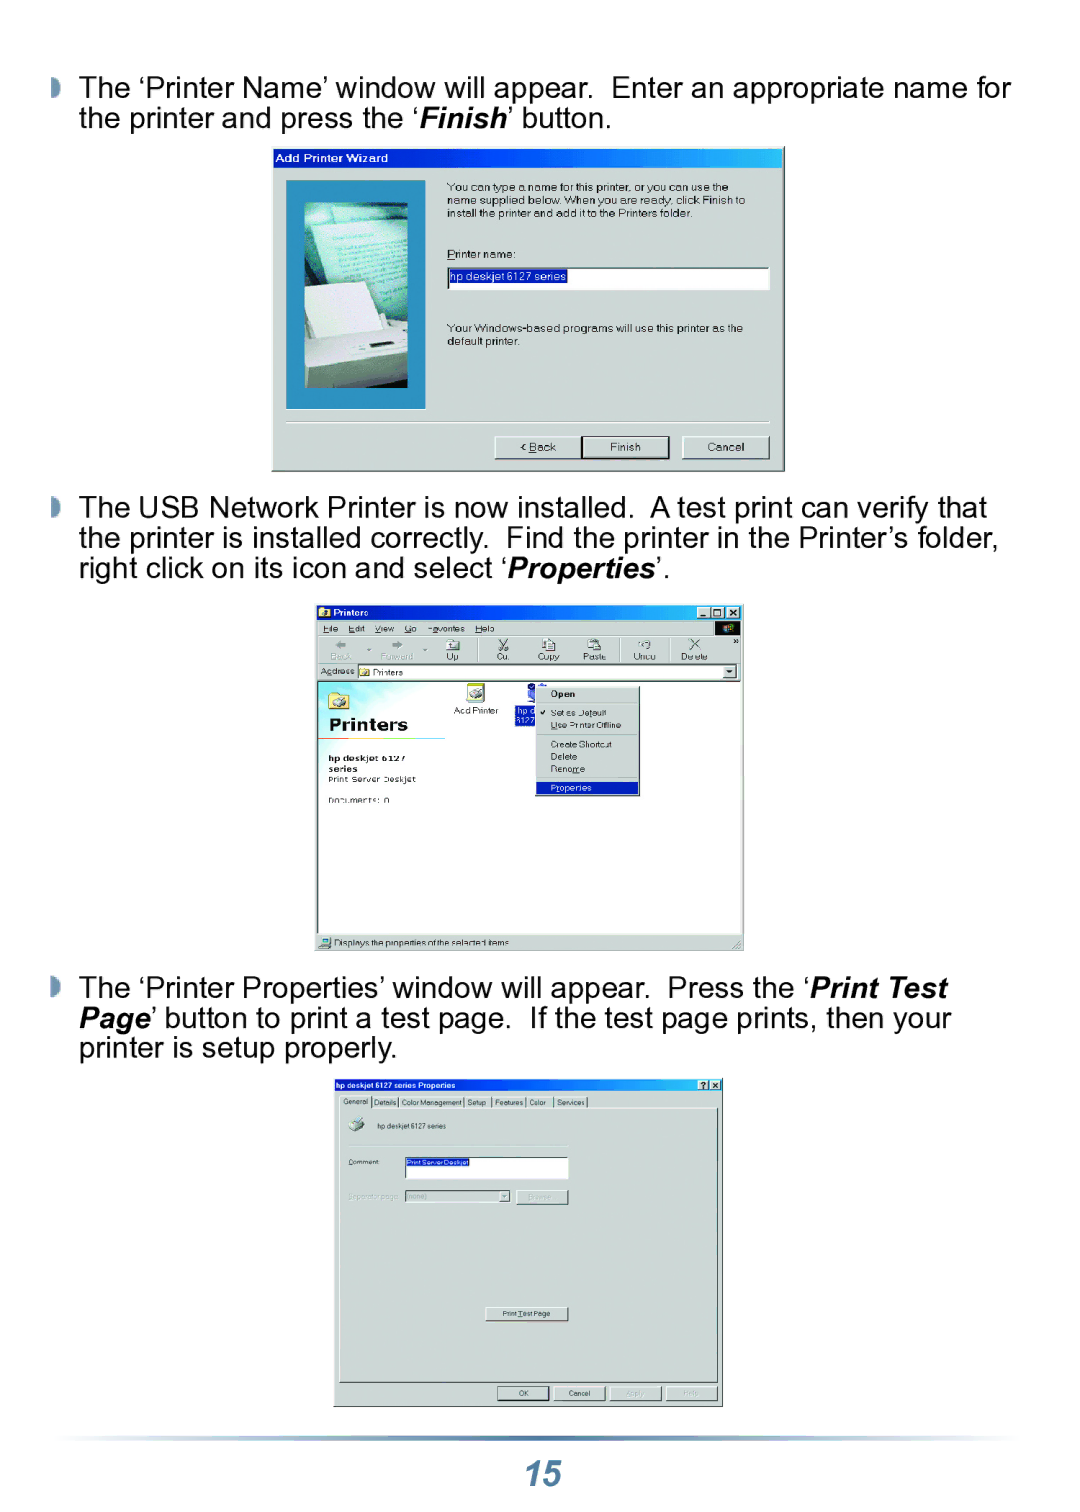
The ‘Printer Name’ window will appear. Enter an appropriate name for the printer and press the ‘Finish’ button.
The USB Network Printer is now installed. A test print can verify that the printer is installed correctly. Find the printer in the Printer’s folder, right click on its icon and select ‘Properties’.
The ‘Printer Properties’ window will appear. Press the ‘Print Test Page’ button to print a test page. If the test page prints, then your printer is setup properly.
15
