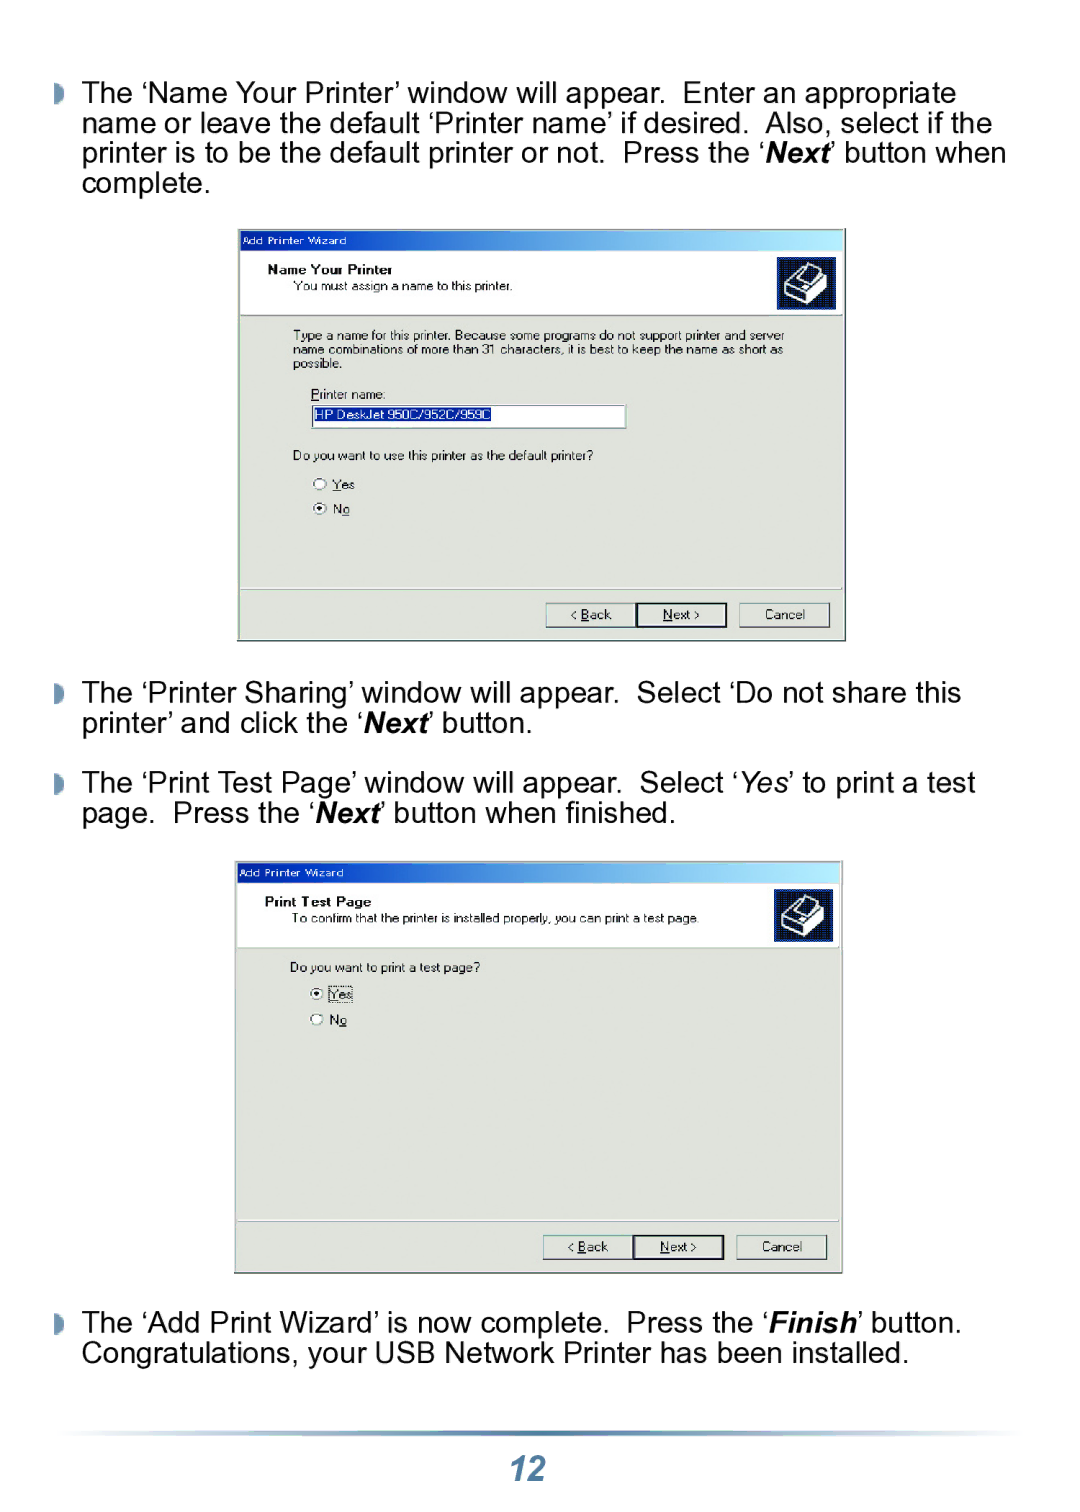
The ‘Name Your Printer’ window will appear. Enter an appropriate name or leave the default ‘Printer name’ if desired. Also, select if the printer is to be the default printer or not. Press the ‘Next’ button when complete.
The ‘Printer Sharing’ window will appear. Select ‘Do not share this printer’ and click the ‘Next’ button.
The ‘Print Test Page’ window will appear. Select ‘Yes’ to print a test page. Press the ‘Next’ button when finished.
The ‘Add Print Wizard’ is now complete. Press the ‘Finish’ button. Congratulations, your USB Network Printer has been installed.
12
