
G9-2 HD-S, G9-2T HD specifications
The Bunn G9-2T HD and G9-2 HD-S are two exceptional coffee grinders designed to meet the needs of high-volume coffee environments. These models are perfect for coffee shops, restaurants, and other businesses that require consistent and reliable grinding solutions.One of the main features of the Bunn G9-2T HD is its powerful grinding capabilities. Equipped with a heavy-duty, commercial-grade motor, it ensures that coffee beans are ground quickly and efficiently, making it ideal for high-demand settings. The grinder is designed to handle up to 3.5 pounds of coffee per hour, providing the necessary output for bustling cafes.
The G9-2T HD model also features two large stainless steel grinding burrs. These burrs provide a uniform grind size, which is essential for optimal extraction and great-tasting coffee. The grinder’s adjustment mechanism allows baristas to easily set the desired grind size, from coarse to fine, accommodating a variety of brewing methods.
In addition to its robust design, the G9-2 HD-S Grinder offers an innovative Smart Funnel design. This feature helps to prevent spills and allows for easy and mess-free loading of coffee grounds into the brew basket. This is particularly beneficial during busy service periods, as it minimizes cleanup time and maximizes efficiency.
Both models come with a grind chamber made of stainless steel, which reduces static build-up and helps to maintain freshness. They also feature a quick-release grind chamber that can be easily removed for cleaning. Regular maintenance is crucial in a high-volume environment, and the Bunn G9 grinders make this process straightforward.
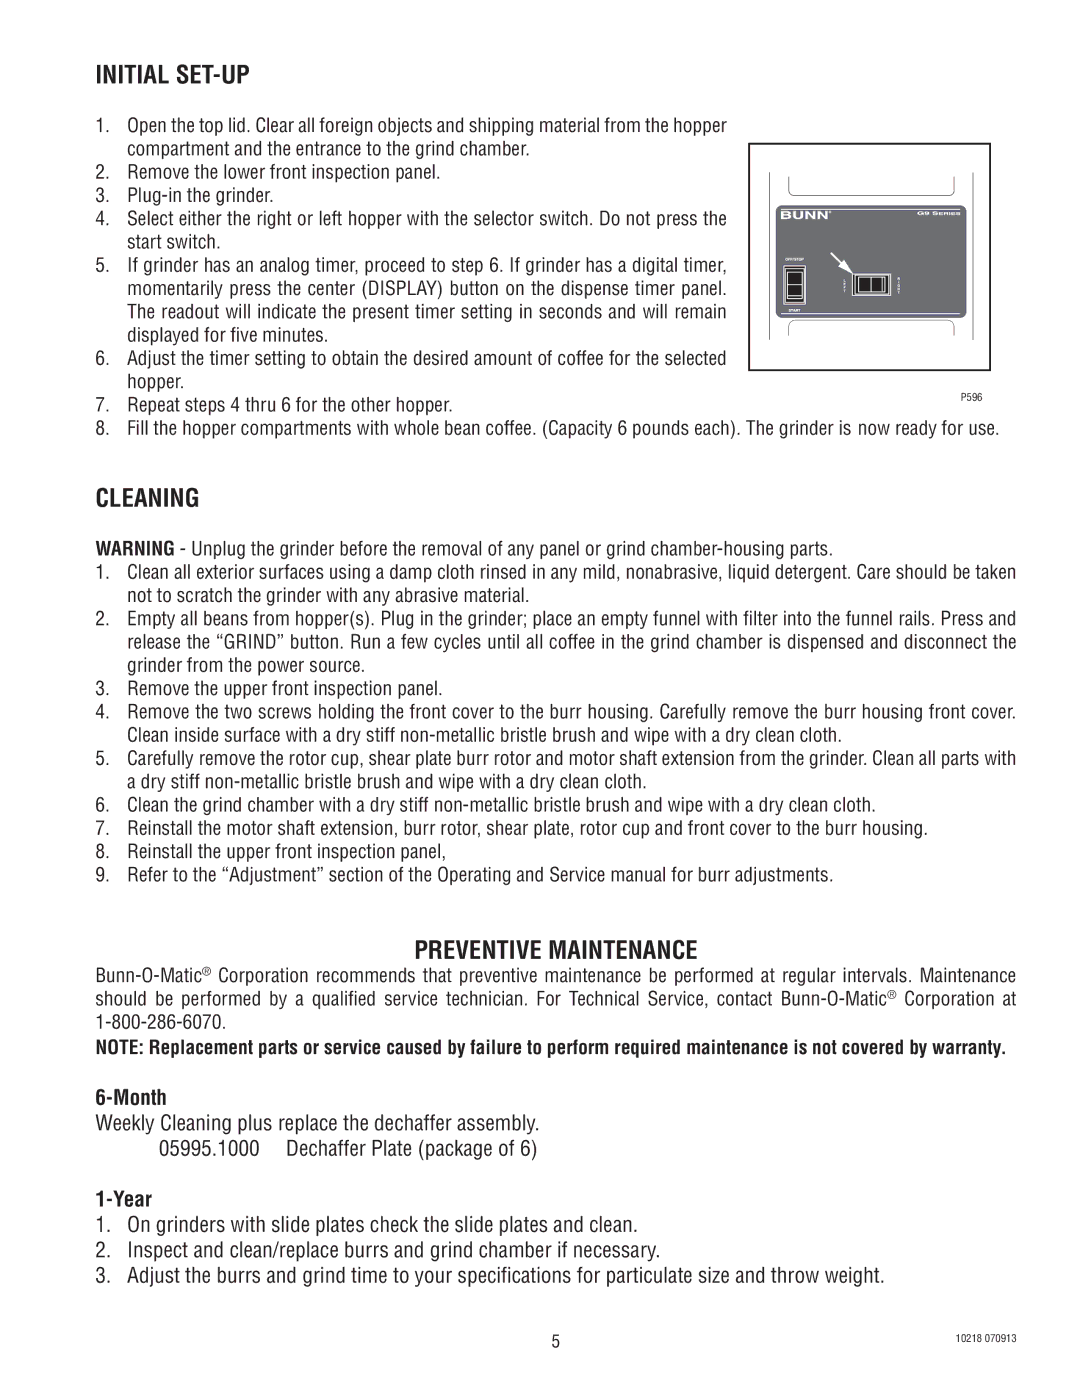
Moreover, the built-in digital timer on the G9-2 HD-S allows users to adjust grind time accurately, ensuring that the right amount of coffee is ground each time. This precision is essential for achieving consistency in taste and quality, which are vital in the competitive coffee industry.
The quiet operation of both machines is another noteworthy characteristic. Their design minimizes noise, ensuring that the ambiance of the café or restaurant is not disturbed. This feature enhances the overall customer experience, allowing patrons to enjoy their coffee in a pleasant environment.
In conclusion, the Bunn G9-2T HD and G9-2 HD-S grinders are excellent additions to any coffee-centric business. With their powerful motors, quality burrs, user-friendly features, and efficient design, these grinders stand out as reliable, high-performance options for coffee professionals. Whether it's grinding for espresso, drip brew, or cold brew, these machines deliver superior consistency and flavor, making them indispensable in the pursuit of exceptional coffee.