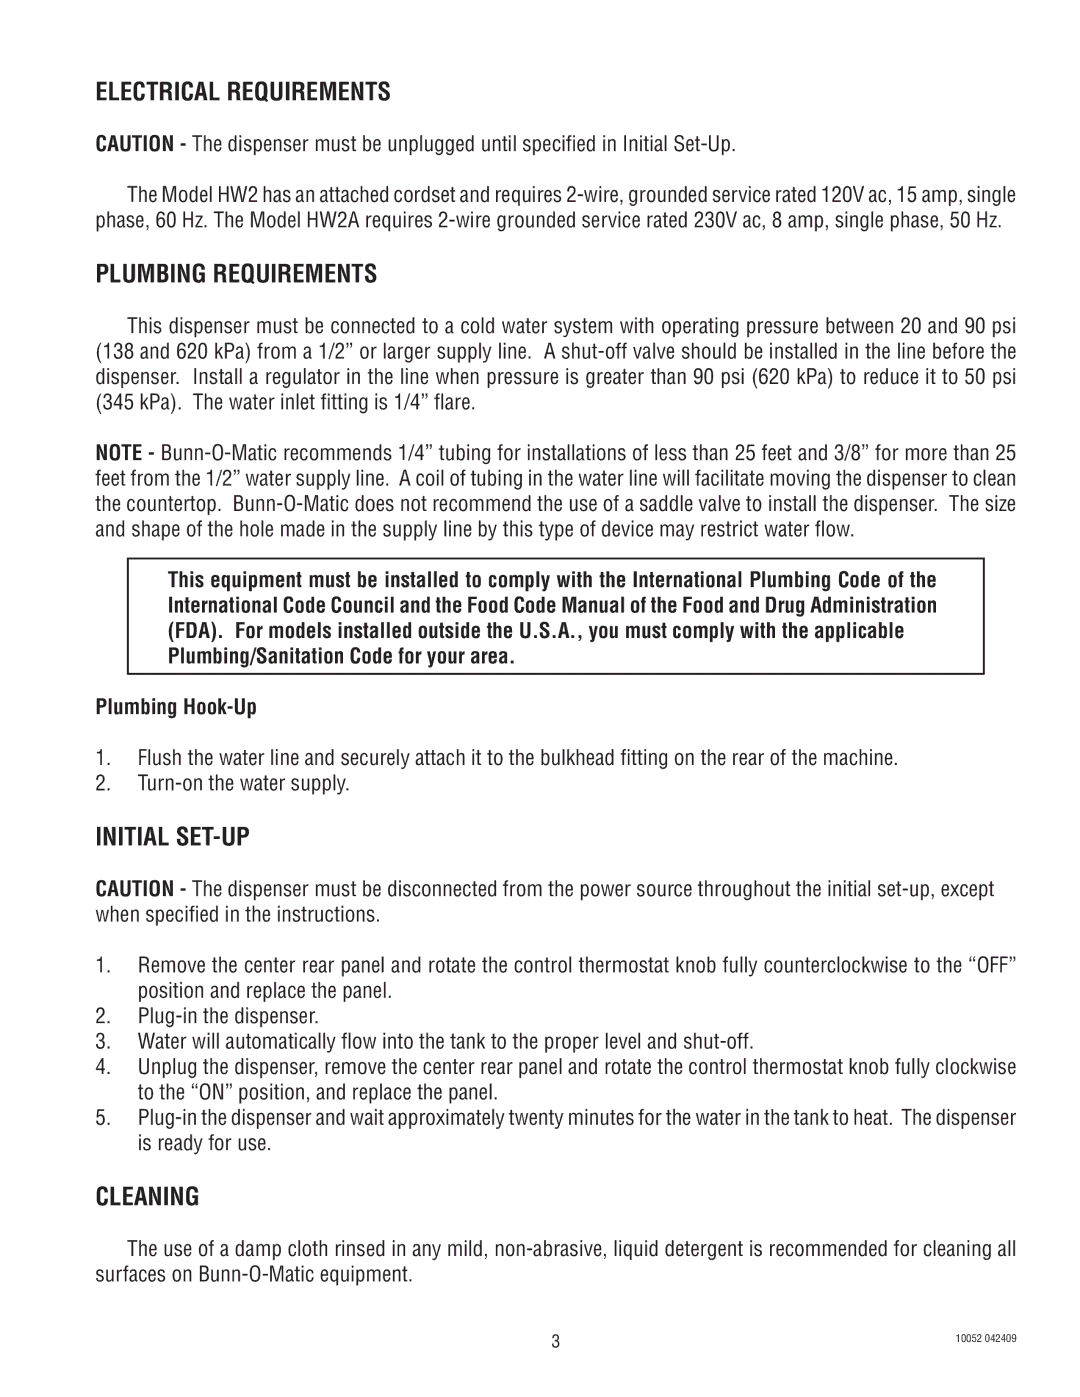
HW2A specifications
The Bunn HW2A coffee brewer is a professional-grade appliance designed for high-volume commercial settings, such as cafes, restaurants, and office environments. Known for its efficiency and reliability, the HW2A combines advanced technology with user-friendly features, making it a preferred choice for coffee enthusiasts and business owners alike.One of the standout features of the Bunn HW2A is its rapid brew technology. This innovation allows the brewer to quickly heat water to the optimal brewing temperature, resulting in a fast brewing cycle. In just minutes, operators can produce multiple batches of fresh coffee, ensuring that customers receive their beverages promptly. This efficiency is especially beneficial during peak hours when demand for coffee is at its highest.
The HW2A is equipped with a 2.5-gallon internal hot water tank, providing a ready supply of hot water for brewing delicious coffee or making tea. This large capacity reduces wait times and increases service capability, allowing establishments to cater to more customers without sacrificing quality.
With its intuitive control panel, the Bunn HW2A takes the guesswork out of brewing. The digital display offers clear and straightforward guidance for setting brew parameters, including brew time and water volume. Additionally, the machine features a pre-infusion mode that wets the coffee grounds before the full brew cycle begins, enhancing the extraction process and resulting in a richer flavor profile.
Durability is a hallmark of the Bunn brand, and the HW2A is no exception. Constructed from high-quality materials, the brewer is designed to withstand the rigors of daily use. Its stainless steel exterior not only provides a sleek appearance but also makes cleaning and maintenance straightforward.
Another characteristic that adds to its appeal is the machine's programmable features. Operators can tailor brew cycles according to specific coffee types or customer preferences, ensuring optimal flavor and consistency with each batch. This level of customization enhances overall customer satisfaction and helps businesses maintain a competitive edge.
The Bunn HW2A also incorporates a safety feature that prevents overheating and potential damage to the machine. The automatic shut-off function ensures that the unit powers down when not in use for extended periods, adding to its energy efficiency and longevity.
In conclusion, the Bunn HW2A coffee brewer stands out for its combination of efficiency, durability, and user-friendly features. With its rapid brew technology, large hot water capacity, intuitive controls, and programmable settings, it is an excellent investment for any establishment looking to serve high-quality coffee quickly and consistently. Whether you are a seasoned barista or a business owner, the HW2A is a powerful addition to your coffee brewing arsenal.

