Setup Guide (cont.) |
|
|
| f | |
5. The “key” icon will flash next (f), press ENTER and enter any four |
| |
digit password of your choice (to keep using the default “0000”, just |
|
|
press ENTER 4 times) by using the UP/DOWN buttons to change each |
|
|
|
| |
digit and using ENTER to step to the next digit (g). When finished, press |
|
|
ENTER if you want to return to the date/time setup menu, or press and |
| g |
hold the MENU button at any time to exit all setup menus and return to |
| |
normal operation. |
|
|
|
|
6.In normal operating mode, the display will only show the still photo or movie clip icon in the lower left corner, an SD card icon on the lower right, and one or more digits that indicate how many photo or movie files have been stored on the card. To test the camera operation, wave your hand in front of the lens and PIR (passive infrared/motion) detector, while looking at the LCD display. Every time an “event” is detected, the display will indicate “Plr”, “EVNT”, “rECd” in turn, and the event is recorded on the SD card as a new line in a text file, including the date and time of the event. As long as events are being detected, a new still photo or movie clip (as set in the menu) will be recorded every 30 seconds, indicated on the display by “Plr”, “SnAP”, then “SAVE”. Note: for movie clips, the display will stay on “SnAP” for the 14 sec duration of each movie.
7.Thread the strap through the slots on the back of the Sentry and attach the buckles, then strap it onto a suitable tree, making sure the strap is tight and the camera is aimed at the area you wish to observe. The red LED lamp on the front of the camera can help you determine how large an area is
12
Setup Guide (cont.)
covered, as it will flash when an “event” is detected. Turn on the camera (make sure a new or empty SD card has been inserted) and leave the
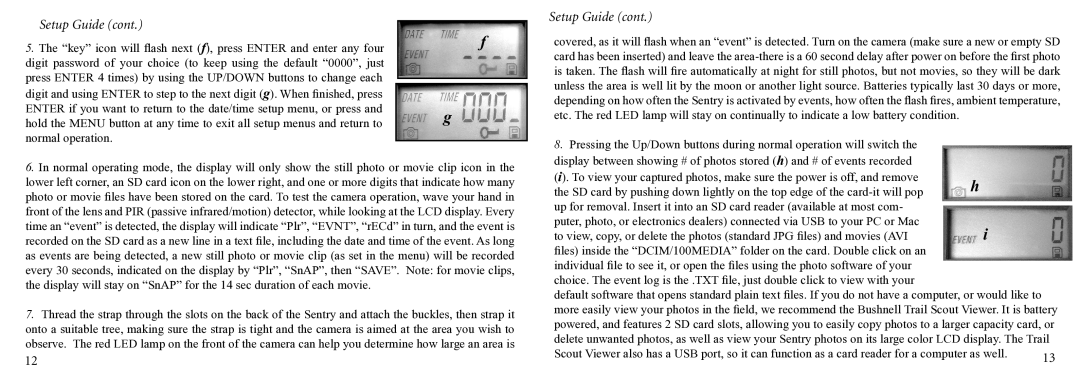
8. Pressing the Up/Down buttons during normal operation will switch the |
|
display between showing # of photos stored (h) and # of events recorded |
|
(i). To view your captured photos, make sure the power is off, and remove | h |
the SD card by pushing down lightly on the top edge of the | |
up for removal. Insert it into an SD card reader (available at most com- |
|
puter, photo, or electronics dealers) connected via USB to your PC or Mac | i |
to view, copy, or delete the photos (standard JPG files) and movies (AVI | |
files) inside the “DCIM/100MEDIA” folder on the card. Double click on an |
|
individual file to see it, or open the files using the photo software of your |
|
choice. The event log is the .TXT file, just double click to view with your
default software that opens standard plain text files. If you do not have a computer, or would like to more easily view your photos in the field, we recommend the Bushnell Trail Scout Viewer. It is battery powered, and features 2 SD card slots, allowing you to easily copy photos to a larger capacity card, or delete unwanted photos, as well as view your Sentry photos on its large color LCD display. The Trail
Scout Viewer also has a USB port, so it can function as a card reader for a computer as well. | 13 |
|