The Altitude graph consists of 14 columns and 9 rows of dots with each column of dots representing a period when the altitude measurements were taken, with each dot representing a unit of 10 meters (30 feet)
The graph takes an altitude reading every 5 seconds for the first 3 minutes and then every 5 minutes thereafter.
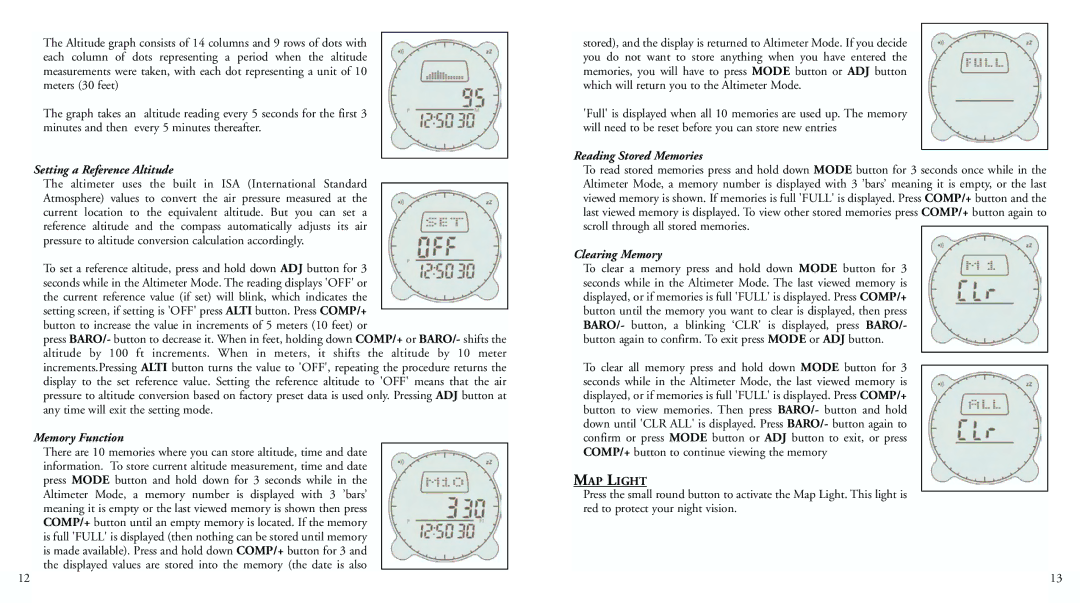
Setting a Reference Altitude
The altimeter uses the built in ISA (International Standard Atmosphere) values to convert the air pressure measured at the current location to the equivalent altitude. But you can set a reference altitude and the compass automatically adjusts its air pressure to altitude conversion calculation accordingly.
To set a reference altitude, press and hold down ADJ button for 3 seconds while in the Altimeter Mode. The reading displays 'OFF' or the current reference value (if set) will blink, which indicates the setting screen, if setting is 'OFF' press ALTI button. Press COMP/+ button to increase the value in increments of 5 meters (10 feet) or
press BARO/- button to decrease it. When in feet, holding down COMP/+ or BARO/- shifts the altitude by 100 ft increments. When in meters, it shifts the altitude by 10 meter increments.Pressing ALTI button turns the value to 'OFF', repeating the procedure returns the display to the set reference value. Setting the reference altitude to 'OFF' means that the air pressure to altitude conversion based on factory preset data is used only. Pressing ADJ button at any time will exit the setting mode.
Memory Function
There are 10 memories where you can store altitude, time and date information. To store current altitude measurement, time and date press MODE button and hold down for 3 seconds while in the Altimeter Mode, a memory number is displayed with 3 ’bars’ meaning it is empty or the last viewed memory is shown then press COMP/+ button until an empty memory is located. If the memory is full 'FULL' is displayed (then nothing can be stored until memory is made available). Press and hold down COMP/+ button for 3 and the displayed values are stored into the memory (the date is also
12
stored), and the display is returned to Altimeter Mode. If you decide you do not want to store anything when you have entered the memories, you will have to press MODE button or ADJ button which will return you to the Altimeter Mode.
'Full' is displayed when all 10 memories are used up. The memory will need to be reset before you can store new entries
Reading Stored Memories
To read stored memories press and hold down MODE button for 3 seconds once while in the Altimeter Mode, a memory number is displayed with 3 ’bars’ meaning it is empty, or the last viewed memory is shown. If memories is full 'FULL' is displayed. Press COMP/+ button and the last viewed memory is displayed. To view other stored memories press COMP/+ button again to scroll through all stored memories.
Clearing Memory
To clear a memory press and hold down MODE button for 3 seconds while in the Altimeter Mode. The last viewed memory is displayed, or if memories is full 'FULL' is displayed. Press COMP/+ button until the memory you want to clear is displayed, then press BARO/- button, a blinking ‘CLR' is displayed, press BARO/- button again to confirm. To exit press MODE or ADJ button.
To clear all memory press and hold down MODE button for 3 seconds while in the Altimeter Mode, the last viewed memory is displayed, or if memories is full 'FULL' is displayed. Press COMP/+ button to view memories. Then press BARO/- button and hold down until 'CLR ALL' is displayed. Press BARO/- button again to confirm or press MODE button or ADJ button to exit, or press COMP/+ button to continue viewing the memory
MAP LIGHT
Press the small round button to activate the Map Light. This light is red to protect your night vision.
13