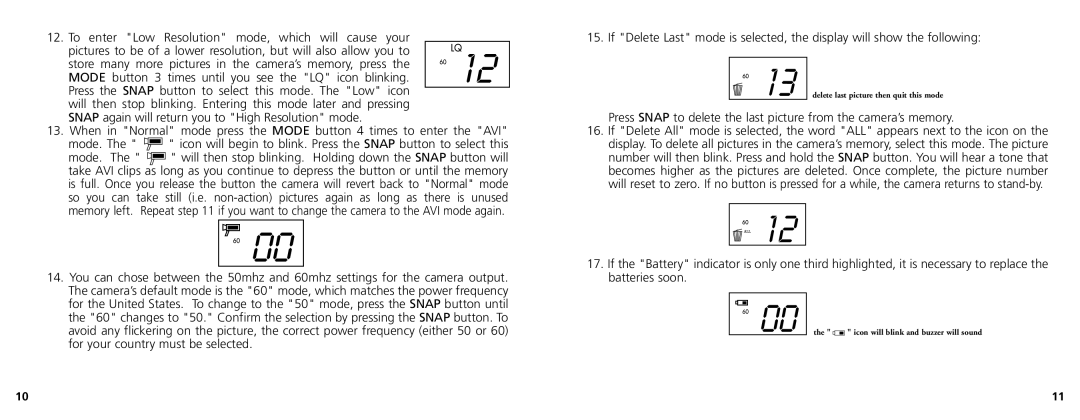
12. To enter "Low Resolution" mode, which will cause your pictures to be of a lower resolution, but will also allow you to store many more pictures in the camera’s memory, press the MODE button 3 times until you see the "LQ" icon blinking. Press the SNAP button to select this mode. The "Low" icon will then stop blinking. Entering this mode later and pressing SNAP again will return you to "High Resolution" mode.
13.When in "Normal" mode press the MODE button 4 times to enter the "AVI"
mode. The " ![]()
![]()
![]() " icon will begin to blink. Press the SNAP button to select this
" icon will begin to blink. Press the SNAP button to select this
mode. The " ![]()
![]()
![]() " will then stop blinking. Holding down the SNAP button will take AVI clips as long as you continue to depress the button or until the memory is full. Once you release the button the camera will revert back to "Normal" mode so you can take still (i.e.
" will then stop blinking. Holding down the SNAP button will take AVI clips as long as you continue to depress the button or until the memory is full. Once you release the button the camera will revert back to "Normal" mode so you can take still (i.e.
14.You can chose between the 50mhz and 60mhz settings for the camera output. The camera’s default mode is the "60" mode, which matches the power frequency for the United States. To change to the "50" mode, press the SNAP button until the "60" changes to "50." Confirm the selection by pressing the SNAP button. To avoid any flickering on the picture, the correct power frequency (either 50 or 60) for your country must be selected.
15. If "Delete Last" mode is selected, the display will show the following:
delete last picture then quit this mode
Press SNAP to delete the last picture from the camera’s memory.
16.If "Delete All" mode is selected, the word "ALL" appears next to the icon on the display. To delete all pictures in the camera’s memory, select this mode. The picture number will then blink. Press and hold the SNAP button. You will hear a tone that becomes higher as the pictures are deleted. Once complete, the picture number will reset to zero. If no button is pressed for a while, the camera returns to
17.If the "Battery" indicator is only one third highlighted, it is necessary to replace the batteries soon.
the " ![]()
![]()
![]() " icon will blink and buzzer will sound
" icon will blink and buzzer will sound
10 | 11 |
