CAMERA OPERATION INSTRUCTIONS
A. Button Descriptions
a. The MODE button has three functions:
1.Power on: Press and hold button until camera turns on. When camera is connected to a PC via the USB cable provided, the camera will power on automatically
2.Power off: While camera is on, press and hold button until camera turns off. If camera has not been used or if a button has not been pressed for over
2 minutes, the camera will automatically power off to save battery life. If the camera is connected via USB, camera will not power off except when PC powers off.
3.Mode change: press this button rapidly to change modes.
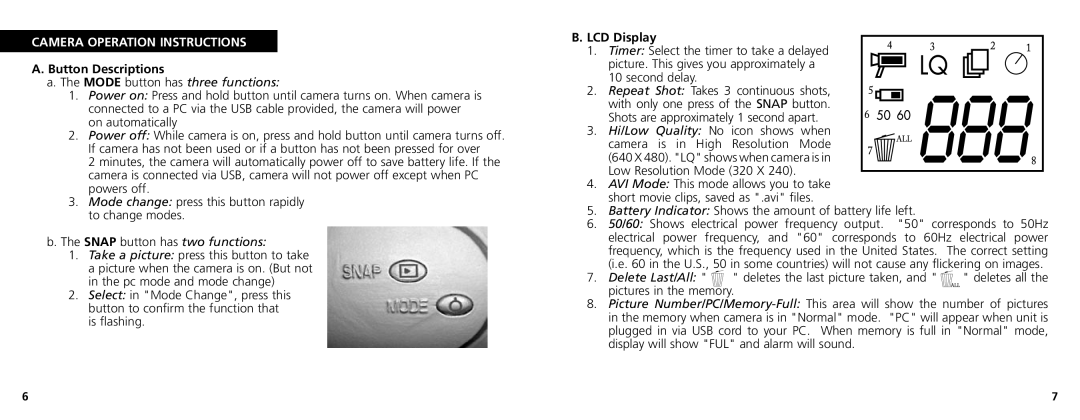
b. The SNAP button has two functions:
1.Take a picture: press this button to take a picture when the camera is on. (But not in the pc mode and mode change)
2.Select: in "Mode Change", press this button to confirm the function that is flashing.
B. LCD Display
1. Timer: Select the timer to take a delayed picture. This gives you approximately a
10 second delay. 2. Repeat Shot: Takes 3 continuous shots,
with only one press of the SNAP button. Shots are approximately 1 second apart.
3. Hi/Low Quality: No icon shows when
camera is in High Resolution Mode (640 X 480). "LQ" shows when camera is in
Low Resolution Mode (320 X 240).
4. AVI Mode: This mode allows you to take short movie clips, saved as ".avi" files.
5. Battery Indicator: Shows the amount of battery life left.
6. 50/60: Shows electrical power frequency output. "50" corresponds to 50Hz electrical power frequency, and "60" corresponds to 60Hz electrical power frequency, which is the frequency used in the United States. The correct setting (i.e. 60 in the U.S., 50 in some countries) will not cause any flickering on images.
7. Delete Last/All: " | " deletes the last picture taken, and " | " deletes all the |
pictures in the memory. |
| |
8. Picture
6 | 7 |
