Cabela's 08-0601-C manual Maintenance KIT Instructions, Initial Testing of the BAG Seal

Models: 08-0601-C

1 12
Download 12 pages 13.24 Kb
Page 11
Image 11

WARNING! Before cleaning, assembling or disassembling the Vacuum Sealer, make sure the Vacuum Sealer is OFF and the PLUG IS REMOVED FROM THE OUTLET/POWER SOURCE!

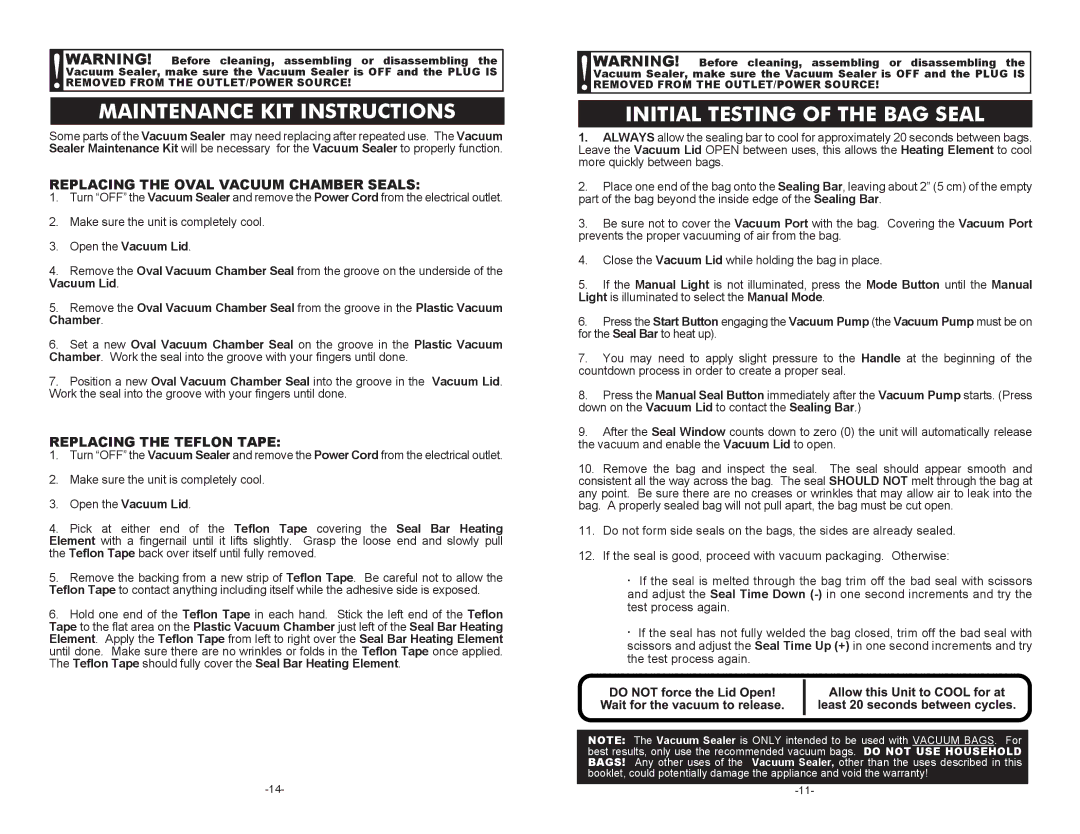
MAINTENANCE KIT INSTRUCTIONS

Some parts of the Vacuum Sealer may need replacing after repeated use. The Vacuum Sealer Maintenance Kit will be necessary for the Vacuum Sealer to properly function.

REPLACING THE OVAL VACUUM CHAMBER SEALS:

1. Turn “OFF” the Vacuum Sealer and remove the Power Cord from the electrical outlet. 2. Make sure the unit is completely cool.

3. Open the Vacuum Lid.

4. Remove the Oval Vacuum Chamber Seal from the groove on the underside of the Vacuum Lid.

5. Remove the Oval Vacuum Chamber Seal from the groove in the Plastic Vacuum Chamber.

6. Set a new Oval Vacuum Chamber Seal on the groove in the Plastic Vacuum Chamber. Work the seal into the groove with your fingers until done.

7. Position a new Oval Vacuum Chamber Seal into the groove in the Vacuum Lid. Work the seal into the groove with your fingers until done.

REPLACING THE TEFLON TAPE:

1. Turn “OFF” the Vacuum Sealer and remove the Power Cord from the electrical outlet. 2. Make sure the unit is completely cool.

3. Open the Vacuum Lid.

4. Pick at either end of the Teflon Tape covering the Seal Bar Heating Element with a fingernail until it lifts slightly. Grasp the loose end and slowly pull the Teflon Tape back over itself until fully removed.

5. Remove the backing from a new strip of Teflon Tape. Be careful not to allow the Teflon Tape to contact anything including itself while the adhesive side is exposed.

6. Hold one end of the Teflon Tape in each hand. Stick the left end of the Teflon Tape to the flat area on the Plastic Vacuum Chamber just left of the Seal Bar Heating Element. Apply the Teflon Tape from left to right over the Seal Bar Heating Element until done. Make sure there are no wrinkles or folds in the Teflon Tape once applied. The Teflon Tape should fully cover the Seal Bar Heating Element.

-14-

WARNING! Before cleaning, assembling or disassembling the Vacuum Sealer, make sure the Vacuum Sealer is OFF and the PLUG IS REMOVED FROM THE OUTLET/POWER SOURCE!

INITIAL TESTING OF THE BAG SEAL

1.ALWAYS allow the sealing bar to cool for approximately 20 seconds between bags. Leave the Vacuum Lid OPEN between uses, this allows the Heating Element to cool more quickly between bags.

2.Place one end of the bag onto the Sealing Bar, leaving about 2” (5 cm) of the empty part of the bag beyond the inside edge of the Sealing Bar.

3.Be sure not to cover the Vacuum Port with the bag. Covering the Vacuum Port prevents the proper vacuuming of air from the bag.

4.Close the Vacuum Lid while holding the bag in place.

5.If the Manual Light is not illuminated, press the Mode Button until the Manual Light is illuminated to select the Manual Mode.

6.Press the Start Button engaging the Vacuum Pump (the Vacuum Pump must be on for the Seal Bar to heat up).

7.You may need to apply slight pressure to the Handle at the beginning of the countdown process in order to create a proper seal.

8.Press the Manual Seal Button immediately after the Vacuum Pump starts. (Press down on the Vacuum Lid to contact the Sealing Bar.)

9.After the Seal Window counts down to zero (0) the unit will automatically release the vacuum and enable the Vacuum Lid to open.

10.Remove the bag and inspect the seal. The seal should appear smooth and consistent all the way across the bag. The seal SHOULD NOT melt through the bag at any point. Be sure there are no creases or wrinkles that may allow air to leak into the bag. A properly sealed bag will not pull apart, the bag must be cut open.

11.0Do not form side seals on the bags, the sides are already sealed.

12.0If the seal is good, proceed with vacuum packaging. Otherwise:

.If the seal is melted through the bag trim off the bad seal with scissors and adjust the Seal Time Down (-)in one second increments and try the test process again.

.If the seal has not fully welded the bag closed, trim off the bad seal with scissors and adjust the Seal Time Up (+) in one second increments and try the test process again.

NOTE: The Vacuum Sealer is ONLY intended to be used with VACUUM BAGS. For best results, only use the recommended vacuum bags. DO NOT USE HOUSEHOLD BAGS! Any other uses of the Vacuum Sealer, other than the uses described in this booklet, could potentially damage the appliance and void the warranty!

-11-

Page 11
Image 11
Cabela's 08-0601-C Maintenance KIT Instructions, Initial Testing of the BAG Seal, Replacing the Oval Vacuum Chamber Seals

08-0601-C specifications

Cabela's 08-0601-C and 51-7403 models represent the essence of outdoor gear innovation, designed with the serious adventurer and outdoorsman in mind. Each product combines functionality and durability, ensuring that users can rely on them in the harshest conditions.

The Cabela's 08-0601-C is a meticulously crafted piece of equipment, designed primarily for hunting enthusiasts. Its material composition features heavy-duty, water-resistant fabric, which ensures that gear stays protected against the elements. One of the standout features is its reinforced stitching and rugged zippers, providing additional durability during extensive use. This product incorporates a spacious main compartment, ideal for storing essential hunting gear, while exterior pockets facilitate organized access to smaller items. The design is also user-friendly, featuring adjustable straps that allow for a customizable fit, making it comfortable for prolonged wear.

On the other hand, the Cabela's 51-7403 is engineered with advanced technologies aimed at enhancing the outdoor experience. This model's insulation technology stands out, both for warmth and for lightweight properties, ensuring that the wearer remains comfortable regardless of the external temperatures. The use of moisture-wicking fabric enhances comfort by keeping sweat at bay, an essential feature during high-energy activities.

Both products emphasize mobility, with each model designed to promote freedom of movement while ensuring all necessary gear is conveniently accessible. This is particularly beneficial for individuals engaging in dynamic activities like hiking or hunting.

Another specific characteristic shared between these models is their eco-friendly manufacturing processes. Cabela's is committed to sustainability, utilizing materials that minimize environmental impact without sacrificing performance. Moreover, both products feature a range of camo patterns, allowing users to blend seamlessly with their surroundings, thus enhancing stealth during outings.

In summary, the Cabela's 08-0601-C and 51-7403 offer outstanding features and technologies that cater to the needs of outdoor enthusiasts. With their focus on durability, comfort, and eco-friendliness, these models are exemplary choices for anyone looking to enhance their outdoor adventures, providing peace of mind while traversing nature's wilderness.