Using A Burner
Select a burner by touching its corresponding ON/OFF key. The ON/OFF keys are arranged to mirror the burner locations. The 8 segment LED will blink 'p' for program. Press the up or down arrow. If the down arrow is touched the burner will come on at level '4'. If the up arrow is pressed the burner will come on 'H' (high). You may then move to the desired setting using the up and down arrow keys.. The programming mode (blinking 'p')lasts for 10 seconds.
Selecting A Power Level
A brief touch to the control arrows will adjust the power by 1/2 increments (21 settings). This is indicated by a beep and circular LED to the right of the seven segment LED. A steady touch will scan through the eleven whole number settings.
Settings L, 1 thru 3 1/2 are the simmer settings, your gas burner will cycle on and off for varying amounts of time depending on the setting. All settings of 4 and above produce a steady flame.
Turning A Burner Off
A brief touch to the appropriate burner's ON/OFF key will turn the burner off. You can turn all burners off at the same time by touching the lock icon for 1 1/2 seconds.
Power failure
In case of a power failure your unit will not operate. It will "fail / safe". Each burner and the overall safety valve will shut the flow of gas of automatically.
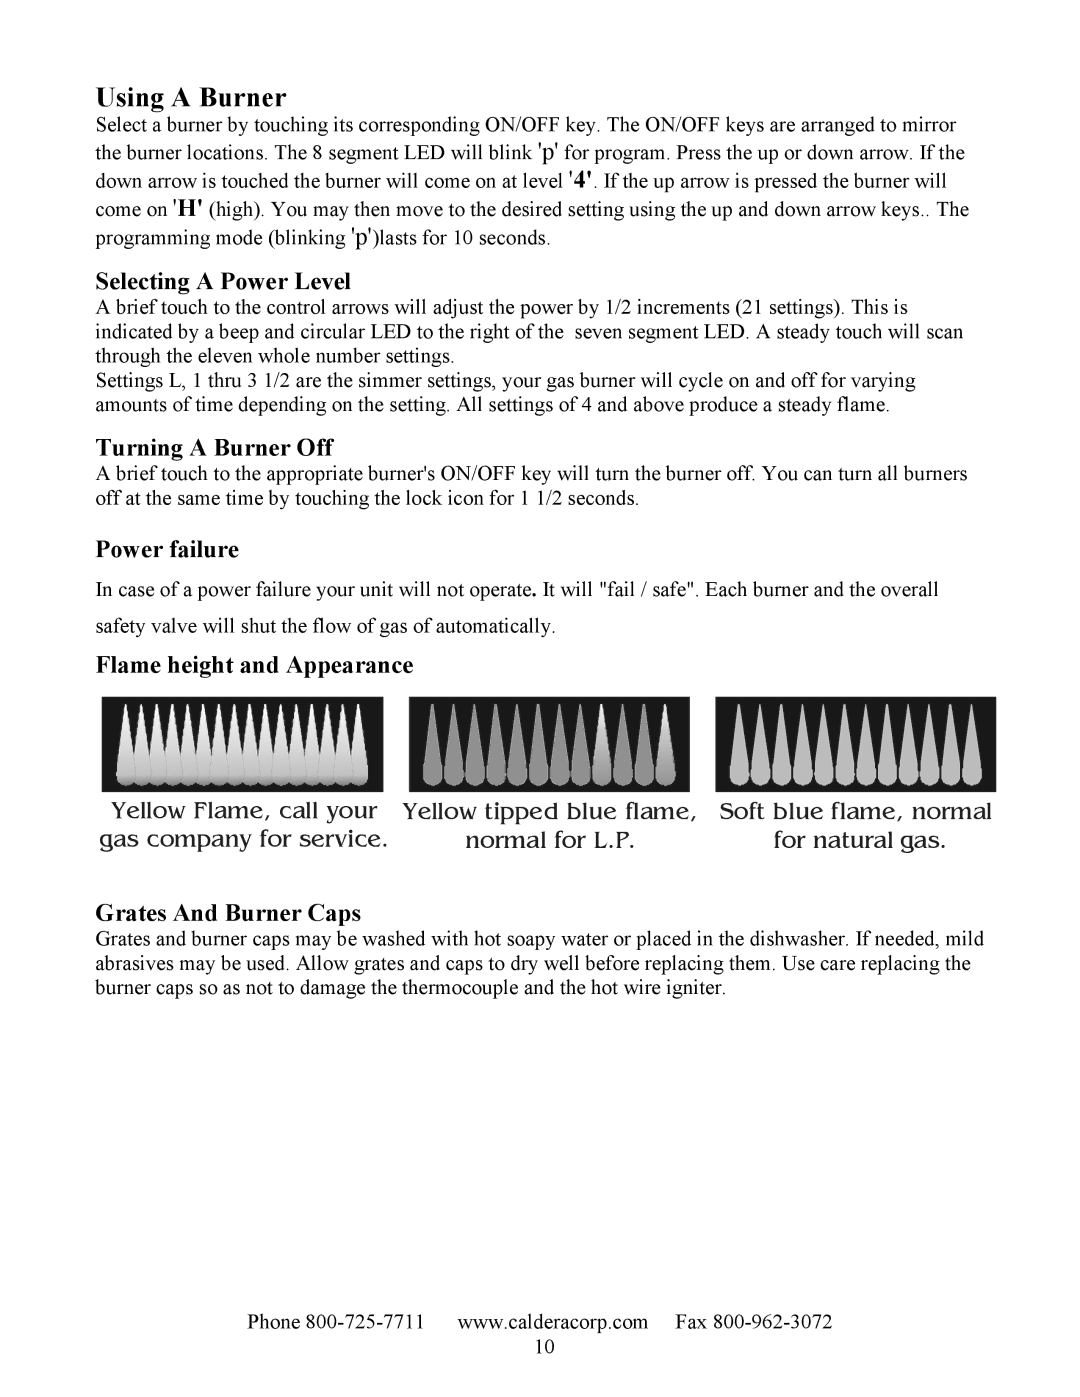
Flame height and Appearance
Yellow Flame, call your | Yellow tipped blue flame, | Soft blue flame, normal |
gas company for service. | normal for L.P. | for natural gas. |
Grates And Burner Caps
Grates and burner caps may be washed with hot soapy water or placed in the dishwasher. If needed, mild abrasives may be used. Allow grates and caps to dry well before replacing them. Use care replacing the burner caps so as not to damage the thermocouple and the hot wire igniter.
Phone | www.calderacorp.com Fax |
| 10 |
