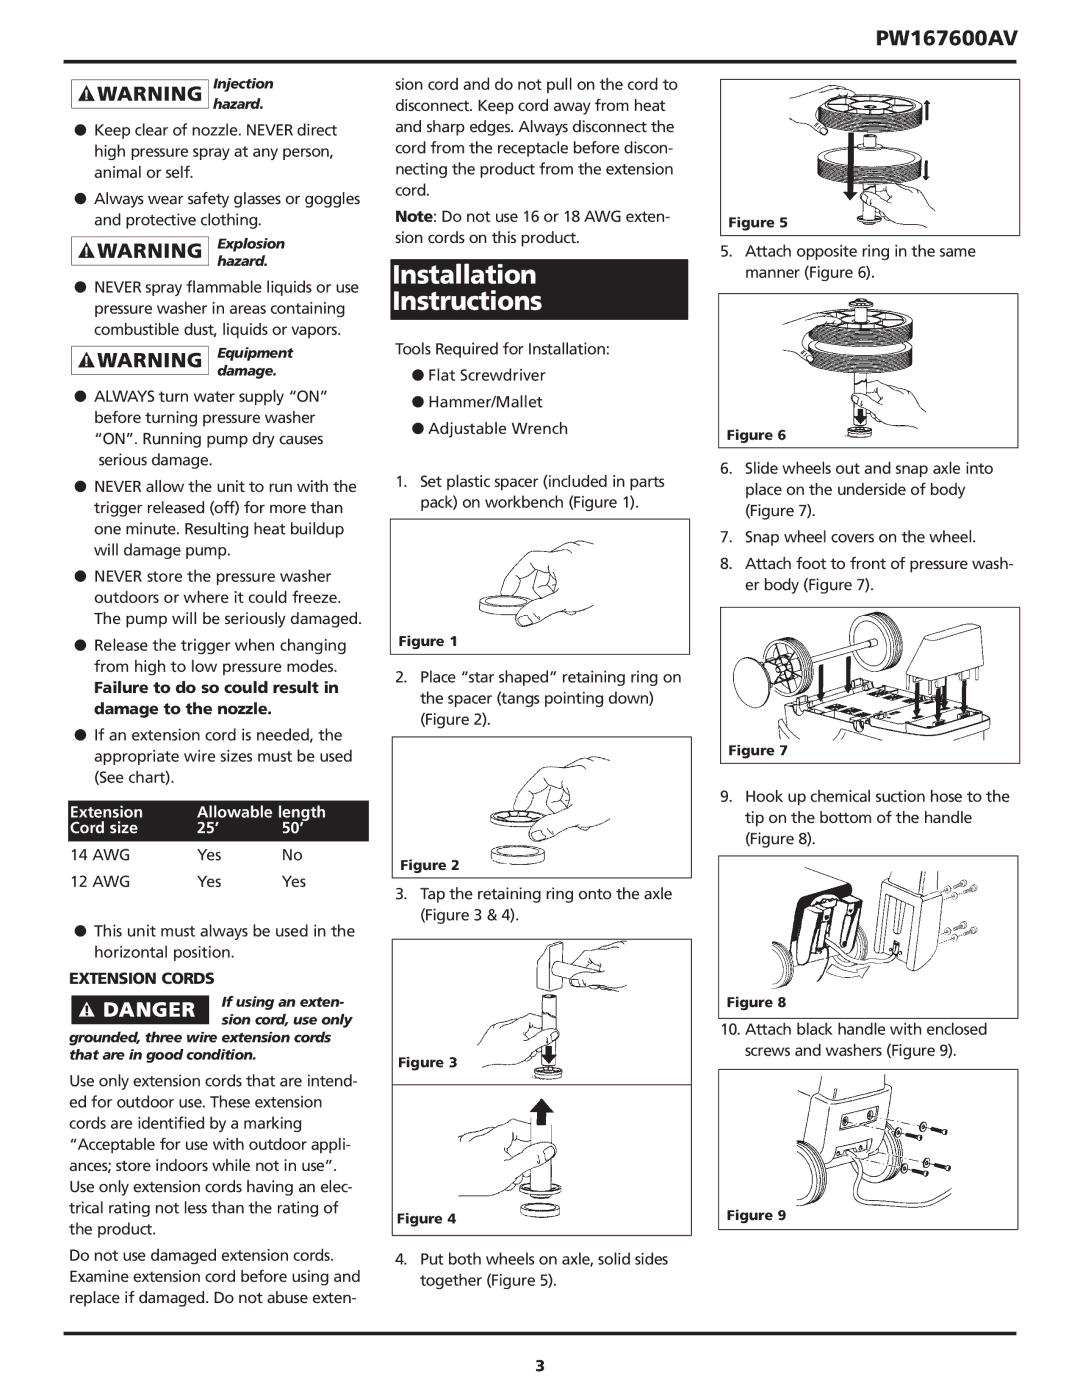
PW167600AV
Injection hazard.
●Keep clear of nozzle. NEVER direct high pressure spray at any person, animal or self.
●Always wear safety glasses or goggles and protective clothing.
Explosion hazard.
●NEVER spray flammable liquids or use pressure washer in areas containing combustible dust, liquids or vapors.
Equipment damage.
●ALWAYS turn water supply “ON” before turning pressure washer “ON”. Running pump dry causes serious damage.
●NEVER allow the unit to run with the trigger released (off) for more than one minute. Resulting heat buildup will damage pump.
●NEVER store the pressure washer outdoors or where it could freeze. The pump will be seriously damaged.
●Release the trigger when changing from high to low pressure modes.
Failure to do so could result in damage to the nozzle.
●If an extension cord is needed, the appropriate wire sizes must be used (See chart).
Extension | Allowable length | |
Cord size | 25’ | 50’ |
14 AWG | Yes | No |
12 AWG | Yes | Yes |
●This unit must always be used in the horizontal position.
EXTENSION CORDS
If using an exten-
![]() sion cord, use only grounded, three wire extension cords that are in good condition.
sion cord, use only grounded, three wire extension cords that are in good condition.
Use only extension cords that are intend- ed for outdoor use. These extension cords are identified by a marking “Acceptable for use with outdoor appli- ances; store indoors while not in use”. Use only extension cords having an elec- trical rating not less than the rating of the product.
Do not use damaged extension cords. Examine extension cord before using and replace if damaged. Do not abuse exten-
sion cord and do not pull on the cord to disconnect. Keep cord away from heat and sharp edges. Always disconnect the cord from the receptacle before discon- necting the product from the extension cord.
Note: Do not use 16 or 18 AWG exten- sion cords on this product.
Installation
Instructions
Tools Required for Installation:
●Flat Screwdriver
●Hammer/Mallet
●Adjustable Wrench
1.Set plastic spacer (included in parts pack) on workbench (Figure 1).
Figure 1
2.Place “star shaped” retaining ring on the spacer (tangs pointing down) (Figure 2).
Figure 2
3.Tap the retaining ring onto the axle (Figure 3 & 4).
Figure 3
Figure 4
4.Put both wheels on axle, solid sides together (Figure 5).
Figure 5
5.Attach opposite ring in the same manner (Figure 6).
Figure 6
6.Slide wheels out and snap axle into place on the underside of body (Figure 7).
7.Snap wheel covers on the wheel.
8.Attach foot to front of pressure wash- er body (Figure 7).
Figure 7
9.Hook up chemical suction hose to the tip on the bottom of the handle (Figure 8).
Figure 8
10.Attach black handle with enclosed screws and washers (Figure 9).
Figure 9
3
