PICTURE IMAGE
4 | To move the red frame pointer to "MENU", and then press the |
SET button. The message "OK"? is displayed. Move the pointer |
to [Yes] and then press SET button. The COLOR MANAGE- MENT menu will be exited and the display will return to the IMAGE ADJUST menu. (At this time, the image will stop being paused and normal projection will resume.) After changing the COLOR MANAGEMENT settings, use the IMAGE ADJUST menu to store the changed settings.
COLOR SELECTION MODE
CANCEL
The mode will return to the pointer mode (even if you press the MENU key on the projector or the remote control). (You will need to reselect and
QUIT
The COLOR MANAGEMENT menu will be exited and the display will return to the normal projection screen, but any settings that have been changed will not be stored. To store the changed settings, be sure to select "LIST" using the POINT buttons and change to the next mode (LIST mode).
LIST MODE
The check mark will be cleared and the effect of the setting adjustment for that line on the projected images will be momentarily canceled.
COLOR PALETTE
The mode will return to COLOR SELECTION mode so that you can
DEL
The setting adjustment for the color in that line will be canceled.
ALL DEL
The setting adjustment for the colors in all lines will be canceled.
COLOR M.
The mode will return to POINTER mode.
Auto picture control
Press either POINT LEFT button or POINT RIGHT button to Auto picture control position that you want to select . (Off, L1 or L2)
Off ······· Auto picture control OFF position.
L1 ········ Auto picture control LEVEL 1 position.
L2 ········ Auto picture control LEVEL 2 position.
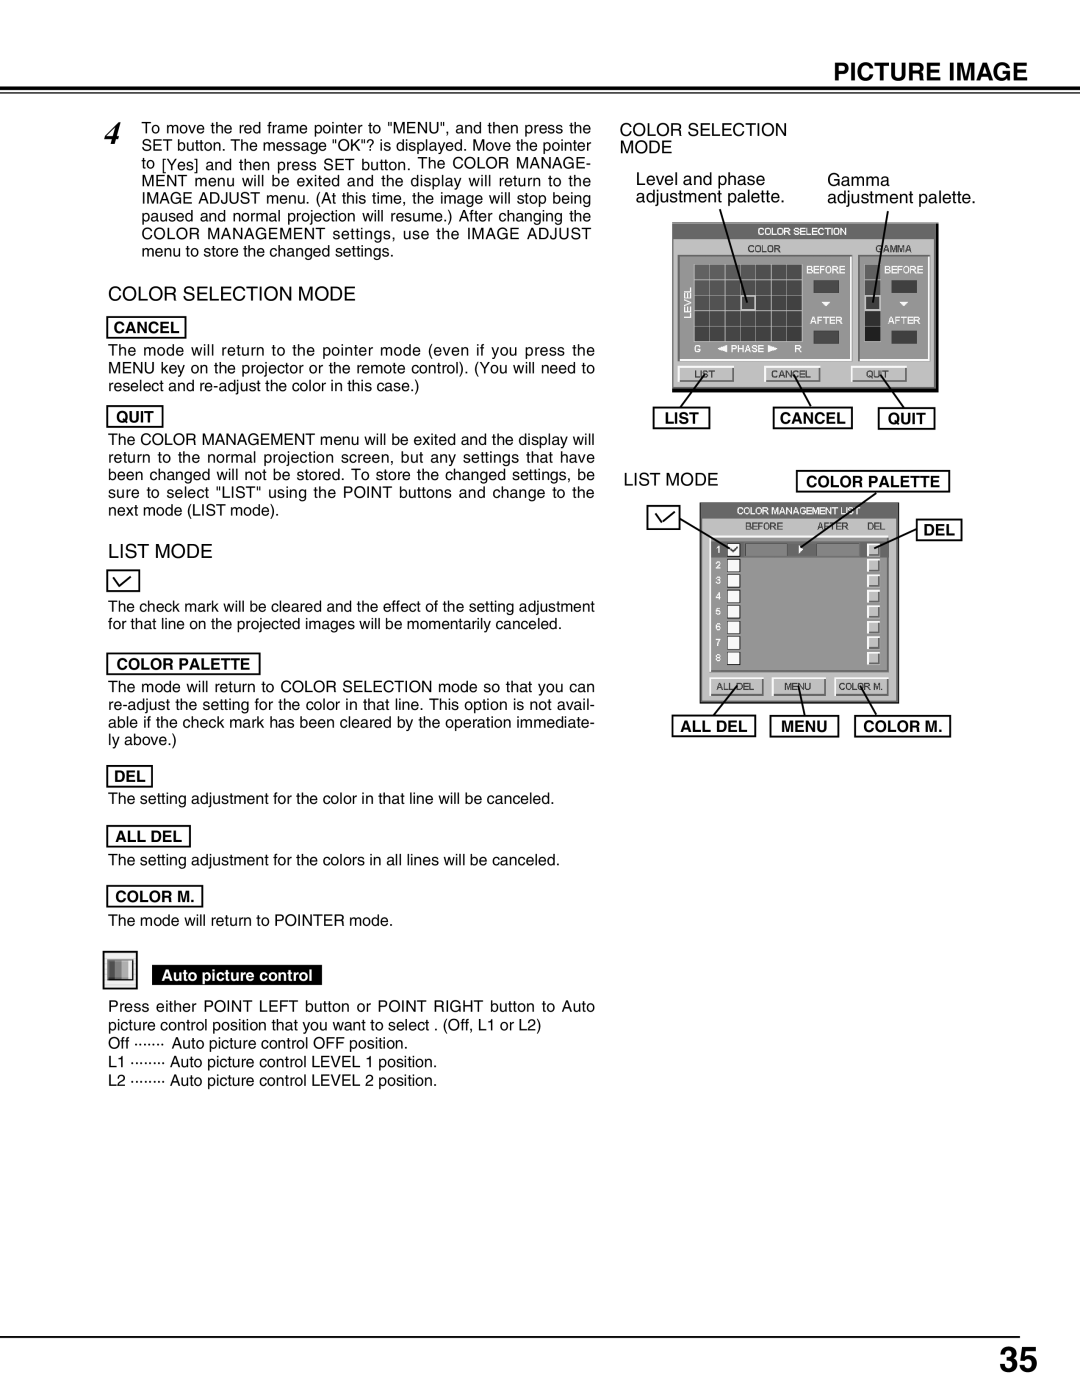
COLOR SELECTION
MODE
Level and phase | Gamma |
adjustment palette. | adjustment palette. |
| LIST |
| CANCEL |
| QUIT |
| |
LIST MODE |
|
| |||||
| COLOR PALETTE | ||||||
DEL
ALL DEL 
 MENU
MENU 
 COLOR M.
35