3.Press and hold the STAR(1) button until the LED blinks twice. STAR(1) now is programmed to the channel that you have assigned.
4.Repeat steps above to assign a favourite ![]() channel to the MOON(2) button.
channel to the MOON(2) button.
Step 5: Set the remote to CHILD mode
child adult
P
Set the switch located in the battery
compartment to the left position to enter CHILD user mode. CHILD mode is for children
and limits them to only have access to the ten programmed channels on the remote.
Step 6: Replace battery door
Secure the battery compartment door back in place with a screwdriver using the screw provided.
Your MiniMote remote is now ready for use!
Refer to this manual for additional features and functions.
CUSTOMISING THE IMAGE COMPARTMENT
MiniMote comes with a customisable image compartment. This allows the remote to be customised for the child or children using the remote. A photo or image of your child’s favourite character can be inserted in this location.
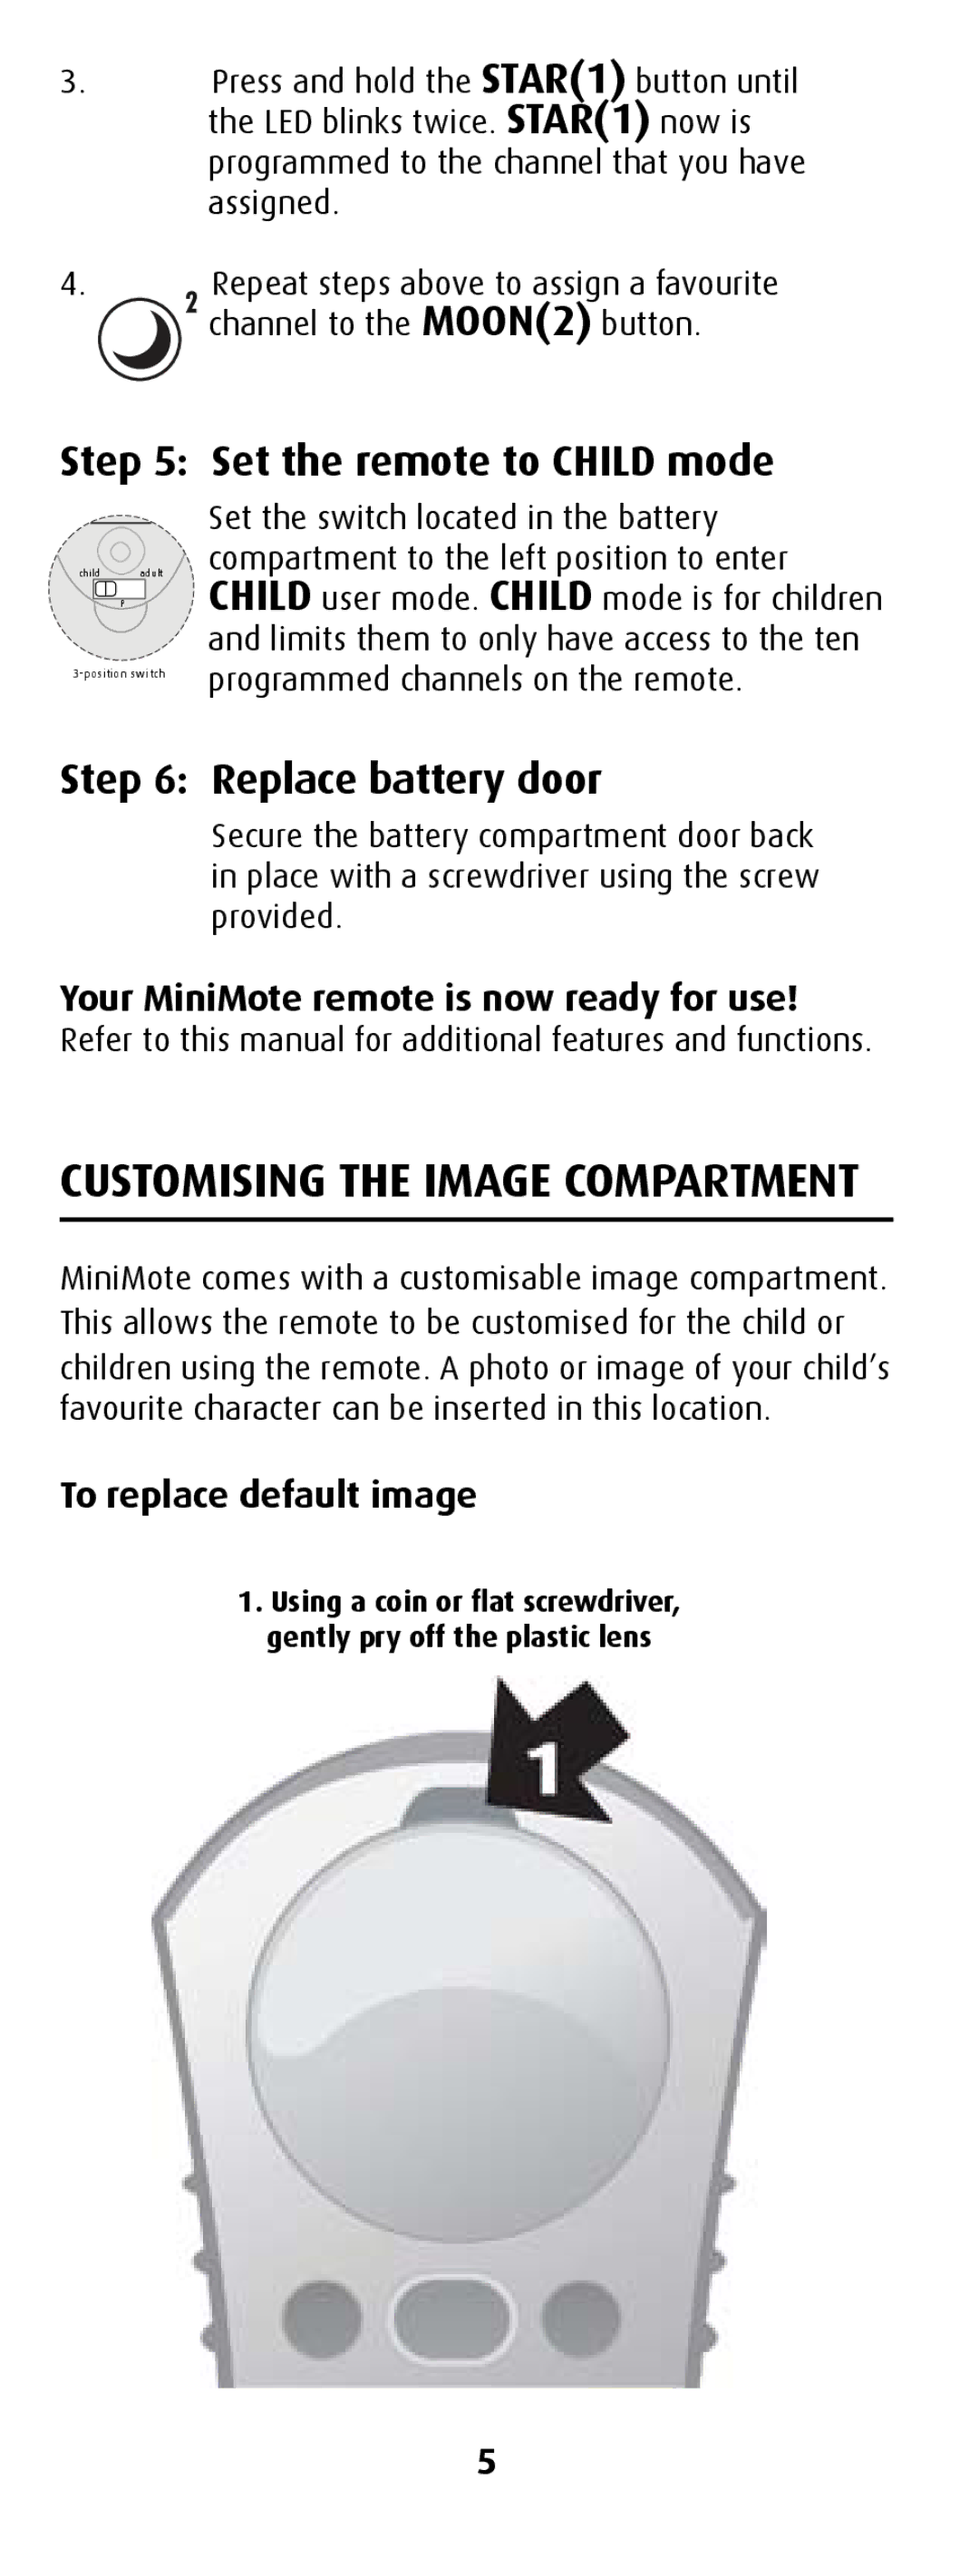
To replace default image
1.Using a coin or flat screwdriver, gently pry off the plastic lens
5