XH A1 specifications
The Canon XH A1 is a professional-grade camcorder that has garnered significant attention in the world of video production since its release. Designed for both aspiring filmmakers and seasoned professionals, this camcorder combines advanced technology with user-friendly features, making it a versatile choice for various applications, including documentaries, weddings, and short films.One of the XH A1's standout features is its high-definition video capture capability. It records in 1080i resolution, delivering stunning image quality with impressive detail and vibrant colors. The camcorder uses a 1/3-inch native 16:9 HD CMOS sensor, which captures images with excellent clarity while maintaining a shallow depth of field, allowing for that cinematic look often sought by filmmakers.
The optical zoom capability of the Canon XH A1 is another key feature. It is equipped with a 20x optical zoom lens, providing a focal length range of 5.4mm to 108mm, which translates to a 35mm equivalent range of approximately 32.5mm to 650mm. This versatility enables users to capture wide-angle shots as well as close-ups, making it ideal for various shooting environments.
In addition to its impressive zoom capabilities, the XH A1 employs Canon's advanced DIGIC DV II image processor. This technology enhances image processing speed and overall functionality while improving low-light performance. The camcorder also features a four-channel audio recording capability, allowing for high-quality audio capture using built-in microphones or external inputs, vital for producing professional-grade video content.
The LCD and viewfinder of the Canon XH A1 offer clear and reliable monitoring. The 2.8-inch LCD display provides a vivid representation of the scene, while the color viewfinder ensures accurate framing in different lighting conditions. The camera's ergonomic design, along with customizable controls and presets, enhances user experience, enabling filmmakers to adapt quickly during demanding shoots.
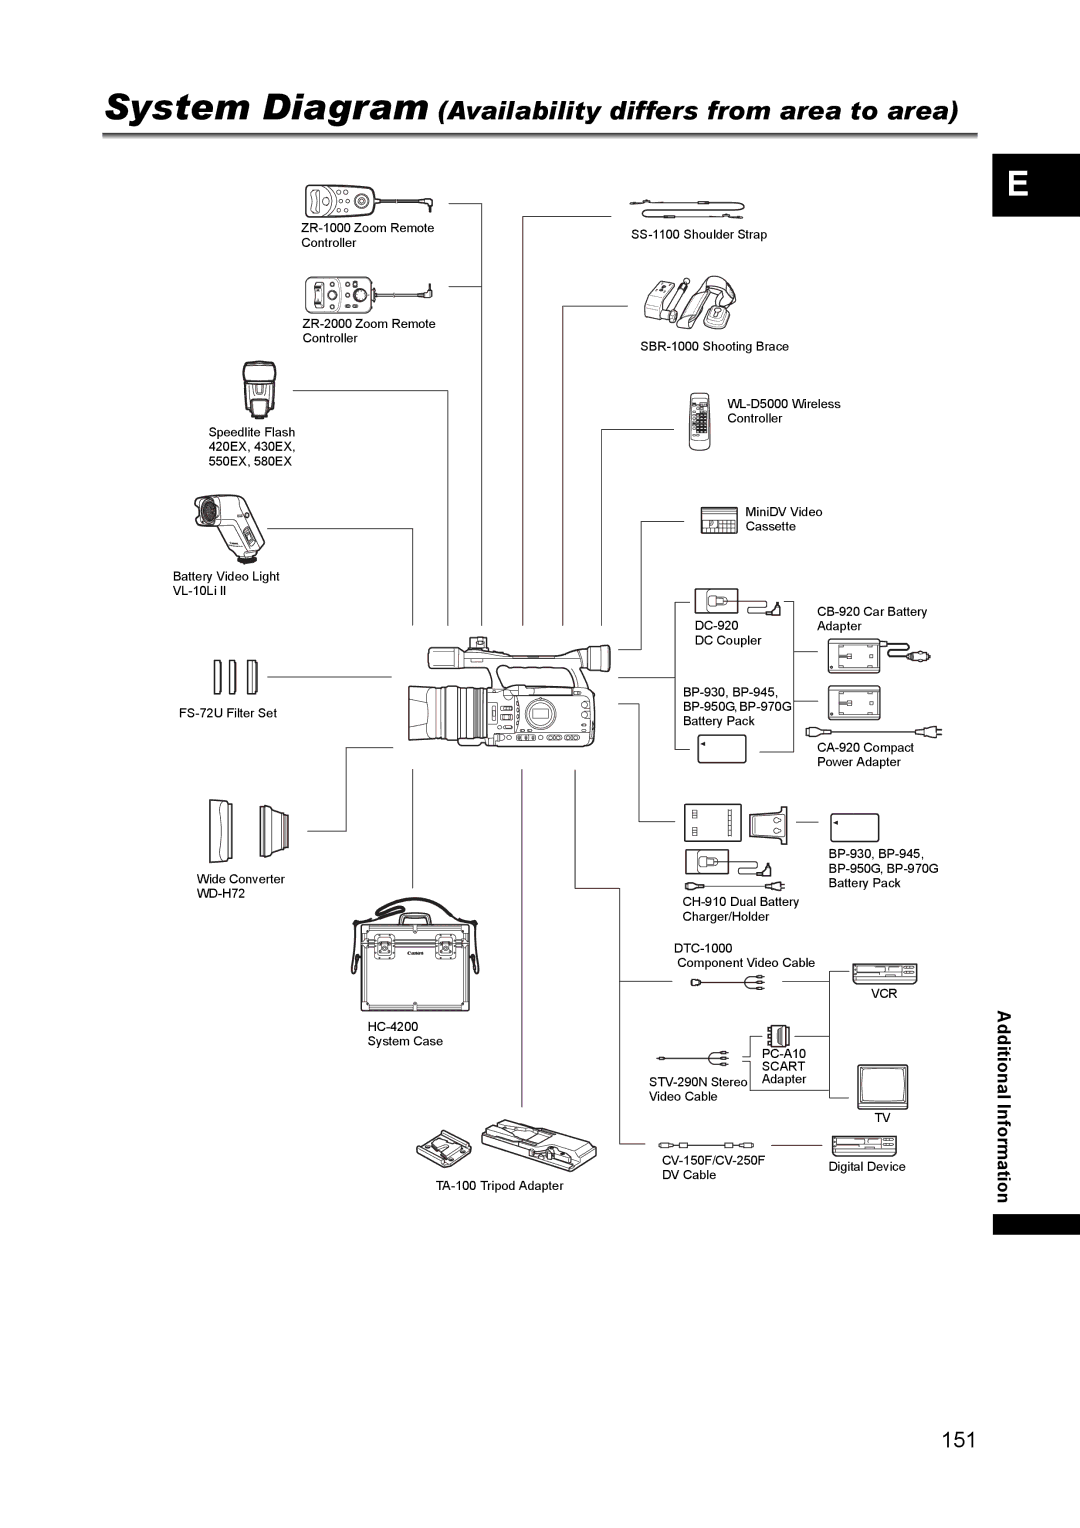
Connectivity options on the XH A1 are extensive, featuring HDMI, component, and composite outputs, facilitating seamless integration with various external devices. Additionally, the camcorder supports HDV and DV formats, providing flexibility in workflows, whether users opt for high-definition or standard-definition recording.
In summary, the Canon XH A1 is a feature-rich camcorder that blends advanced imaging technology and ease of use. With its robust specifications and thoughtful design, it remains a popular choice among videographers who demand high-quality performance and versatility on set.